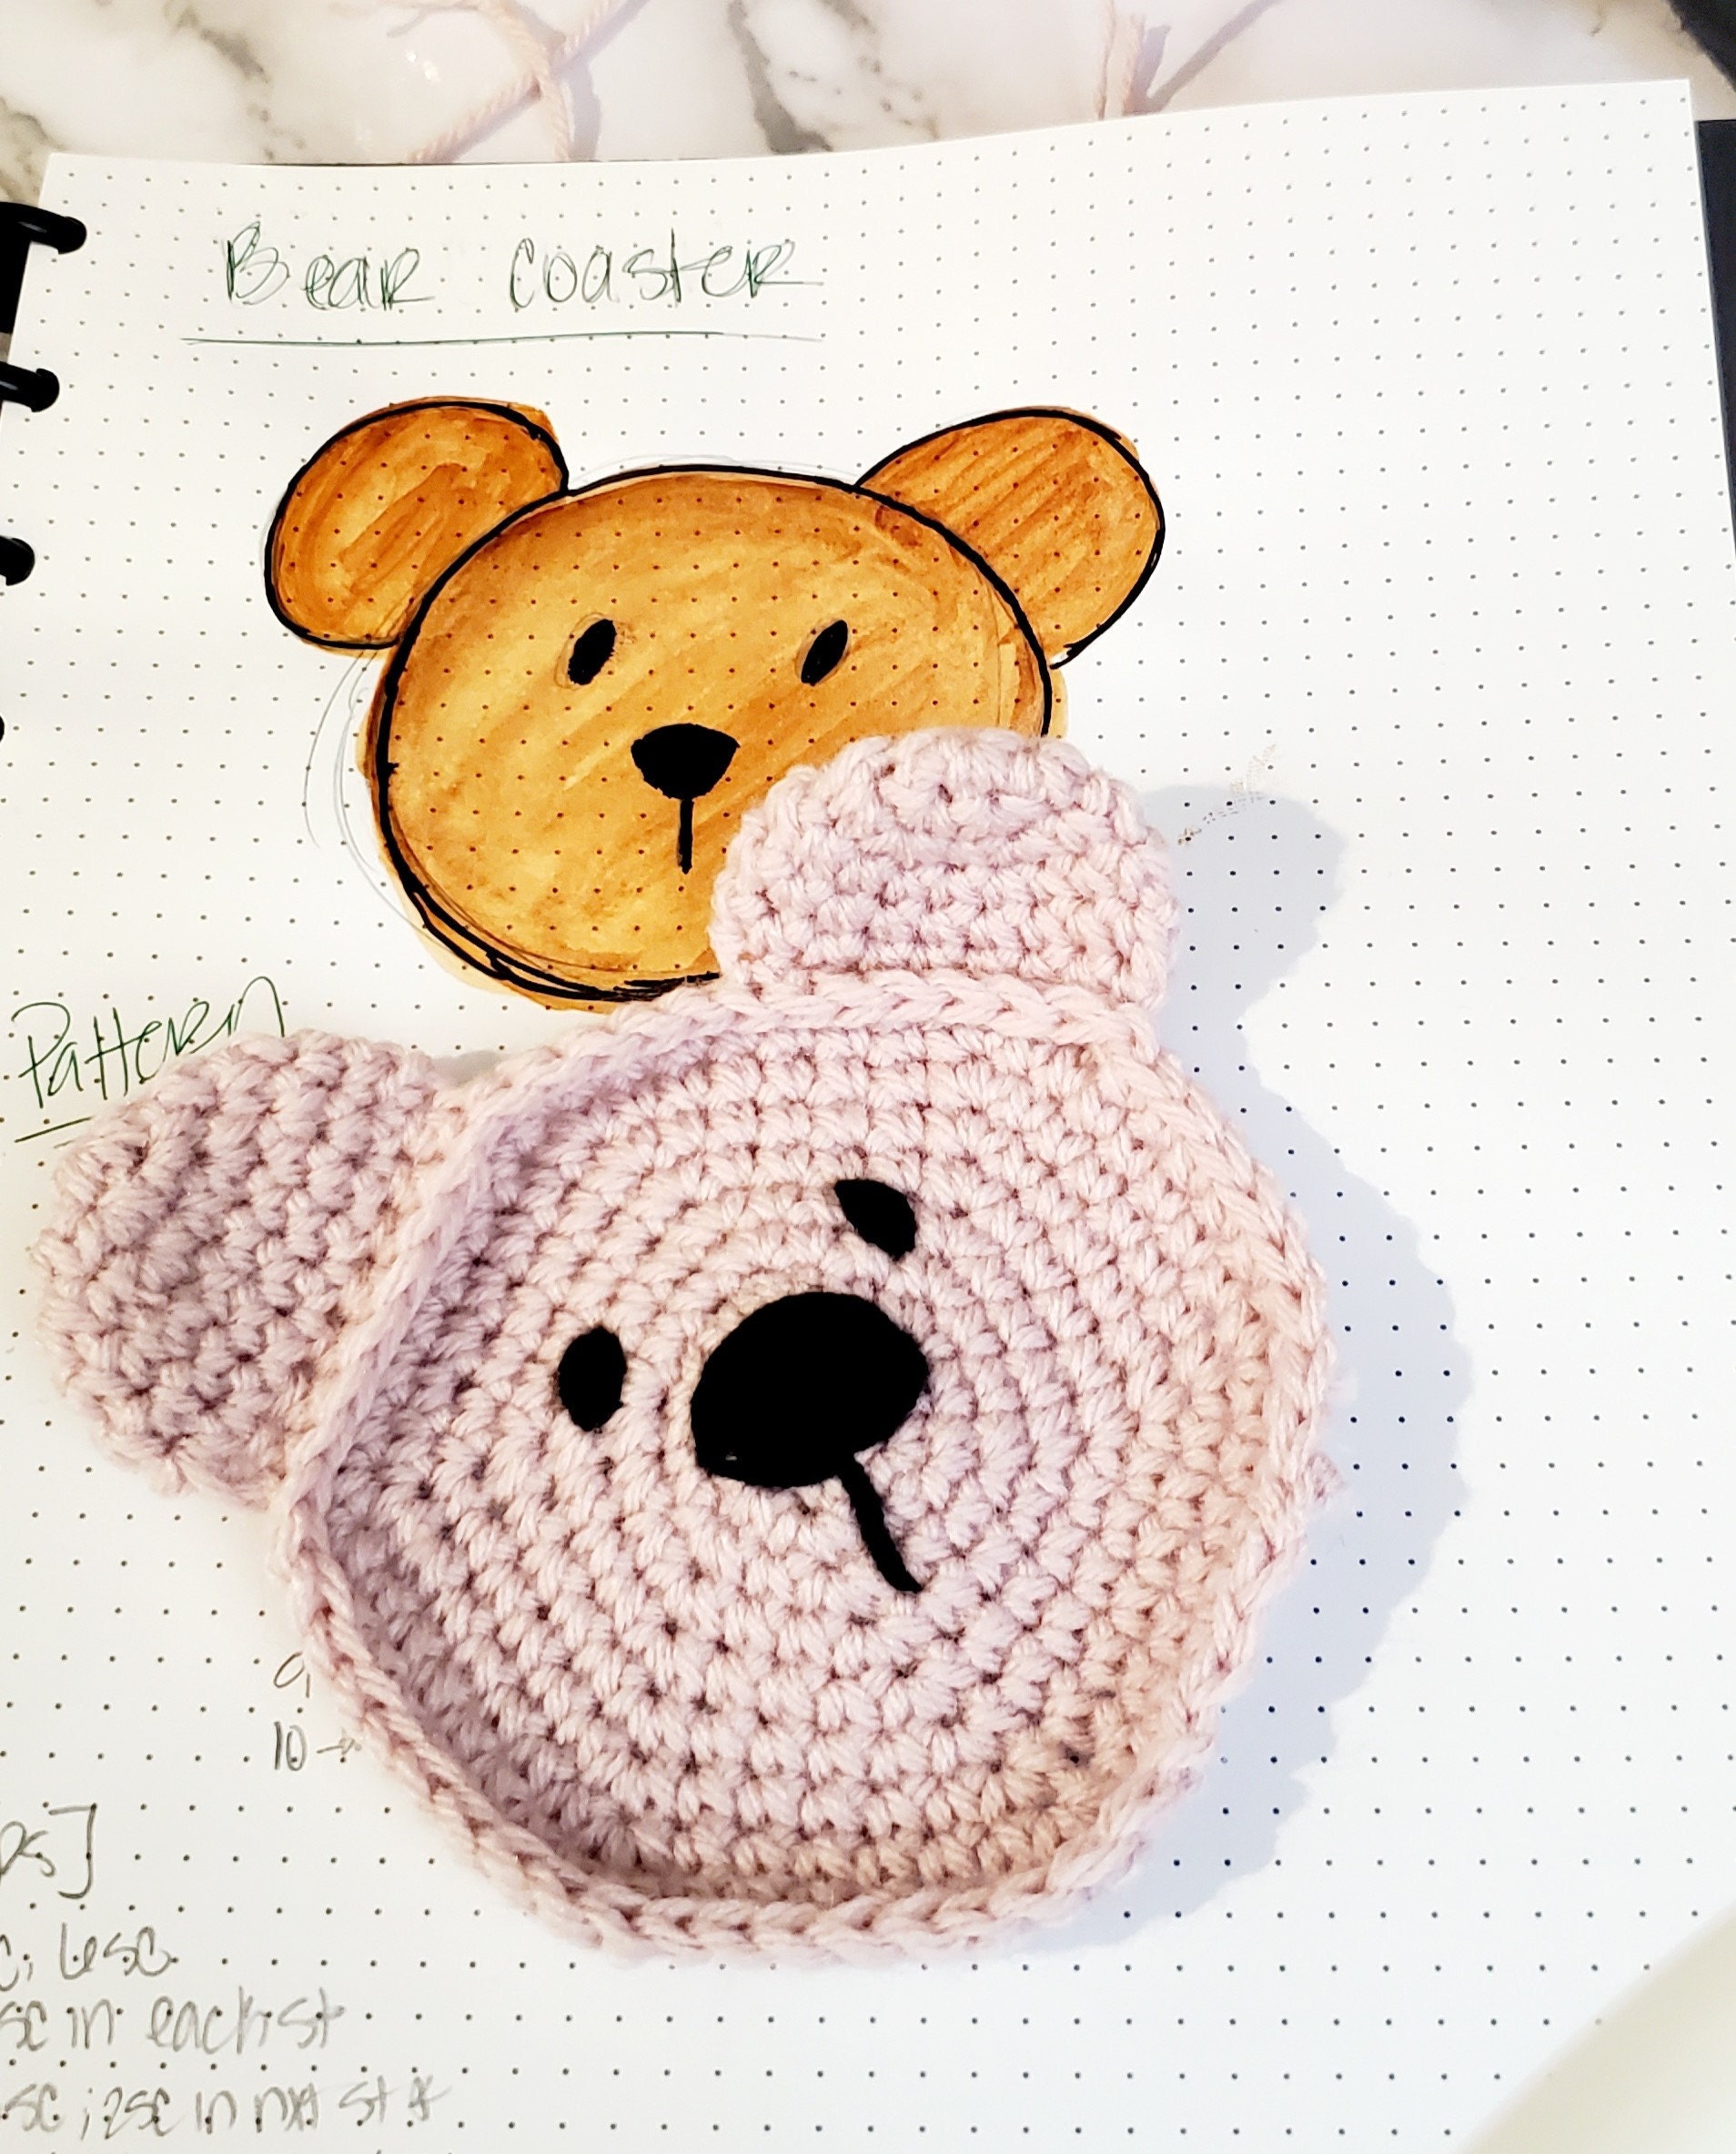
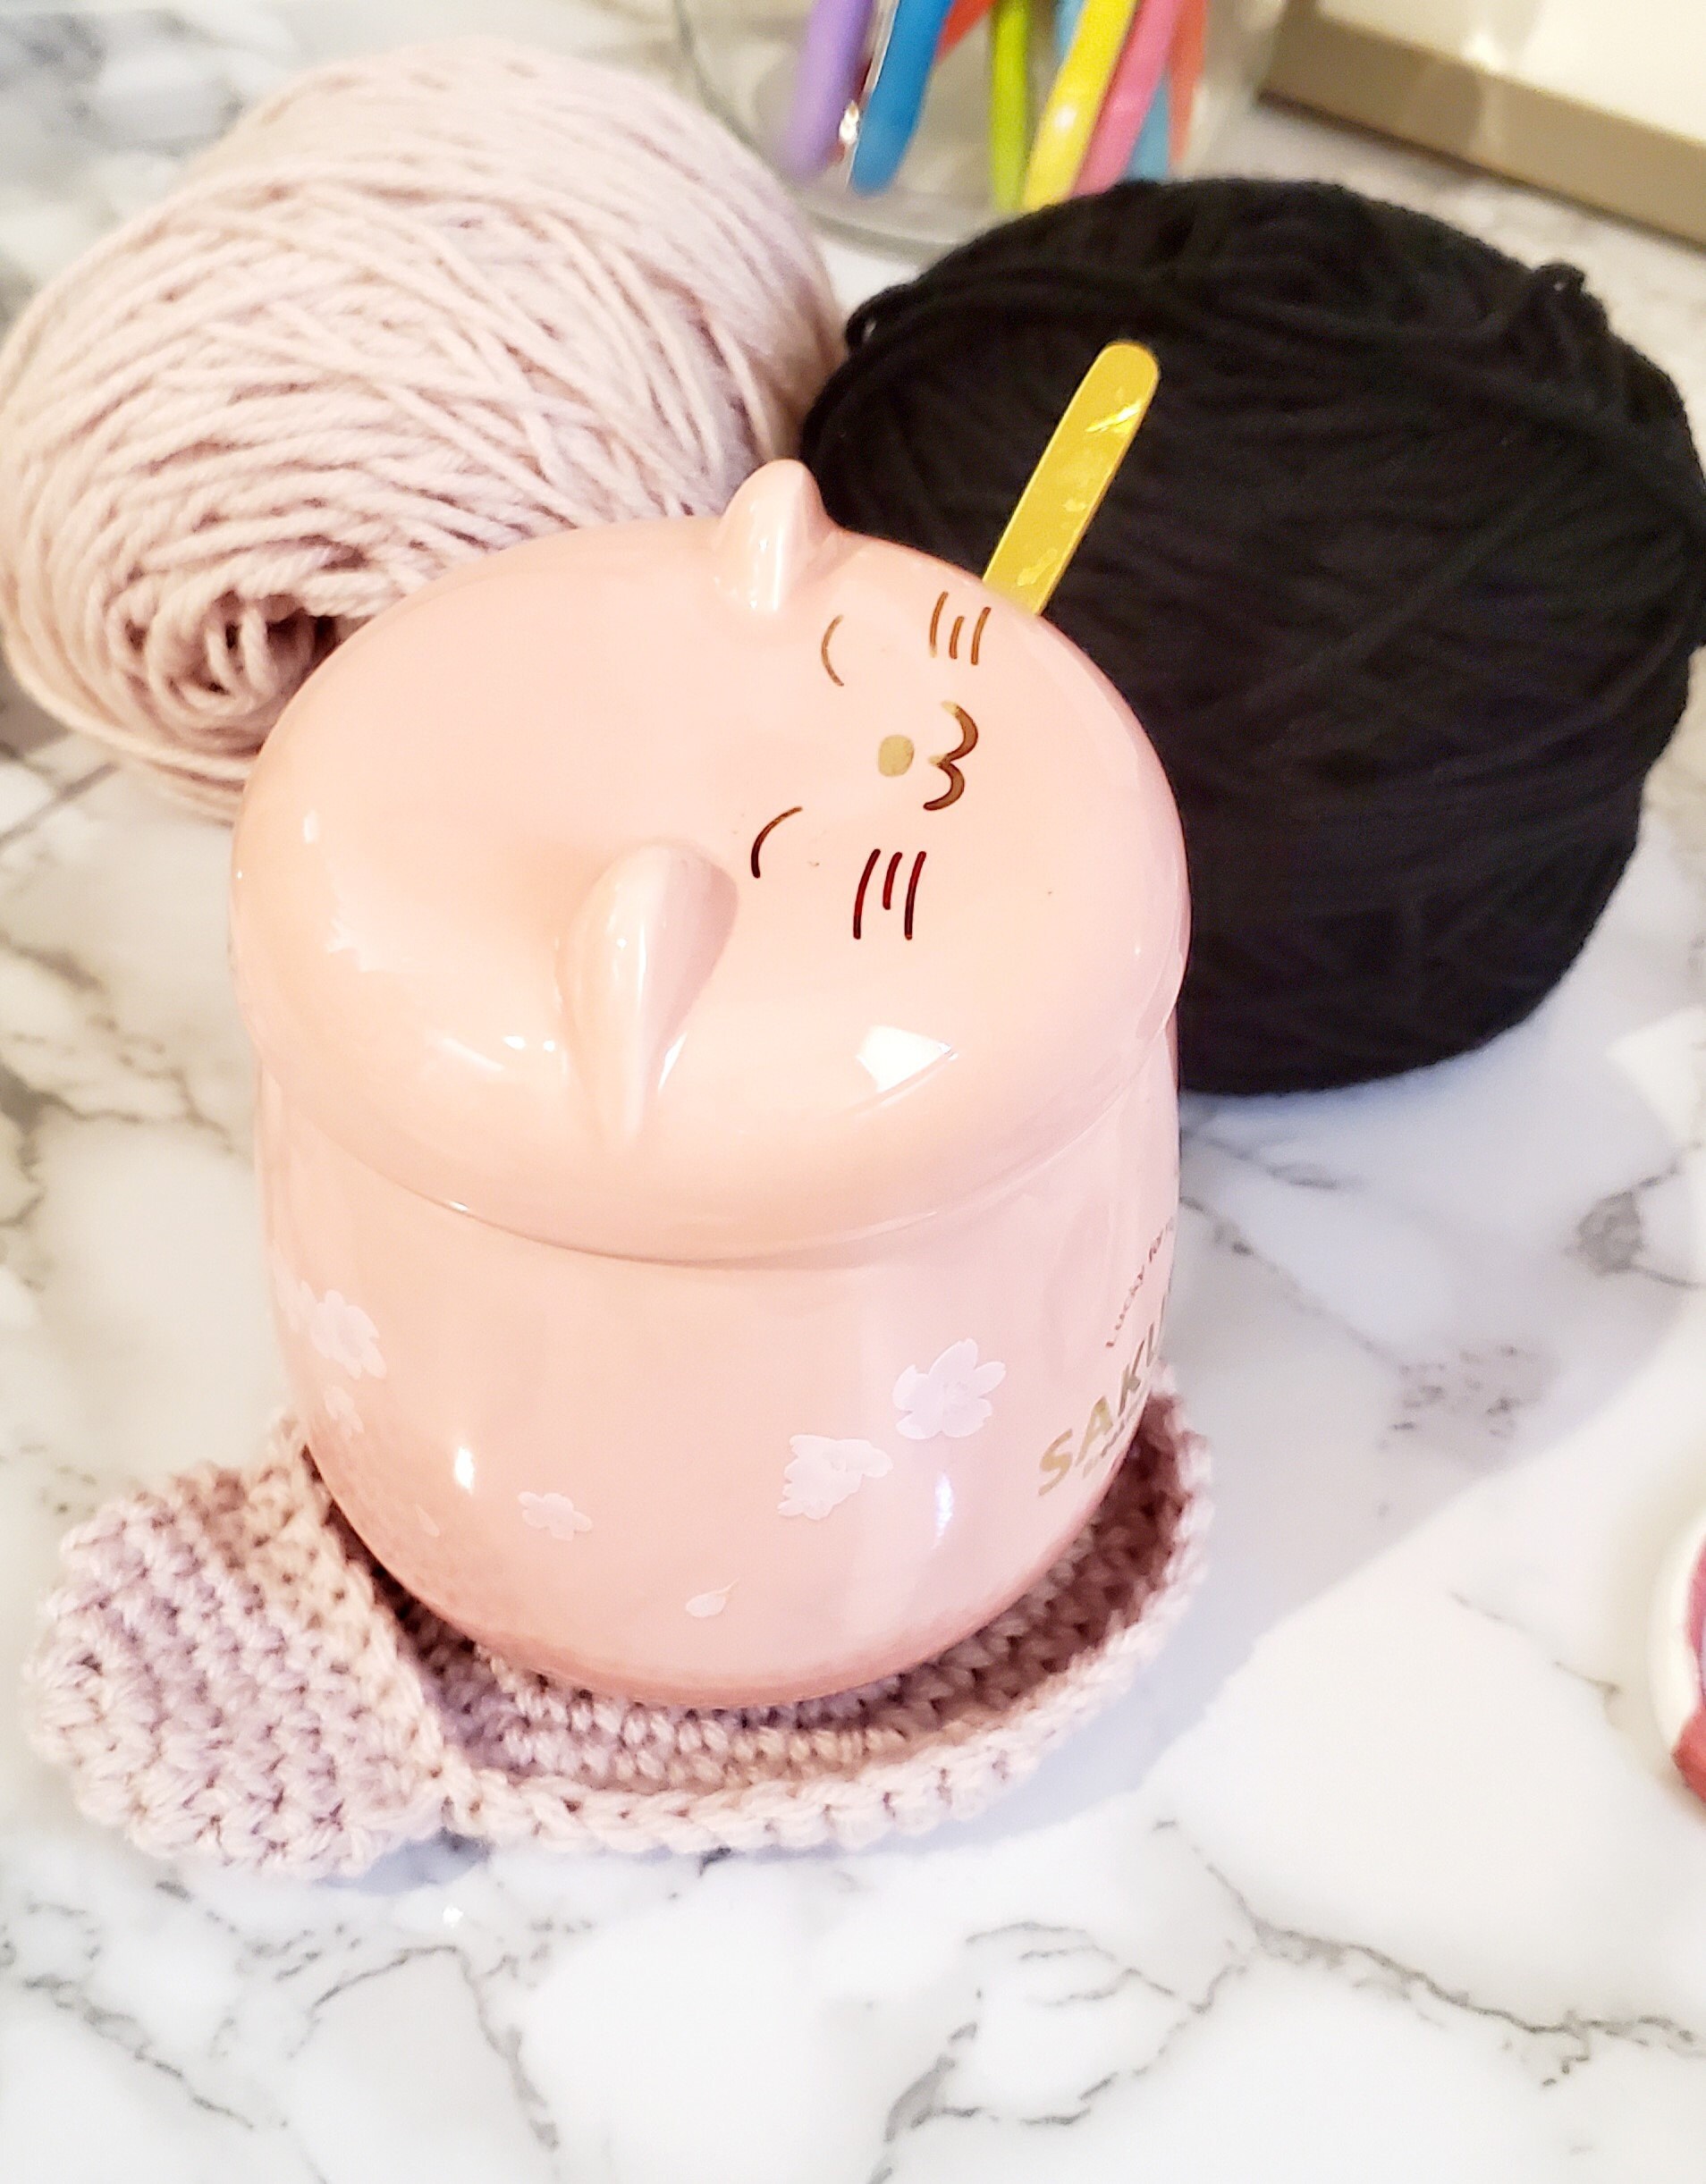
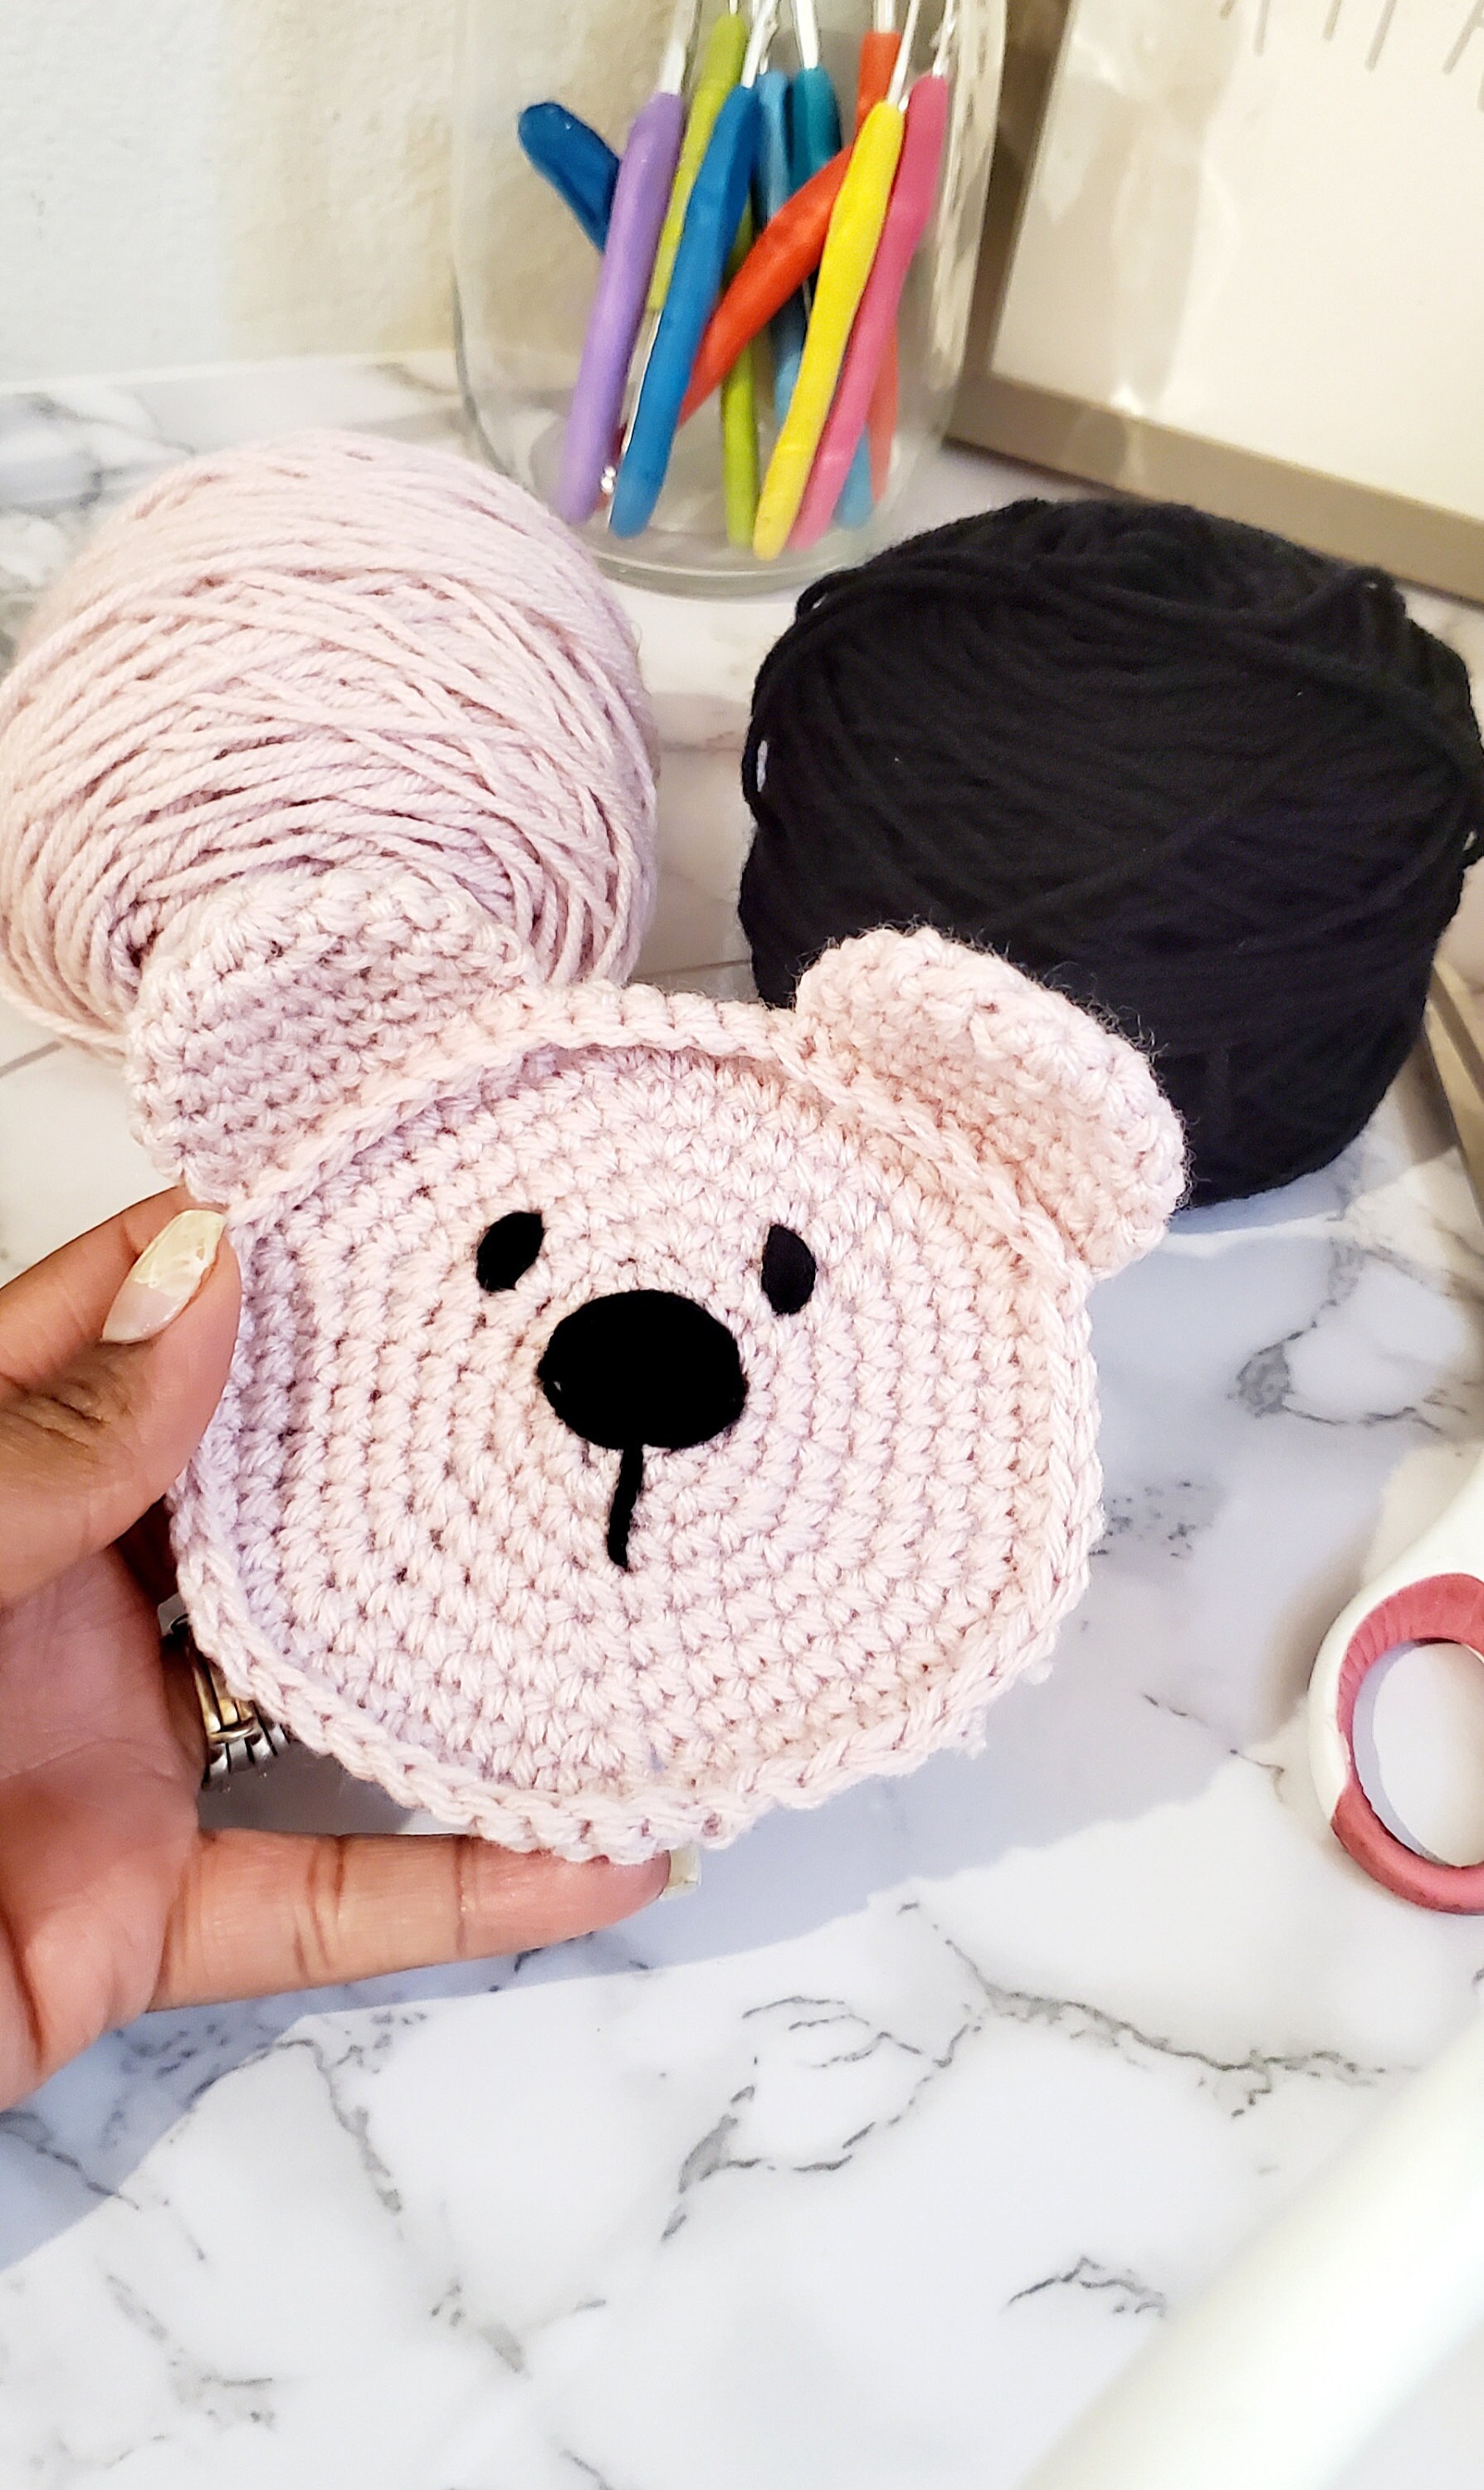
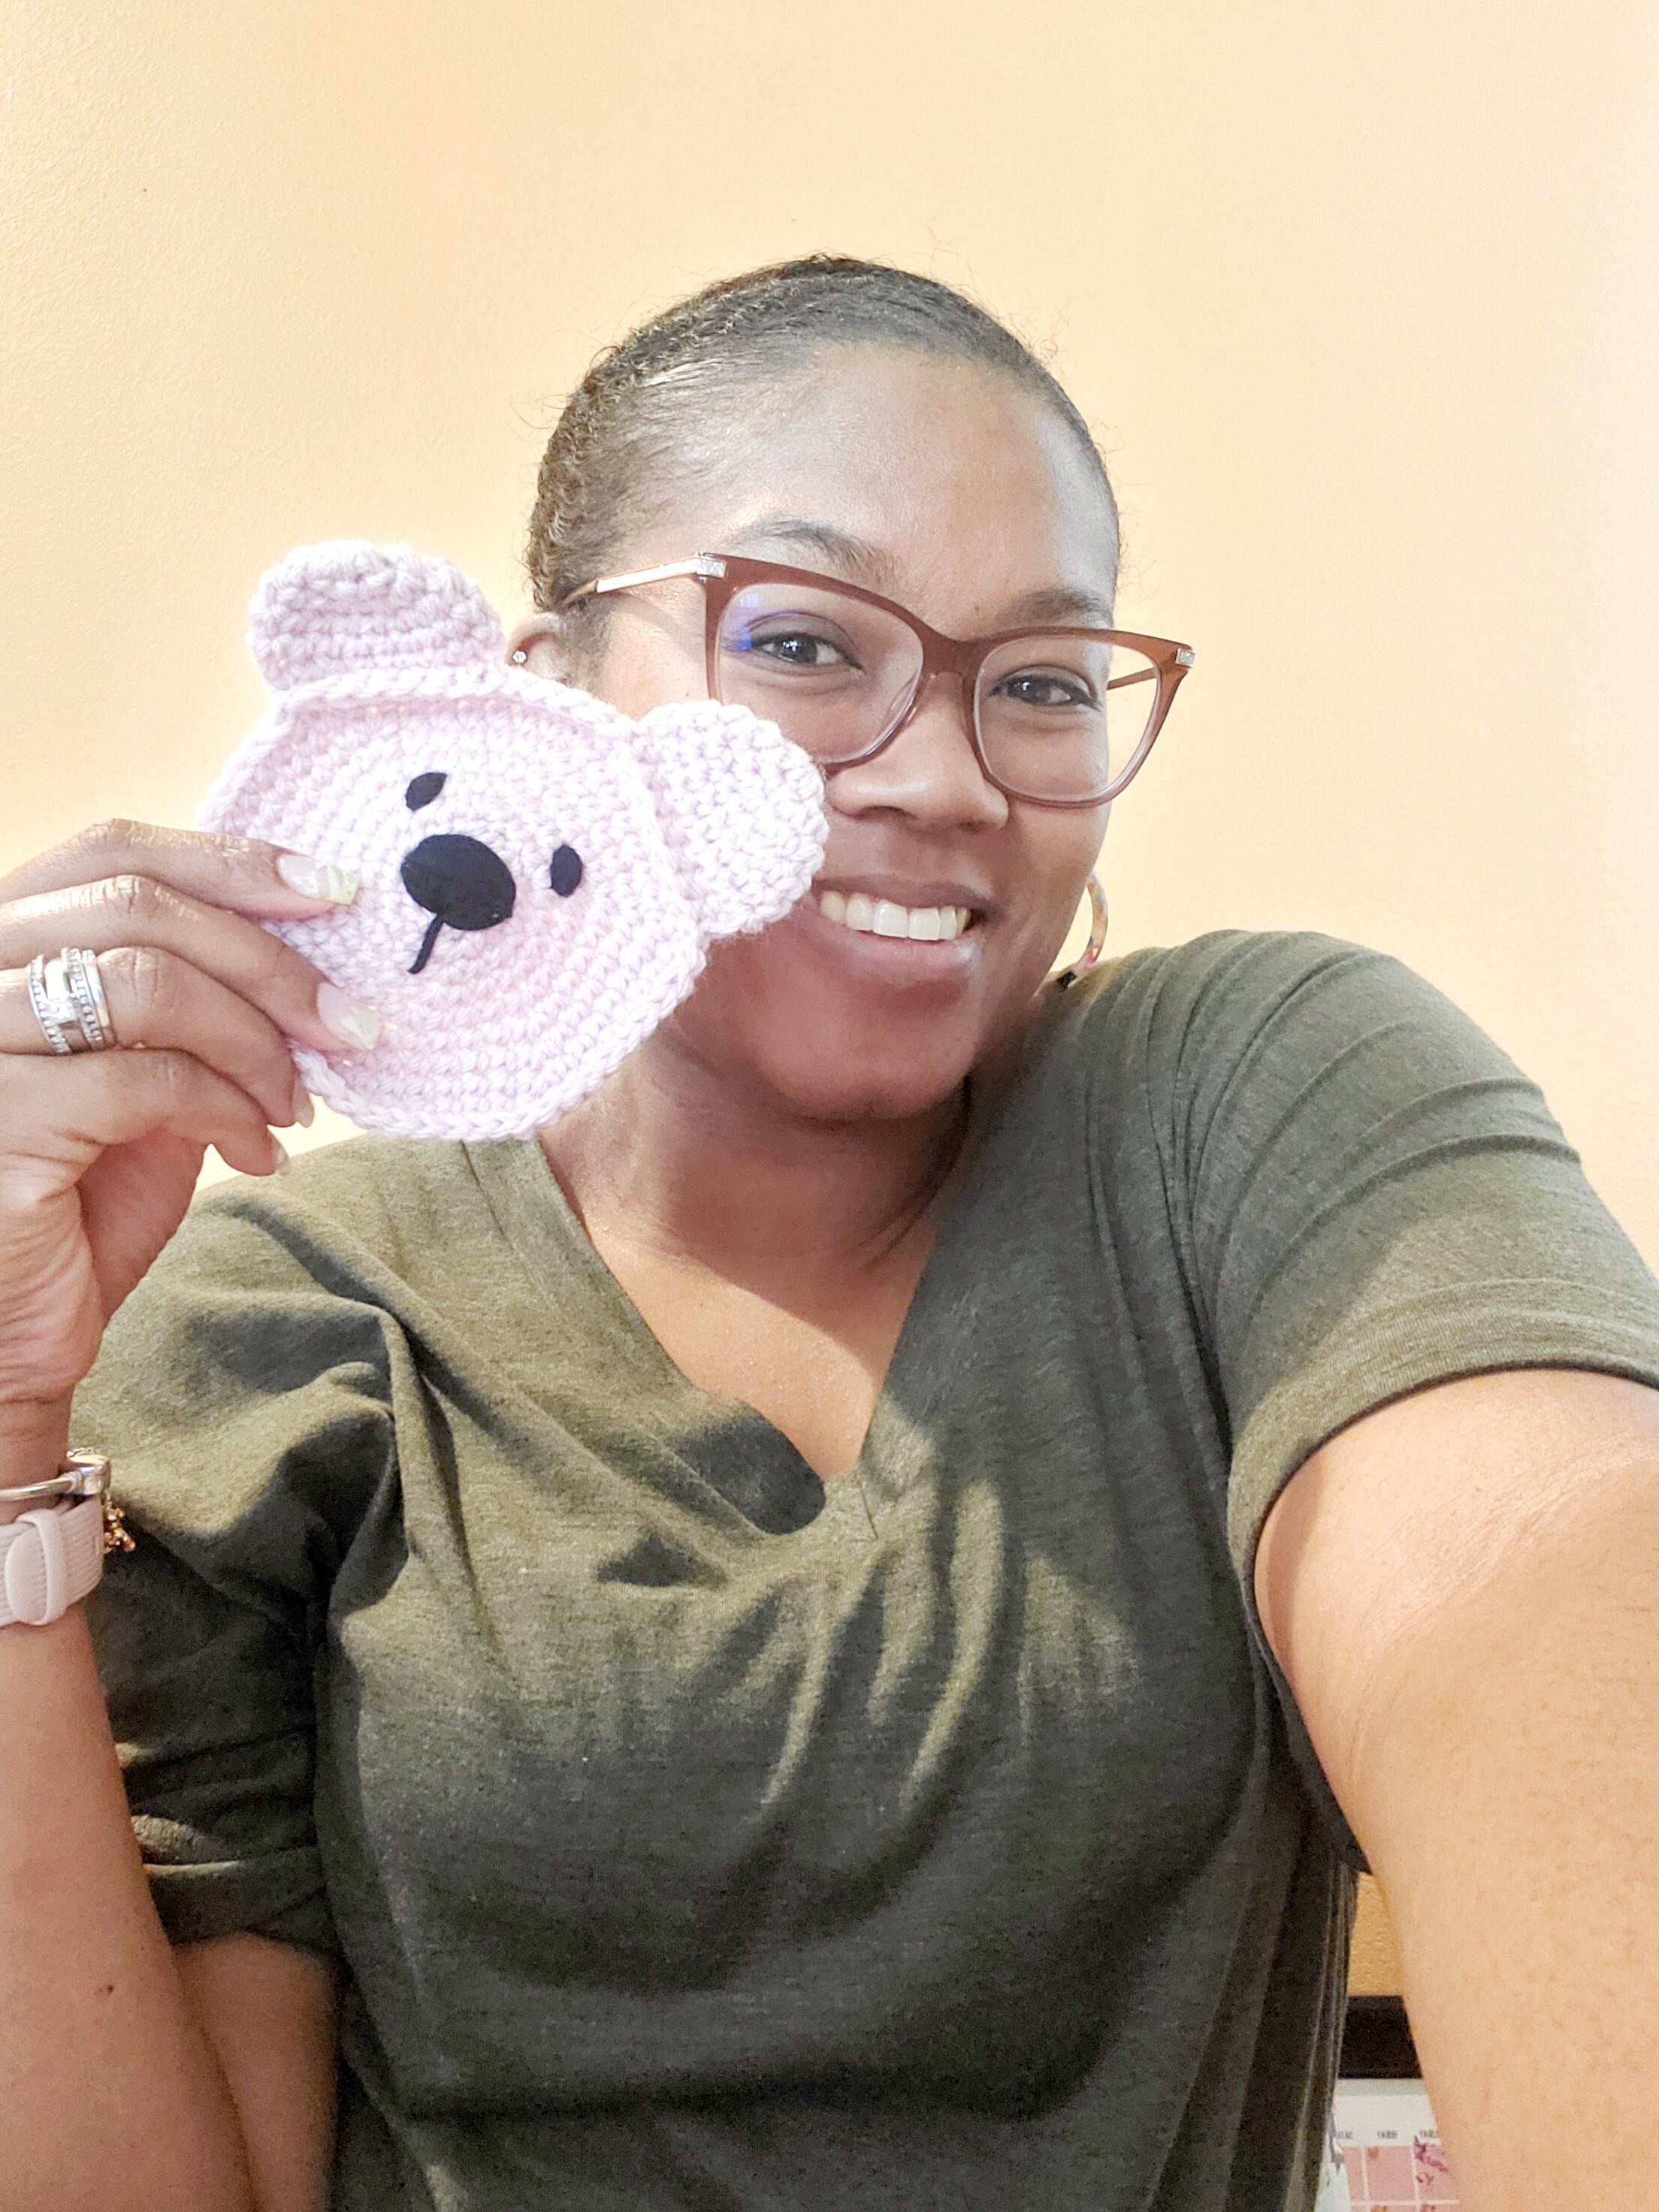
Passion Project round 2 is here! Introducing…The Crochet Bear Coaster.

I recently changed my office decor. That being said, the free coasters I snagged from the last craft fair didn't really make the cut in terms of aesthetics. So, I decided to make my own from scrap yarn I had on the yarn wall. I also created a simple pattern, one that I’ll go ahead and share with ya’ll (only because I like you lol).
If you have been following our IG page (@zumamiko) and our blog (zumamiko.com), you’ll remember that I started the “passion projects” as a means to get back to the love of crocheting. That’s not to say that the love ever really left, but sometime when orders pile up and “business stuff” bookends the creating process, passion sometimes takes a bench seat. I don’t like that feeling.
Passion Projects this year are meant to be light, fun, and QUICK. The patterns are meant to be super simple and shouldn’t take too long to re-create. For now, all the passion project patterns are free, so have fun with it!
This is the first time in all of history that I am sharing patterns, so please post pictures, links to your post, feedback, anything that will support the cause! Thanks in advance =).

The Crochet Bear Coaster
Materials:
- 4.5 mm crochet hook
- Yarn needle
- Worsted Yarn Color #1(main color, I used a light pink)
- Worsted Yarn Color #2 (for the eyes and nose, I used black)
- Stitch marker
Abbreviations:
MC = Magic Circle
SC = Single Crochet
St = Stitch
FO = Fasten off
** = repeat pattern between the asterisk
Pattern:
Head
Row 1: MC, then 6sc into the center of the circle
Row 2: 2sc in each st
Row 3: *1sc then 2sc in the next st*
Row 4: *2sc then 2sc in the next st*
Row 5: *3sc then 2sc in the next st*
Row 6: *4sc then 2sc in the next st*
Row 7: *5sc then 2sc in the next st*
Row 8: *6sc then 2sc in the next st*
Row 9: *7sc then 2sc in the next st*
Row 10: 1sc in each st
FO
Ears (make 2)
Row 1: MC, then 6sc into the center of the circle
Row 2: 2sc in each st
Row3: *1sc then 2sc in the next st*
Row4-5: 1 sc in each st
FO
Eyes, Nose, and Ears:
Embroider eyes between rows 4 and 5, about 5 stitches apart
Embroider the nose from about row 3 and pull into the center of the MC
Place the ears about level with the eyes, about 5 stitches apart
[If you are a bit confuddled on how to insert the eyes and nose, check out our IG story for videos on what this process looks like.]

You are all done my friend! Now let me seeeeeee =)
Remember, creativity is your friend. Don't to afraid to switch this thang up. Change the color, make it bigger or smaller by following the trend in the pattern. Here are some tips:
To make smaller - stop at which ever row is the right size for you and skip to Row 10
To make bigger - add on after Row 9 with *8sc then 2sc in the next st* then *9sc then 2sc in the next st* and so forth until its the size you want. Finish with 1sc in each st and FO.
If that make no sense to you AT ALL, it's okay. Reach out to us at any time and we are happy to help. Connect in the comments or drop us a dm on instagram @zumamiko
You are welcome to sell anything you make from this pattern, but please credit "zumamiko" as the original creator. Thanks a ton!
