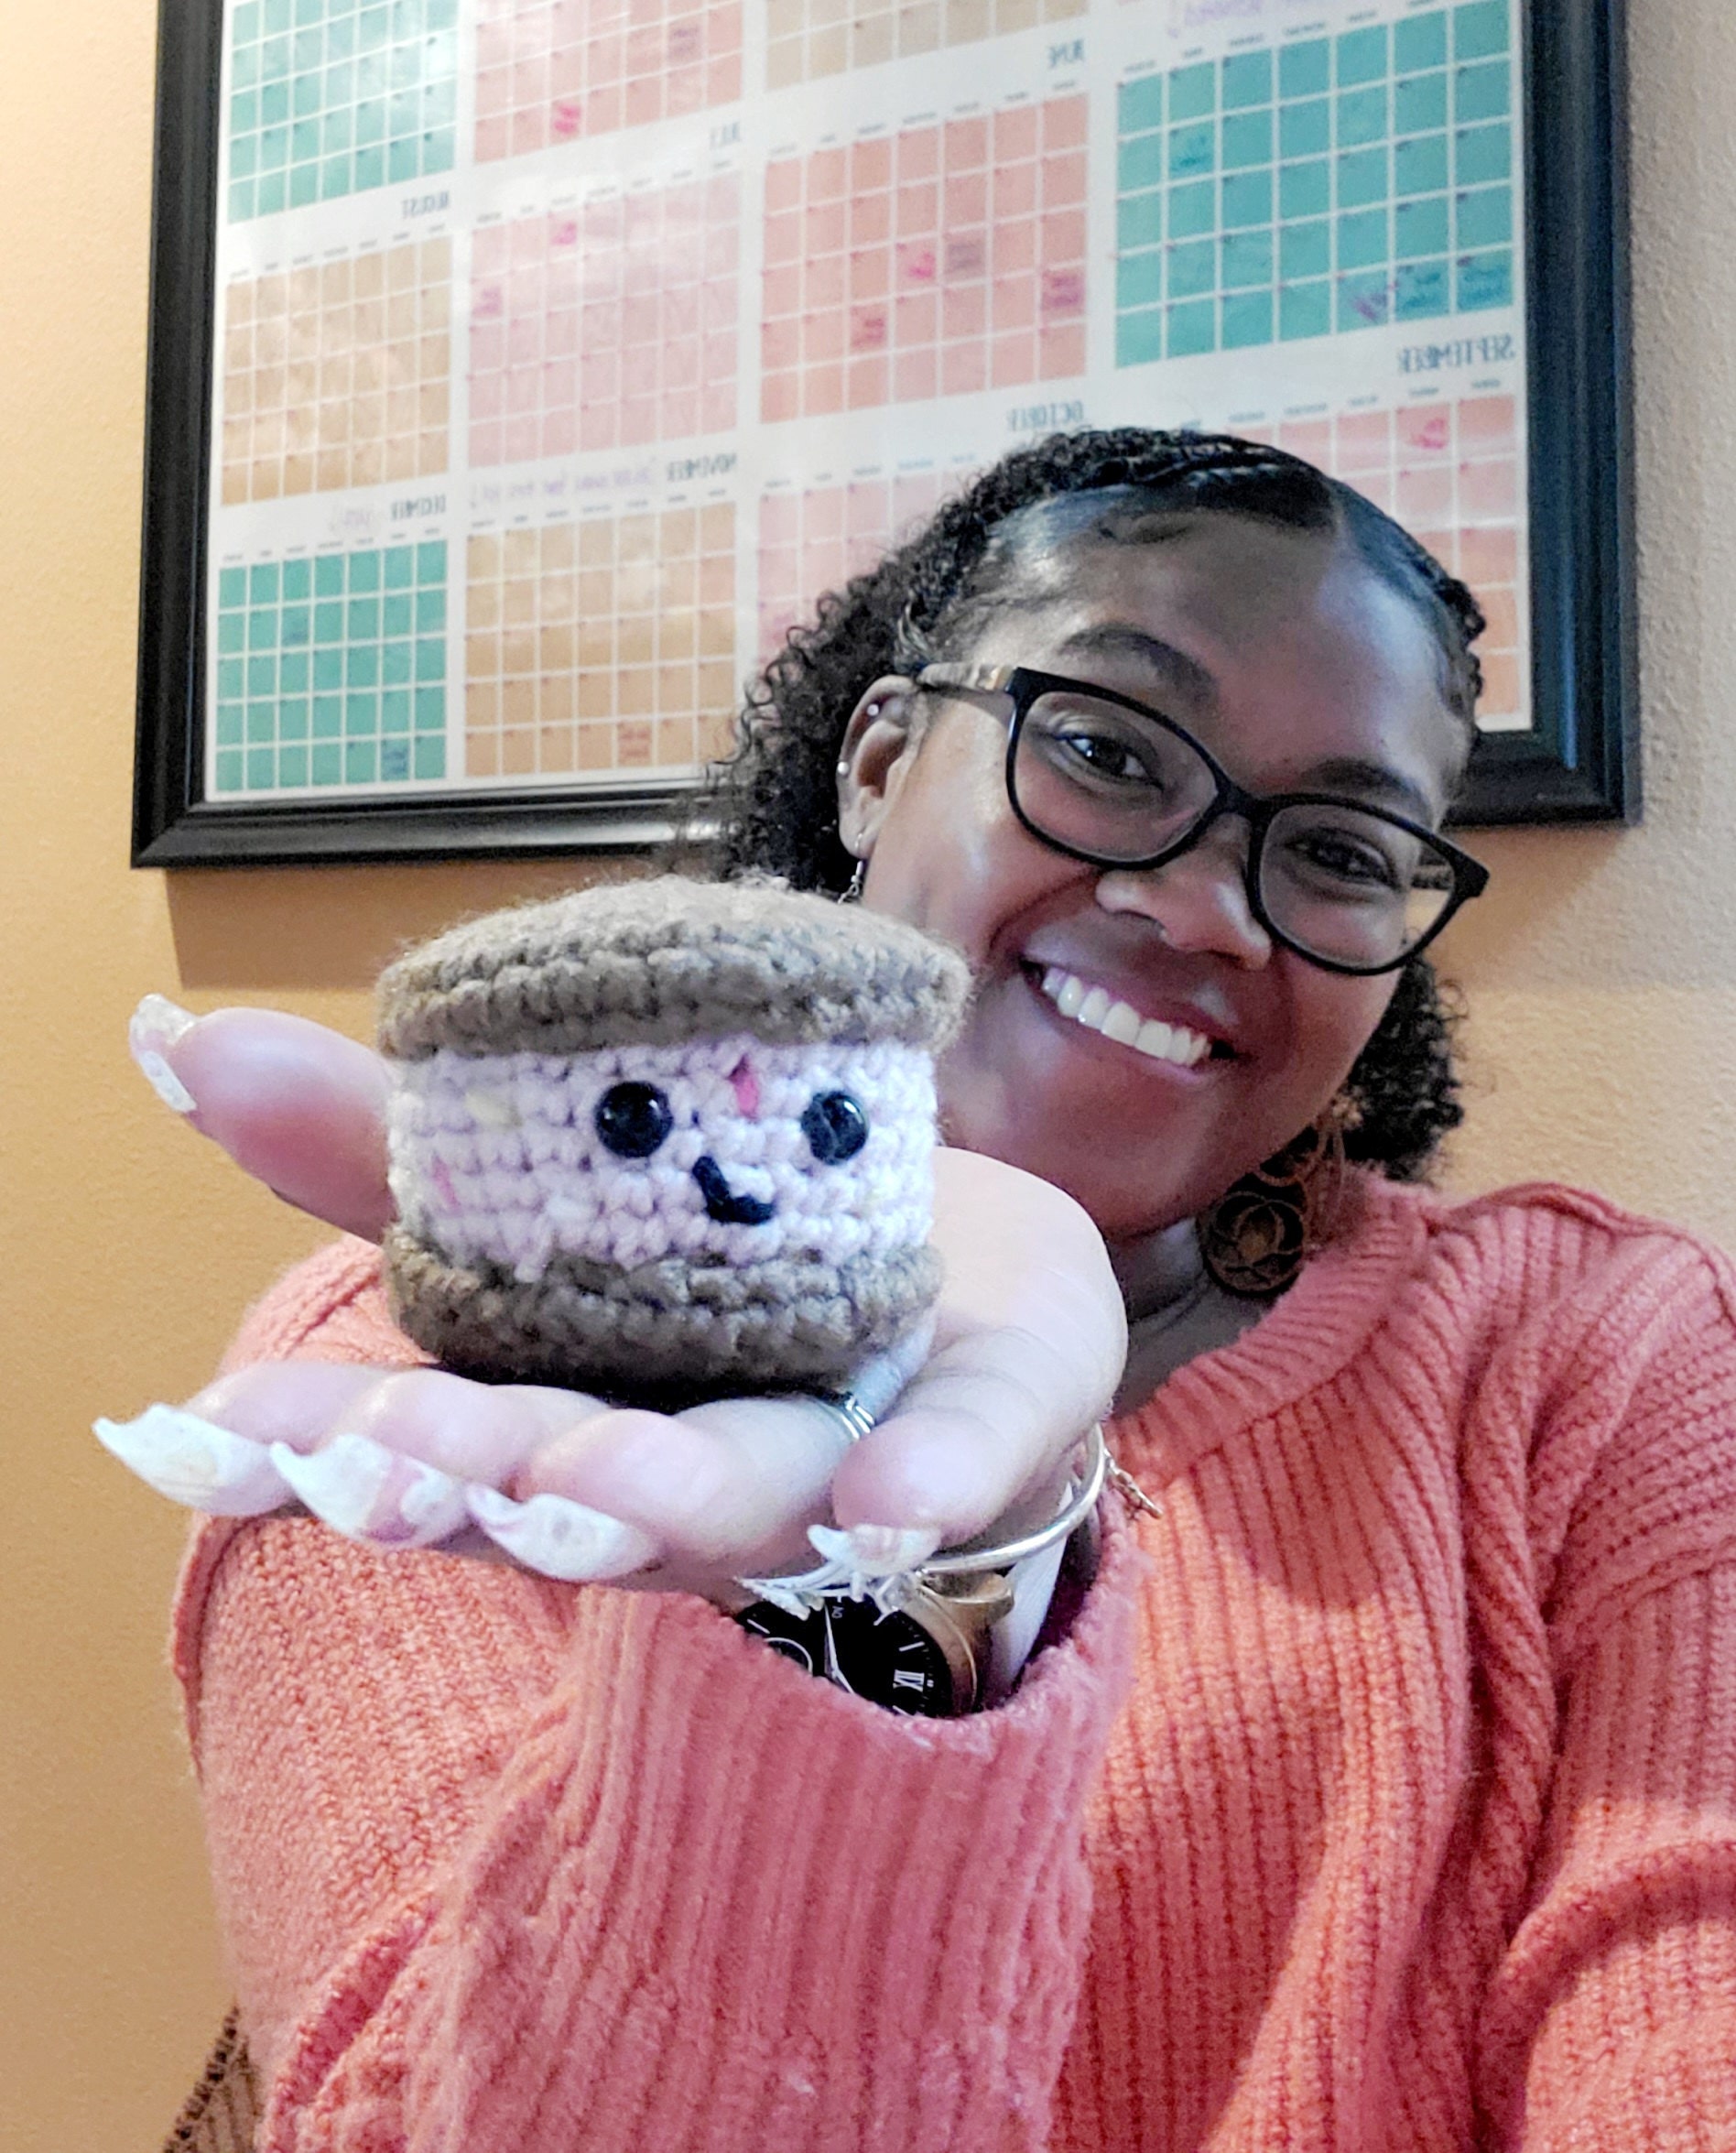
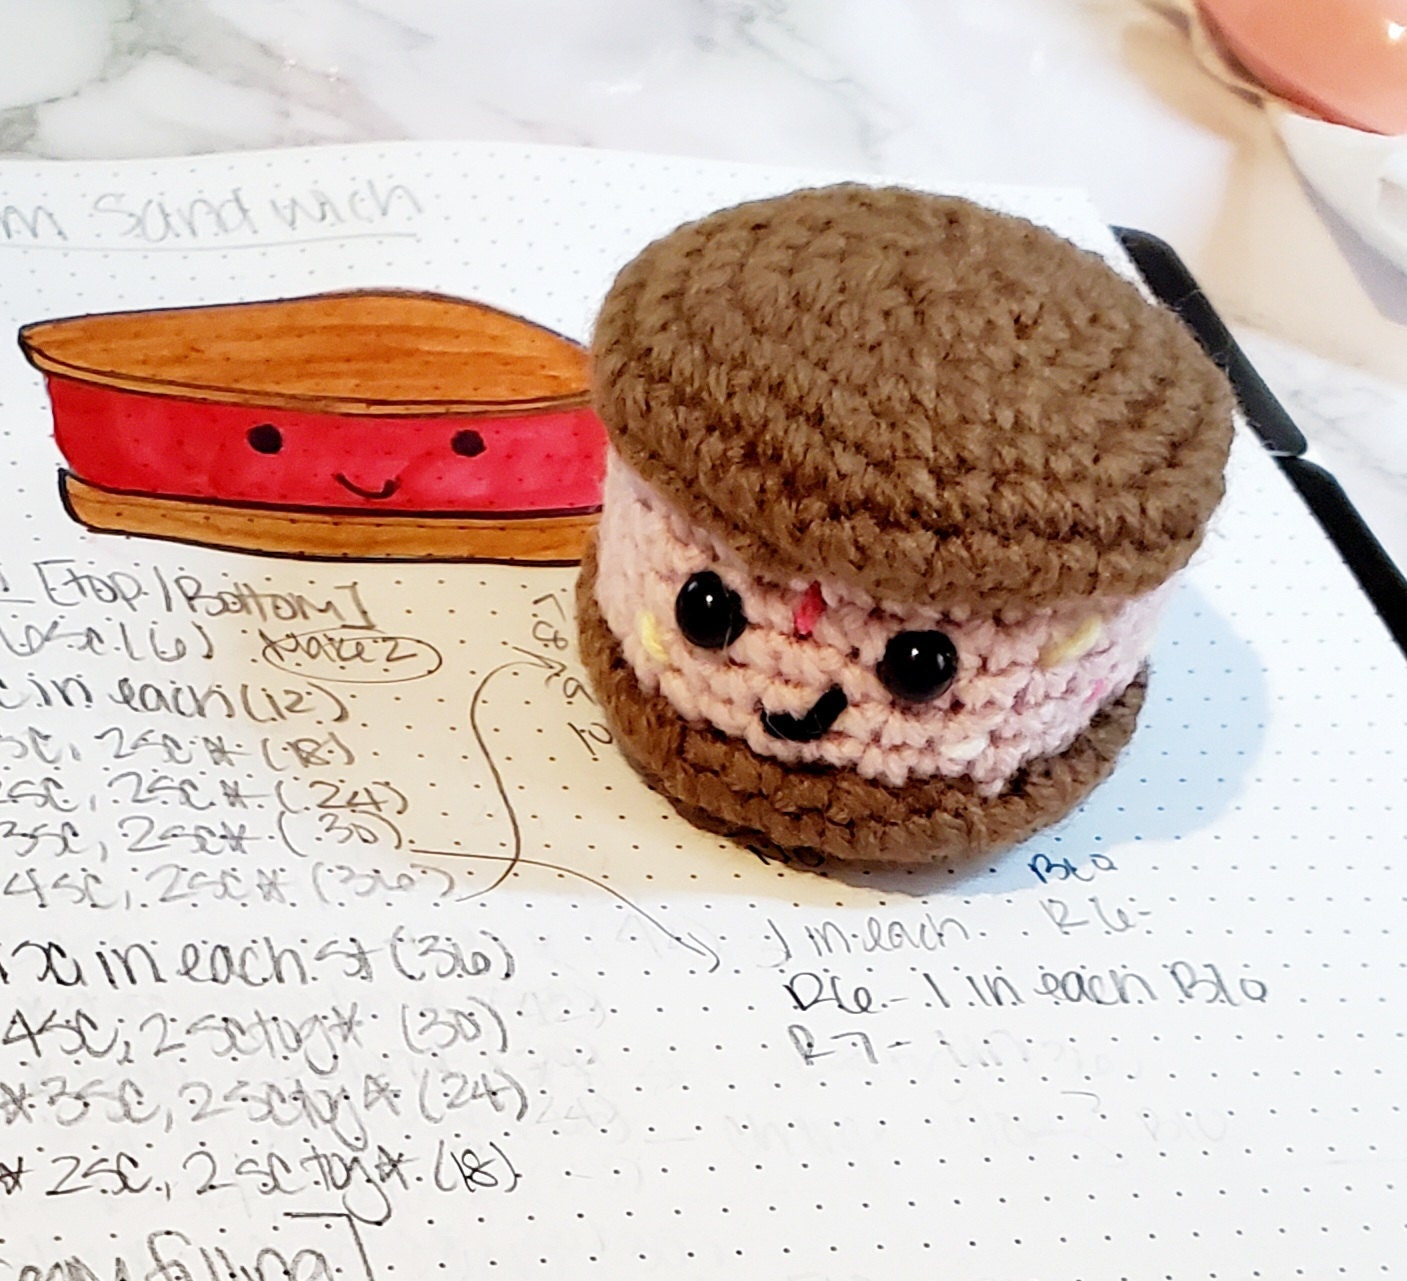
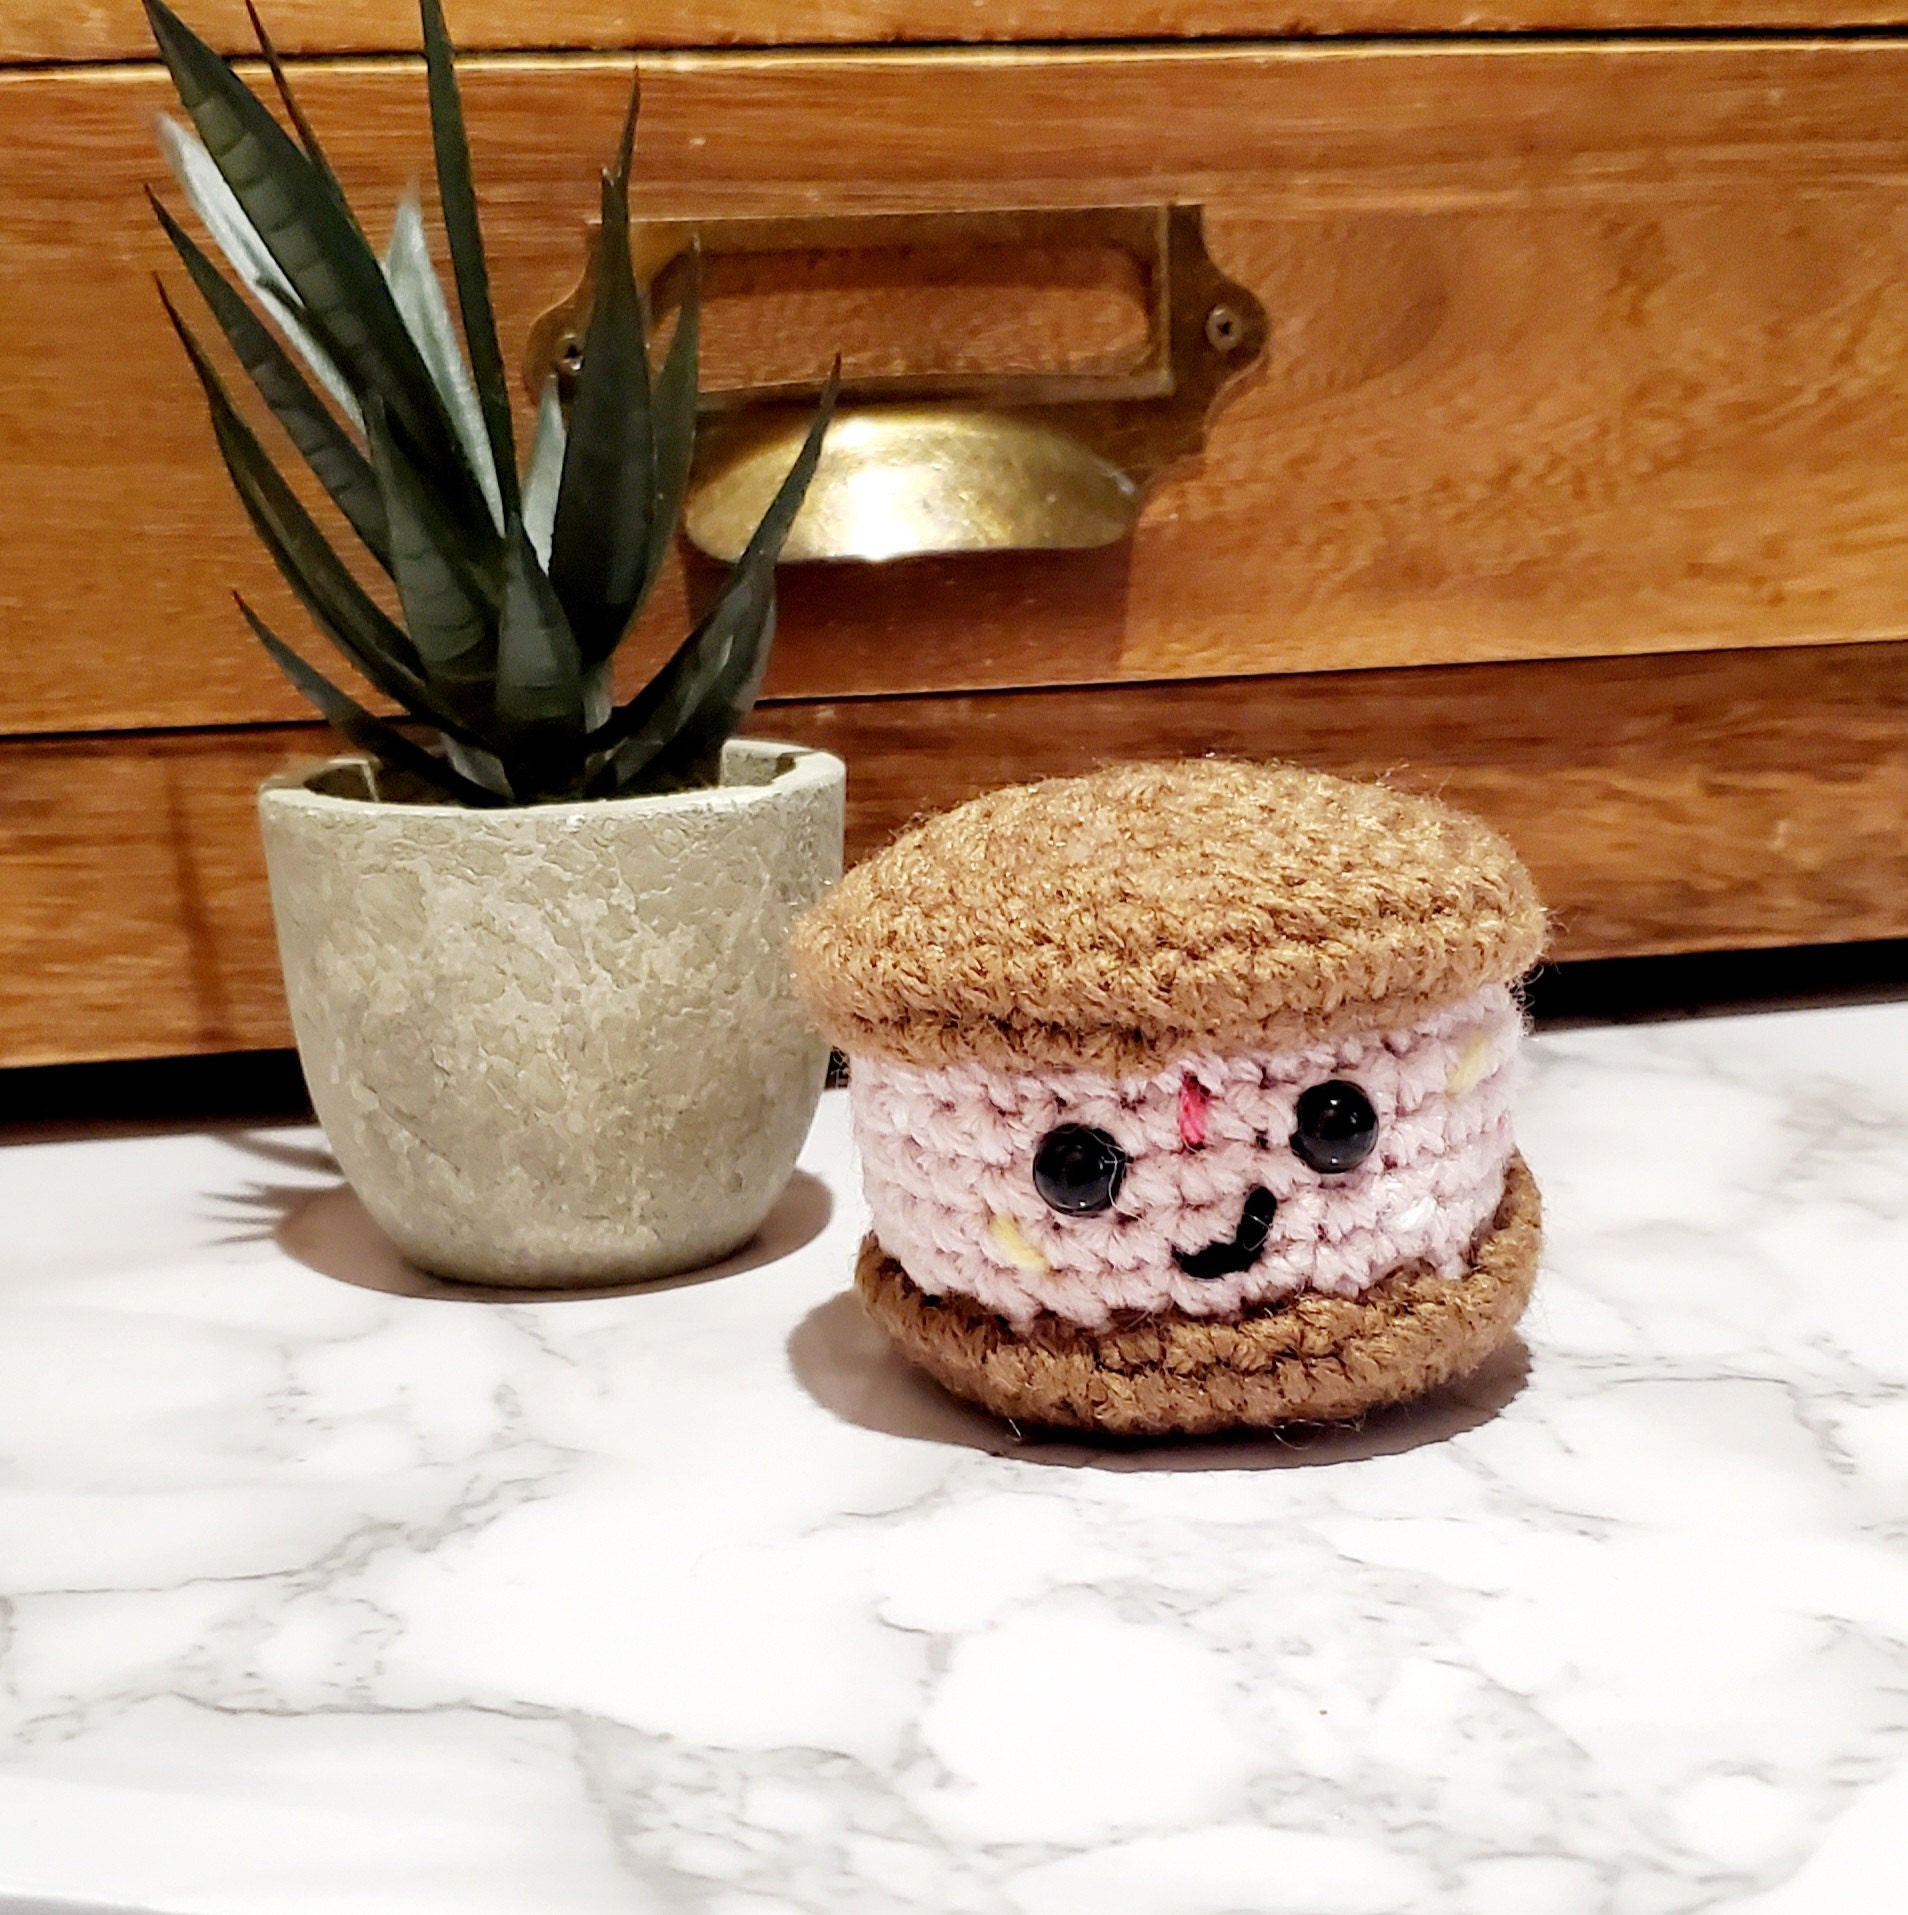
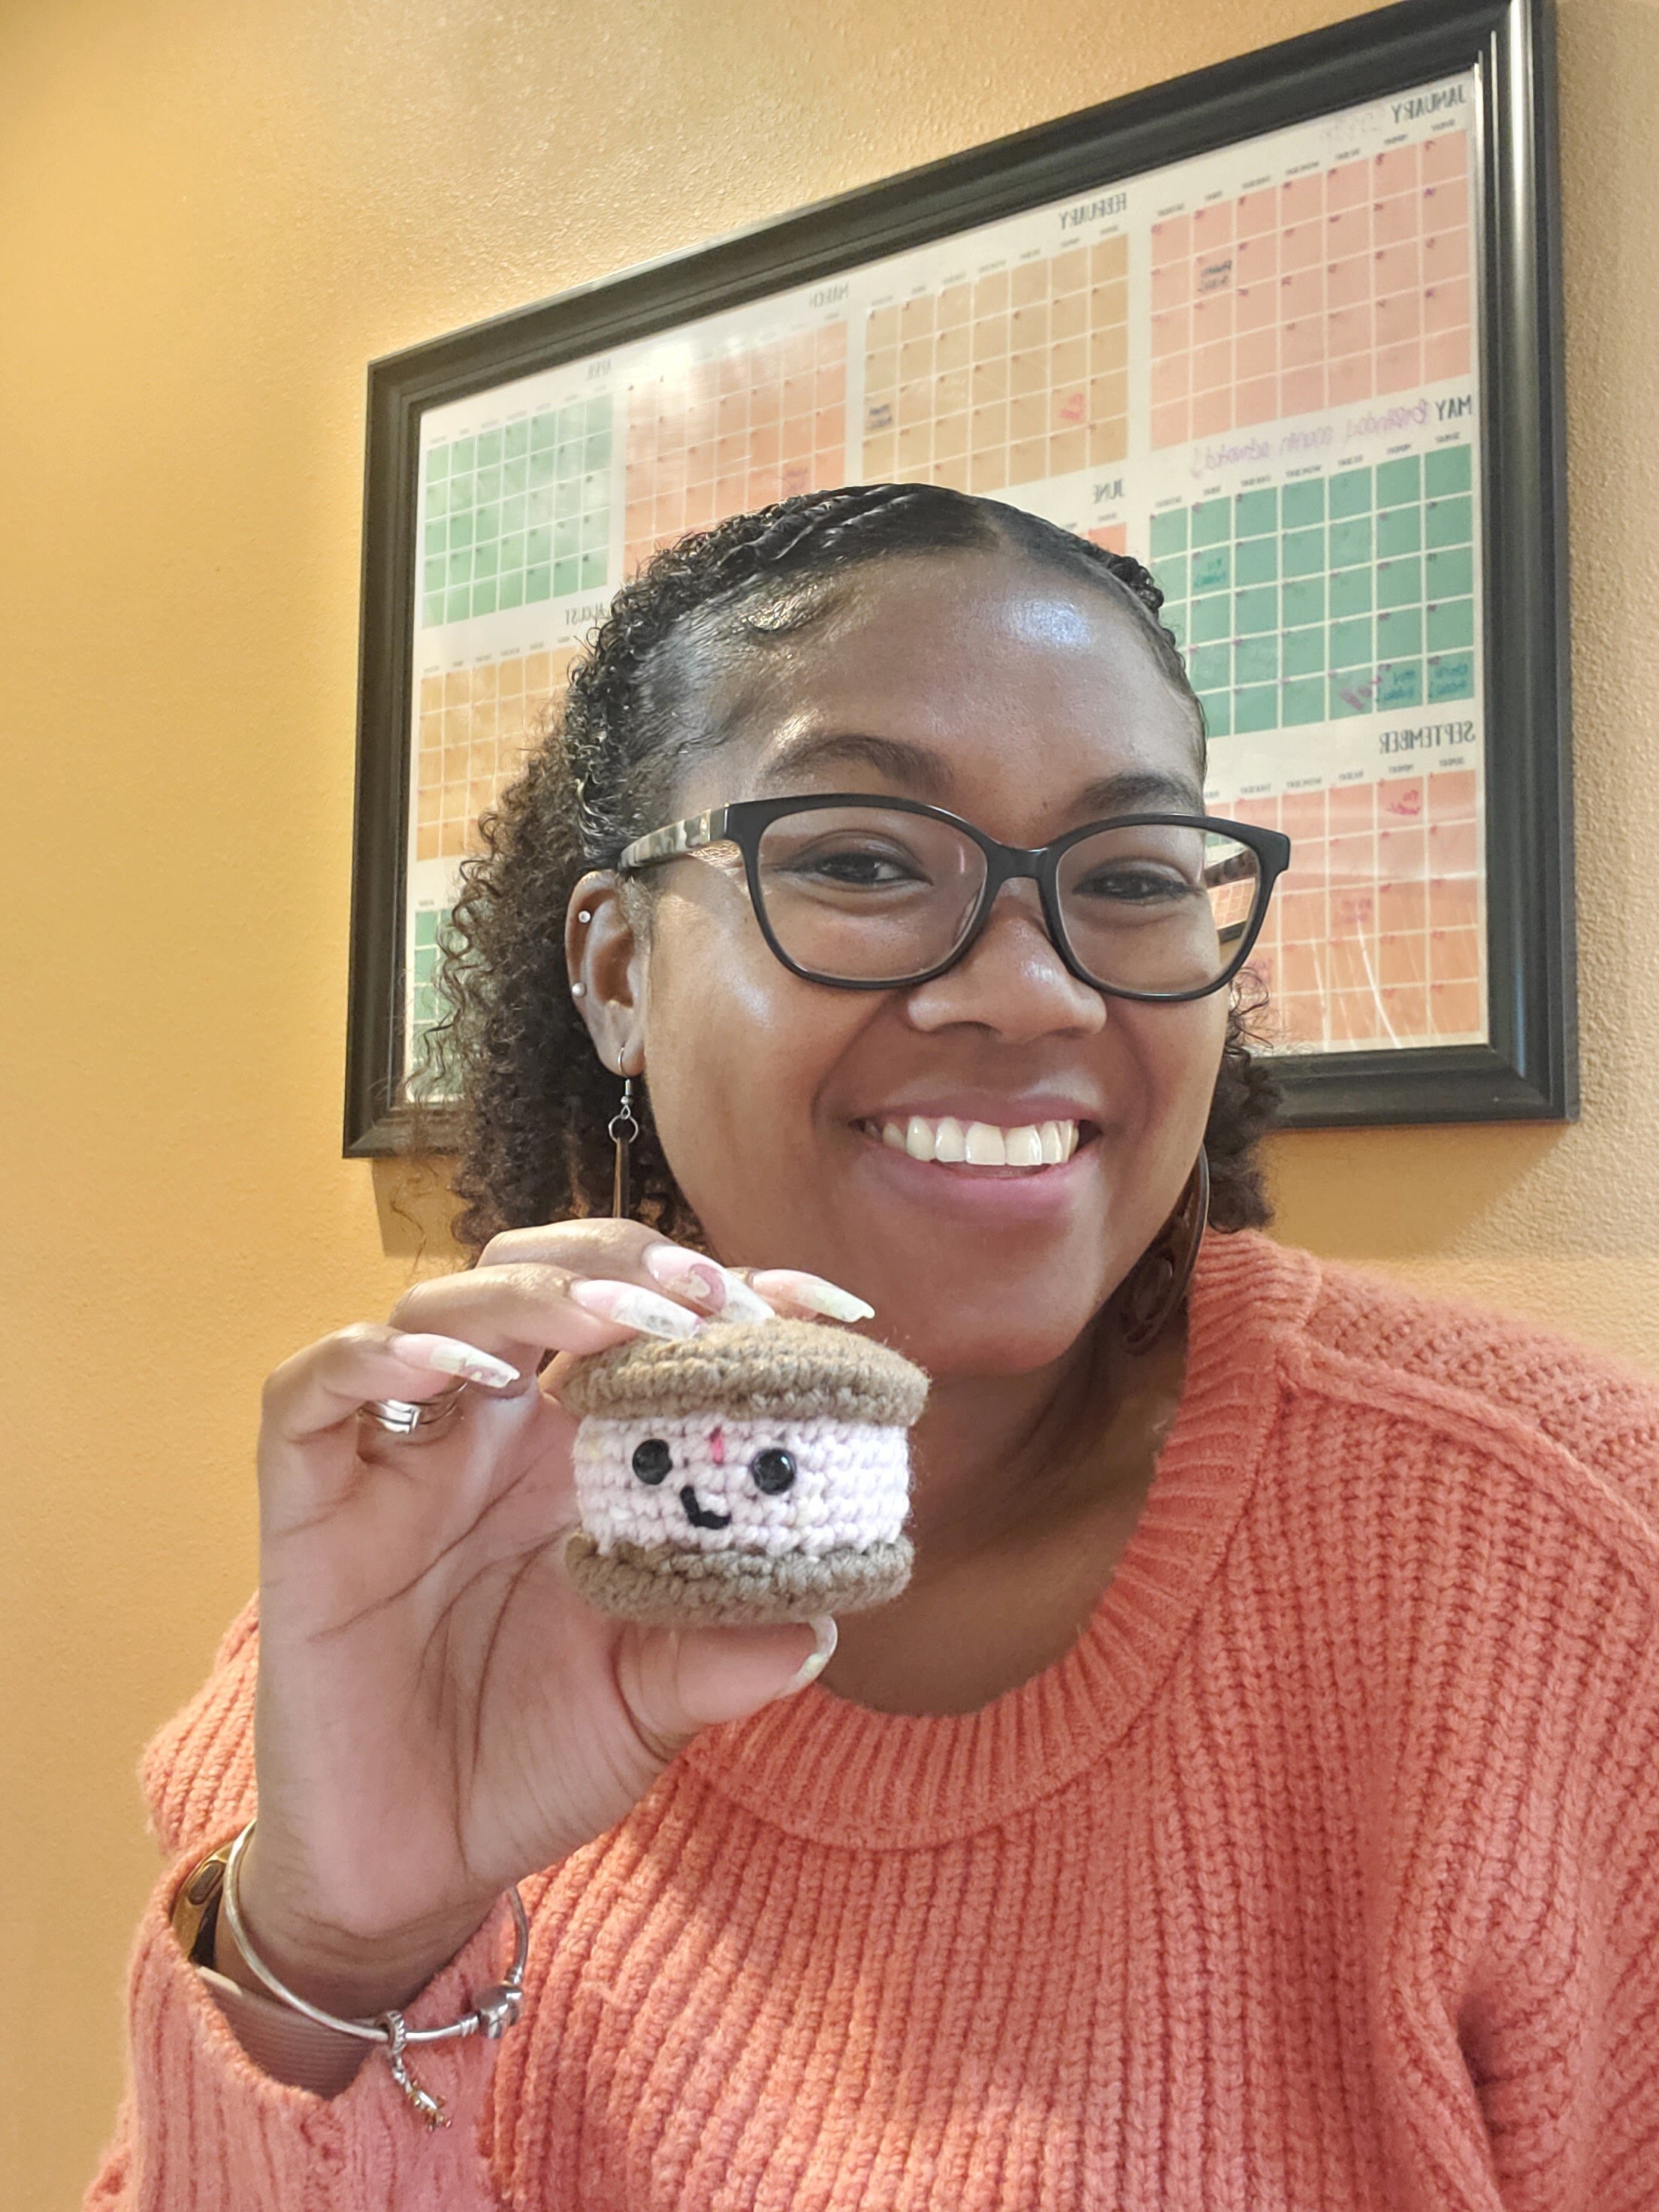
Oh, my goodness, it is April already?!? If you are just joining the Passion Project train, these patterns are designed to be free, quick, and easy to share my love and passion for the art of crocheting with others. Everything is better with community, right?
For the month of April, I created a Kawaii Ice Cream Sandwich. In case you are curious, Kawaii (not Hawaii, lol) is “cute” in Japanese. I try to incorporate my Japanese heritage as much as I can in my creative process as an ode of sorts to my grandmother who was a Japan native. So, this month, our pattern translated is a “Cute Ice Cream Sandwich.” 😊

I would say that I attached this creation to a bag, or have it propped on my desk as décor, but the truth is that my little one snagged it like 5 minutes after I made it. She policed the entire creative process and captured her treat as soon as I fasted off the last threat, lol. I hope you love yours just as much. Remember to tag, message, and post your creations. I want to see!!!!
Okay, now get your materials and get to creating!

Kawaii Ice Cream Sandwich
Materials
- 2 colors of worsted weight yarn (I used brown and pink)
- Yarn Needle
- 3.5mm crochet hook
- Polyfill stuffing
- Stitch markers
- Plastic eyes or black yarn to embroider the eyes
- Black yarn for the mouth
Abbreviations
MC = Magic Circle
SC = Single Crochet
St = Stitch
FO = Fasten off
SCTOG = single crochet two stiches together
SC INC = 2 single crochets in one stitch
** = repeat pattern between the asterisk
Pattern
Top/Bottom pieces (make 2)
R1: MC, 6sc (6)
R2: 2sc in each st (12)
R3: *1sc, sc inc* (18)
R4: *2sc, sc inc* (24)
R5: *3sc, sc inc* (30)
R6: *4sc, sc inc* (36)
R7: 1 sc in each st (36)
R8: *4sc, 2sctog* (30)
R9: *3sc, 2sctog* (24)
R10: *2sc, 2sctog* (18)
FO
*there will be a hole, and that’s okay. You will attach the top and bottom pieces to the ice cream filling later. This will cover the hole in your final product.
Ice Cream Filling
R1: MC, 6sc (6)
R2: 2sc in each st (12)
R3: *1sc, sc inc* (18)
R4: *2sc, sc inc* (24)
R5: *3sc, sc inc* (30)
R6: 1sc in each st, BLO (30)
R7-R11: 1sc in each st (30)
R12: 1sc in each st, BLO (30)
If you are using plastic safety eyes, insert them here.
R13: *3sc, 2sctog* (24)
R14: *2sc, 2sctog* (18)
R15: *1sc, 2sc tog* (12) FO
Assembly
- Sandwich the ice cream filling between the top and bottom pieces
- Take your yarn needle and sew the top and bottom pieces to the filling. I sewed R9 of the top to about R6 of the filling. For the bottom, R9 of the bottom to about R12 of the filling.
- Create the mouth using the black yarn.
- If you are embroidering the eyes, do so now

And just like that you're done!!! Now let me see, tag and message us at Zumamiko
