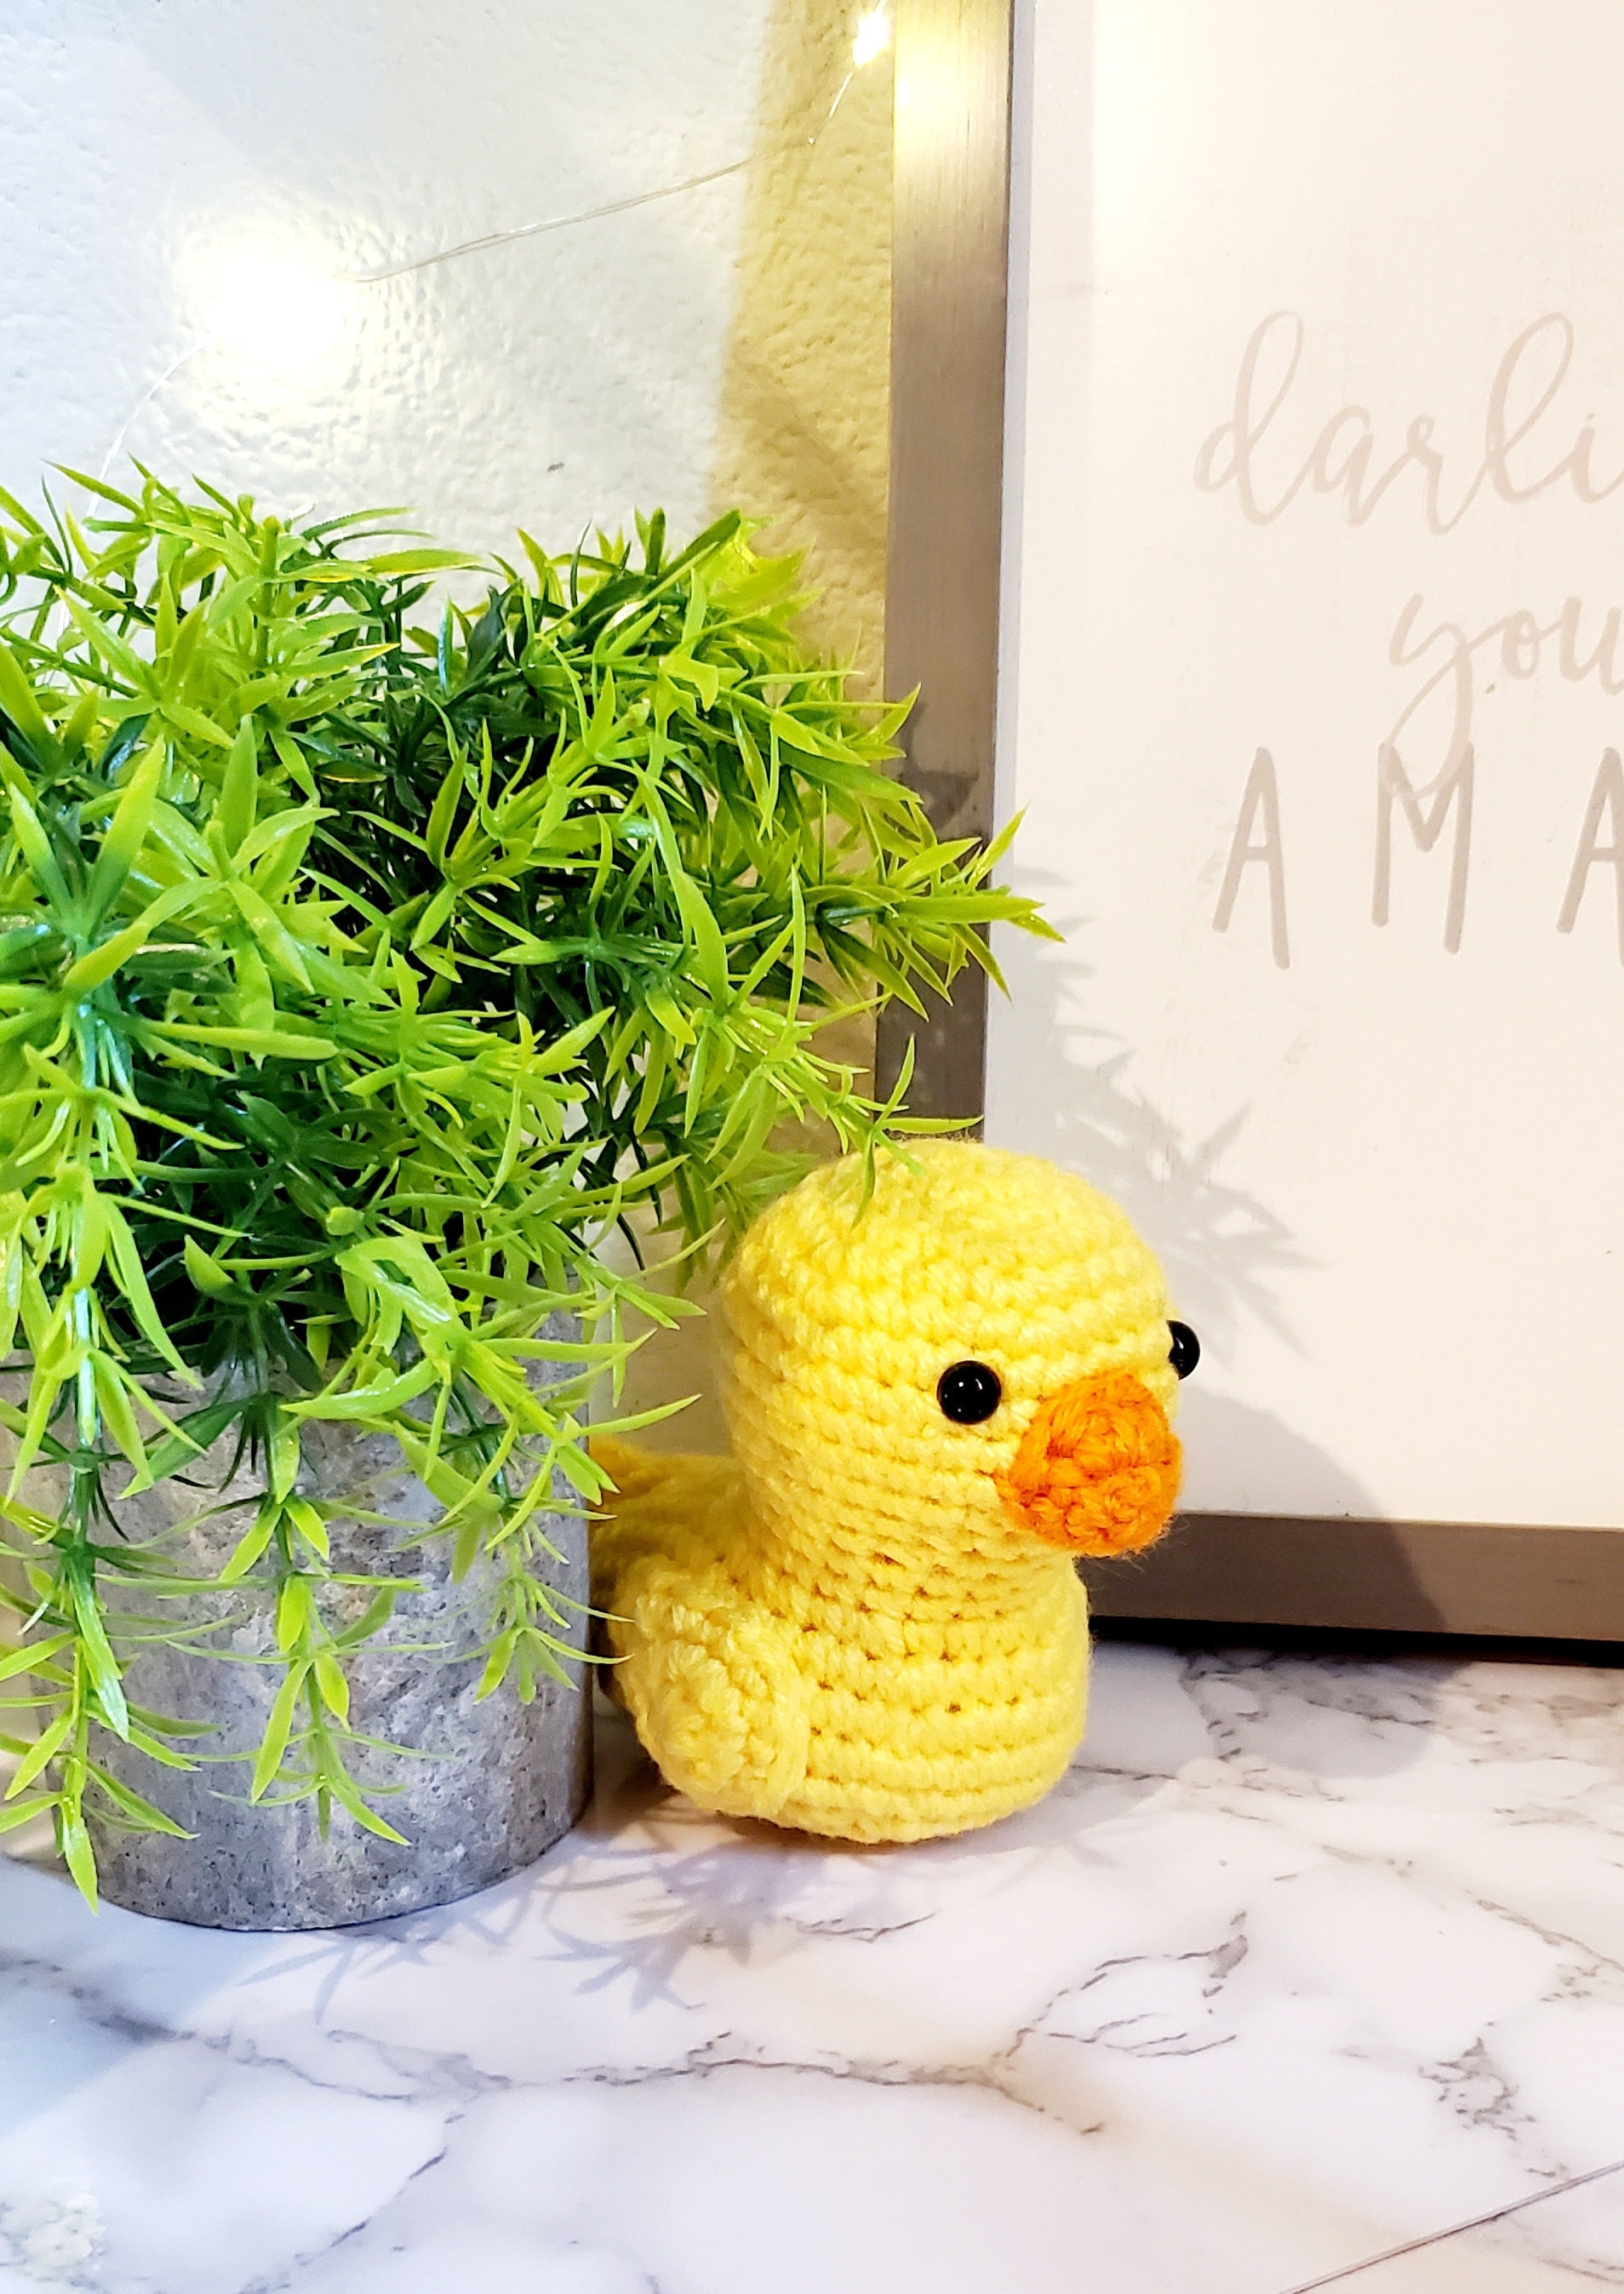
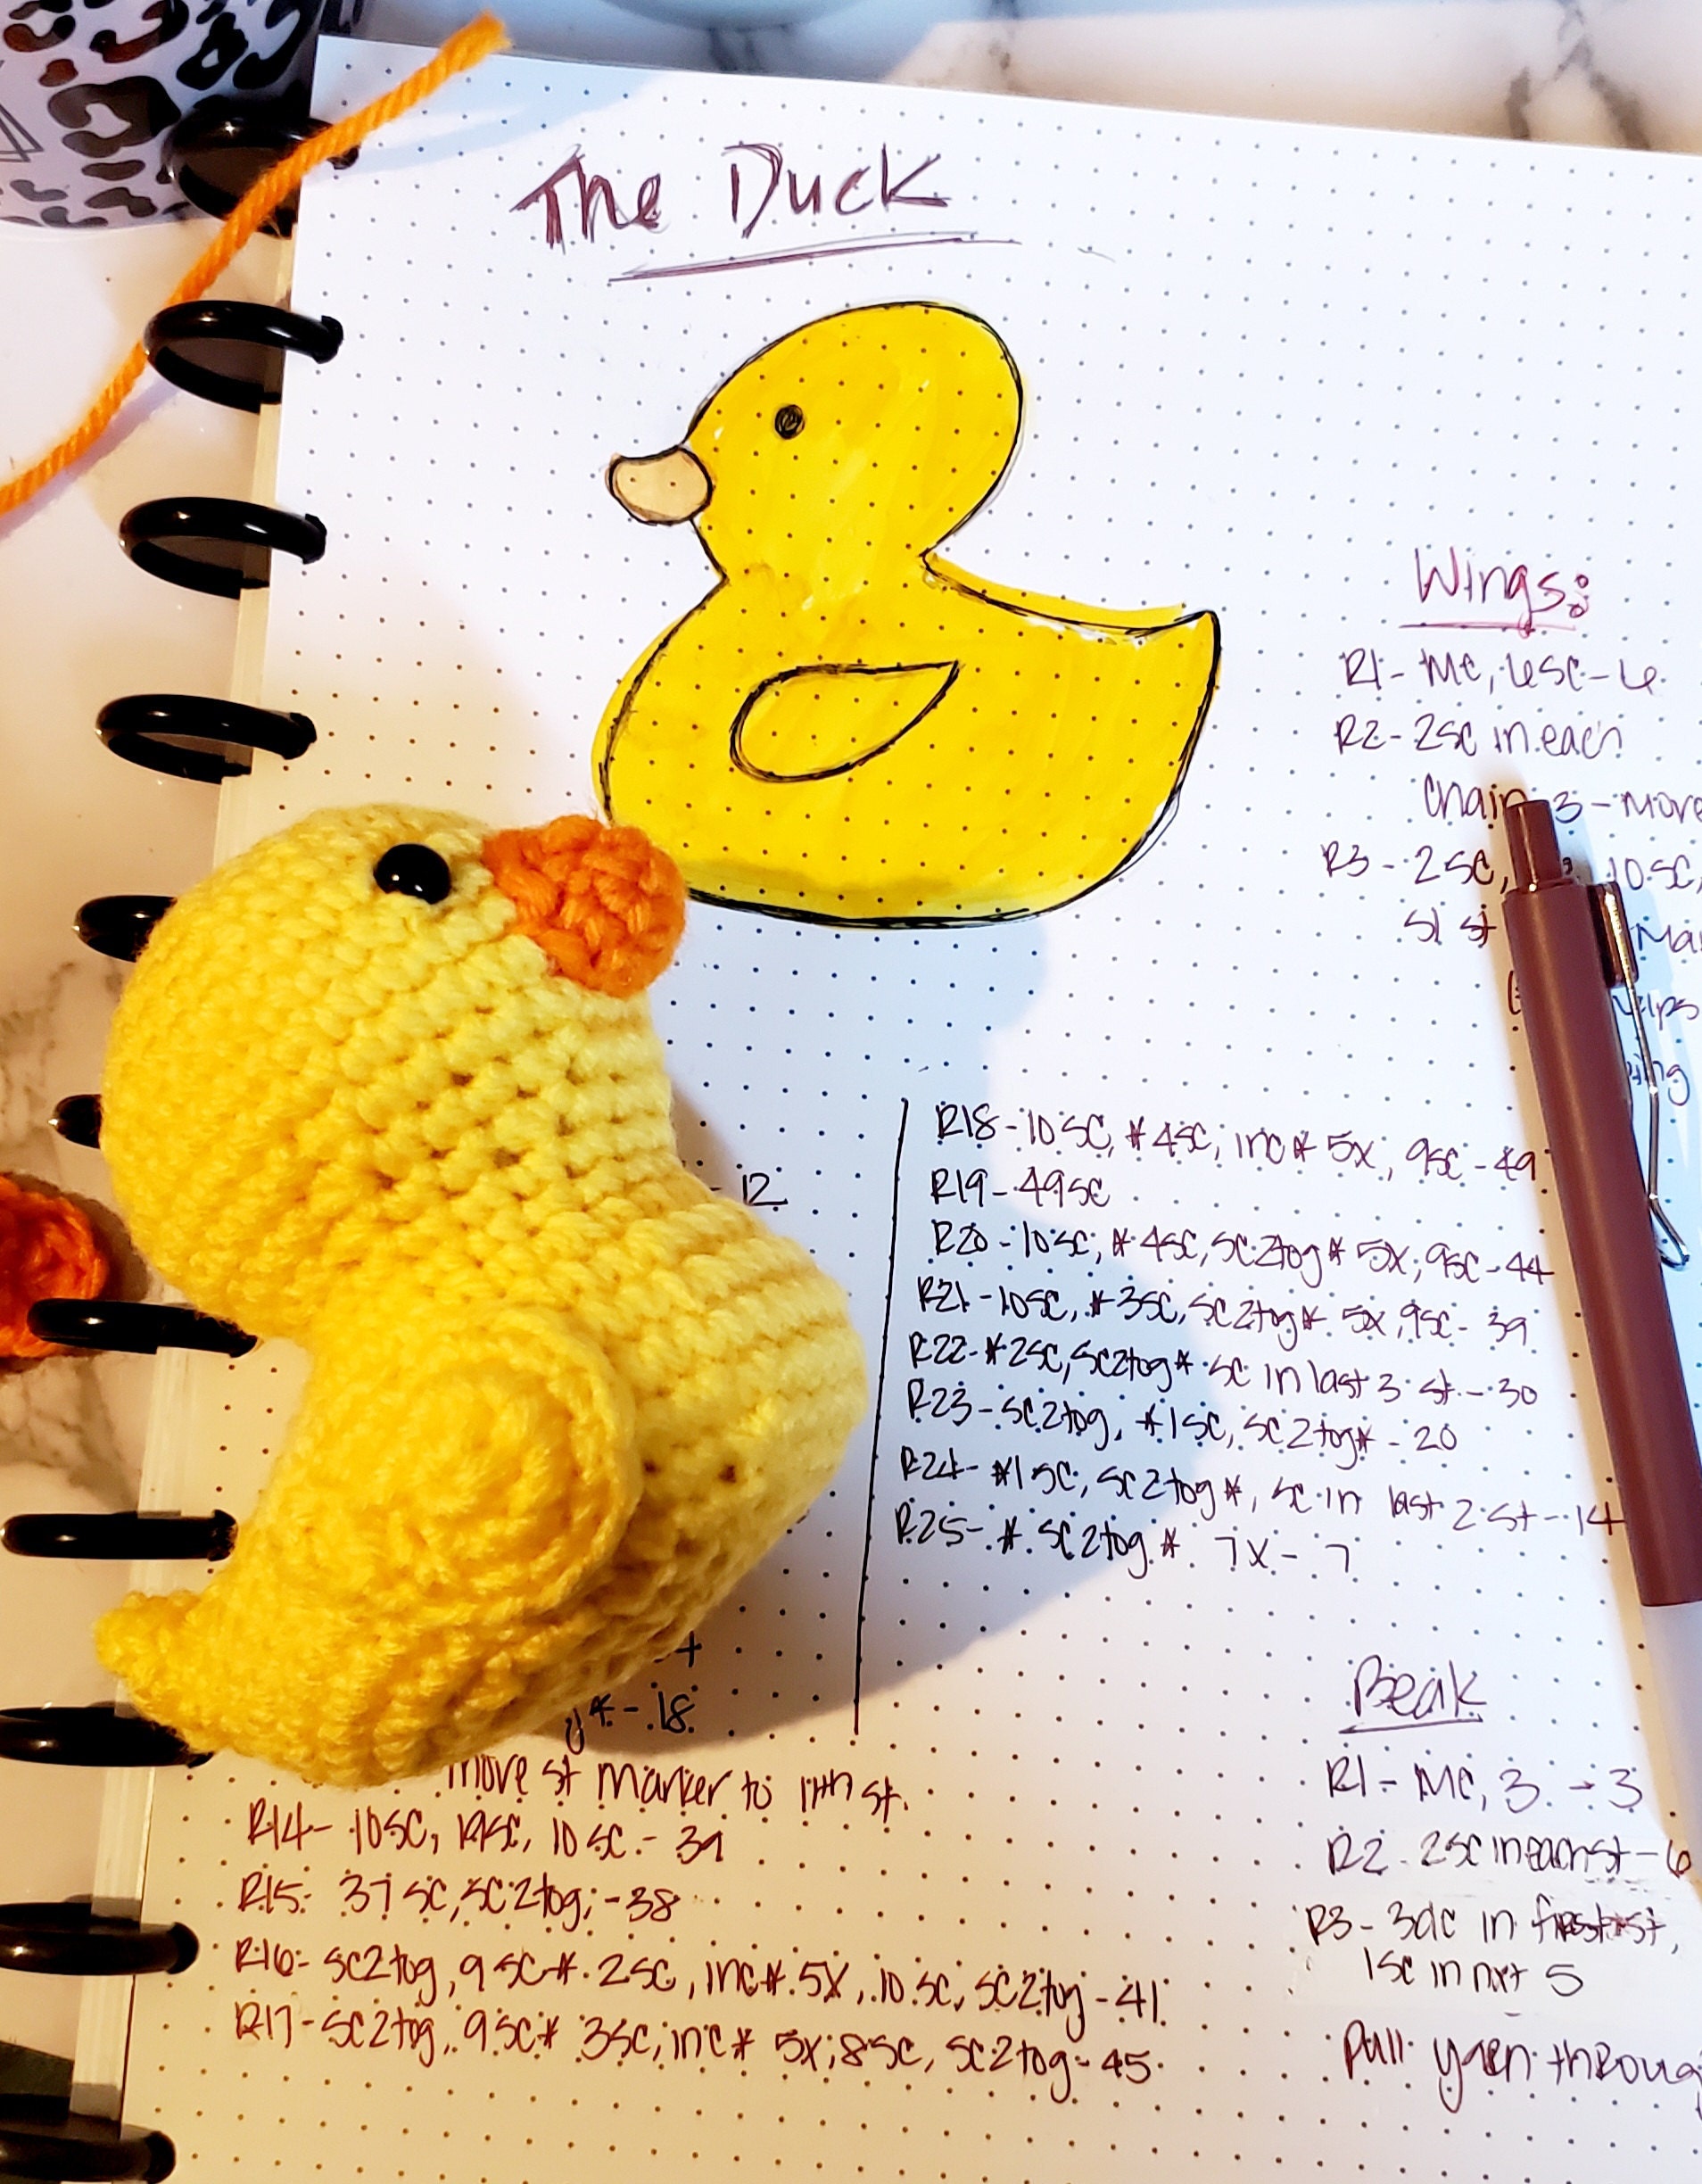
It’s that time again, the new Passion Project pattern is here! For the month of May we are making The Crochet Duck.

This pattern was inspired by the Rubber Duck Theory in Coding. This theory is the thought that a programmer speaks to an inanimate object when stuck on a problem. It is said that speaking to an inanimate object, a rubber duck, helps to think through solutions. I know it sounds kind of crazy, but it actually works!
I am an Analyst, and often I use the Rubber Duck Theory to help me get unstuck when doing my data thing. So, what better way to marry my two worlds of data and crafting than to crochet a rubber duck?!?
Let me be honest for a second, I was a bit scared to start working on this pattern. I don’t have a rational reason as to why other than pattern writing is still a new adventure, and I wanted to make sure that the idea in my brain translated when into a pattern. All that being said, I think this pattern came out rather cute!!
Okay, enough talking, here is the pattern for this month. Enjoy, and please share pictures if you decide to make it.
The Crochet Duck Pattern
Materials
- 2 colors of worsted weight yarn (1 for the body and 1 for the beak)
- Yarn Needle
- 3.5mm crochet hook
- Polyfill stuffing
- Stitch markers
- Plastic eyes or black yarn to embroider the eyes
Abbreviations
MC = Magic Circle
SC = Single Crochet
SL ST = Slip Stitch
St = Stitch
FO = Fasten off
SCTOG = single crochet two stiches together
SC INC = 2 single crochets in one stitch
** = repeat pattern between the asterisk
Head/Body
R1 – MC, 6sc (6)
R2 – 2sc in each st (12)
R3 - *1sc, sc inc* (18)
R4 – *2sc, sc inc* (24)
R5 - *3sc, sc inc* (30)
R6 - *4sc, sc inc* (36)
R7 - R10 – 1sc in each st (36)
[Place safety eyes between rows 7/8 with 6 stitches between]
R11 - *4sc, sc2tog* (30)
R12 - *3sc, sc2tog* (24)
R13 - *2sc, sc2tog* (18)
Chain 11 and move marker to the end of the chain
R14 – 10sc down the chain, 19sc around the head, 10sc on the back side of the chain (39)
[Its going to start looking really crazy at this point, but trust the process!]
R15 – 37sc, sc2tog (38)
R16 – sc2tog, 9sc, *2sc, inc* 5 times, 10sc, sc2tog (41)
R17 – sc2tog, 9sc, *3sc, inc* 5 times, 8sc, sc2tog (45)
R18 – 10sc, *4sc, inc* 5 times, 9sc (49)
R19 – 49sc (49)
R20 – 10sc, *4sc, sc2tog* 5 times, 9sc (44)
R21 – 10sc, *3sc, sc2tog* 5 times, 9sc (39)
R22 - *2sc, sc2tog,* sc in the last 3 st (30)
R23 – sc2tog, *1sc, sc2tog* (20)
R24 - *1sc, sc2tog,* sc in the last 2 st (14)
R25 - *sc2tog* (7)
Wings (make 2)
R1 – MC, 6sc (6)
R2 – sc inc in each st (12)
Chain 3 and move marker to the end of the chain
R3 – 2sc, inc, 10sc, inc, 2sc then sl st into the marker st (this will help to make the wing point) (18)
Beak
R1 – MC, 3sc (3)
R2 – sc inc in each st (6)
R3 – 3dc, 1 sc in the next 5 st (6)
FO by pulling the yarn through
Assembly is really based on preference. I pinned the wings and beak until I had my duckie's personally just right. Explore and find your duckie's personality!

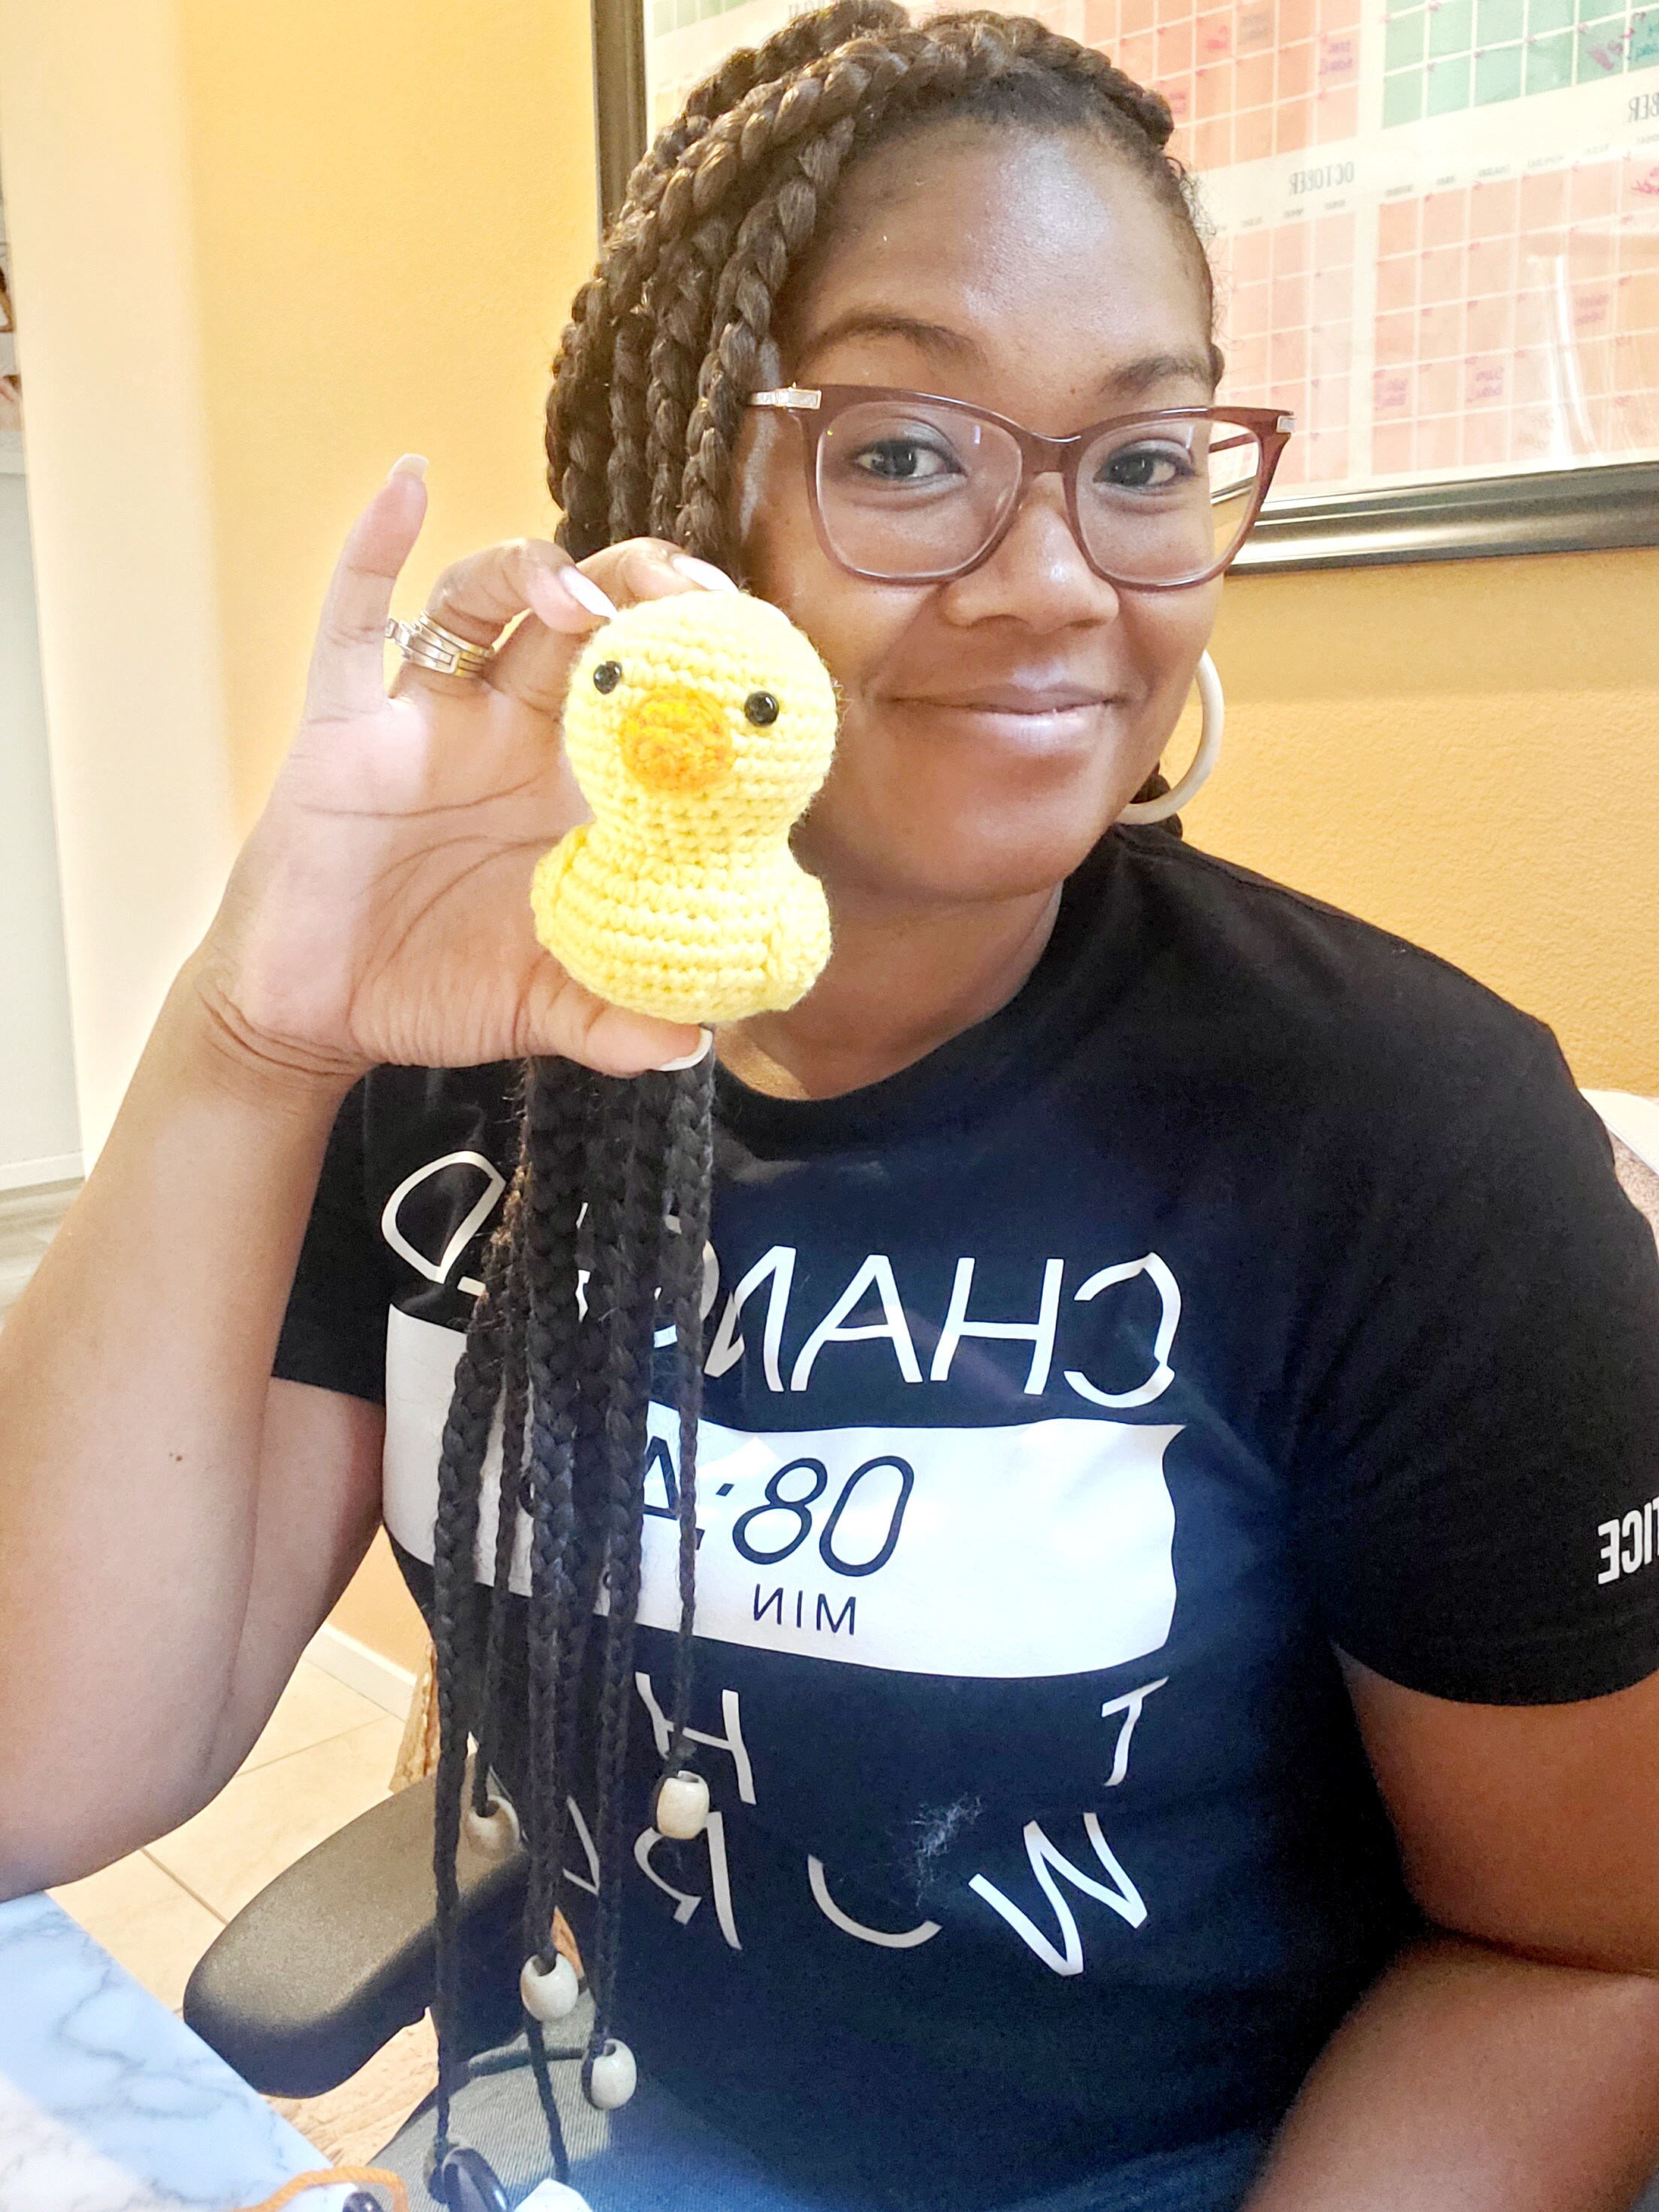
You're all done!!! Let me see, let me see. Post your pics and tag us on IG @zumamiko
Come back next month for our next Passion Project =)
