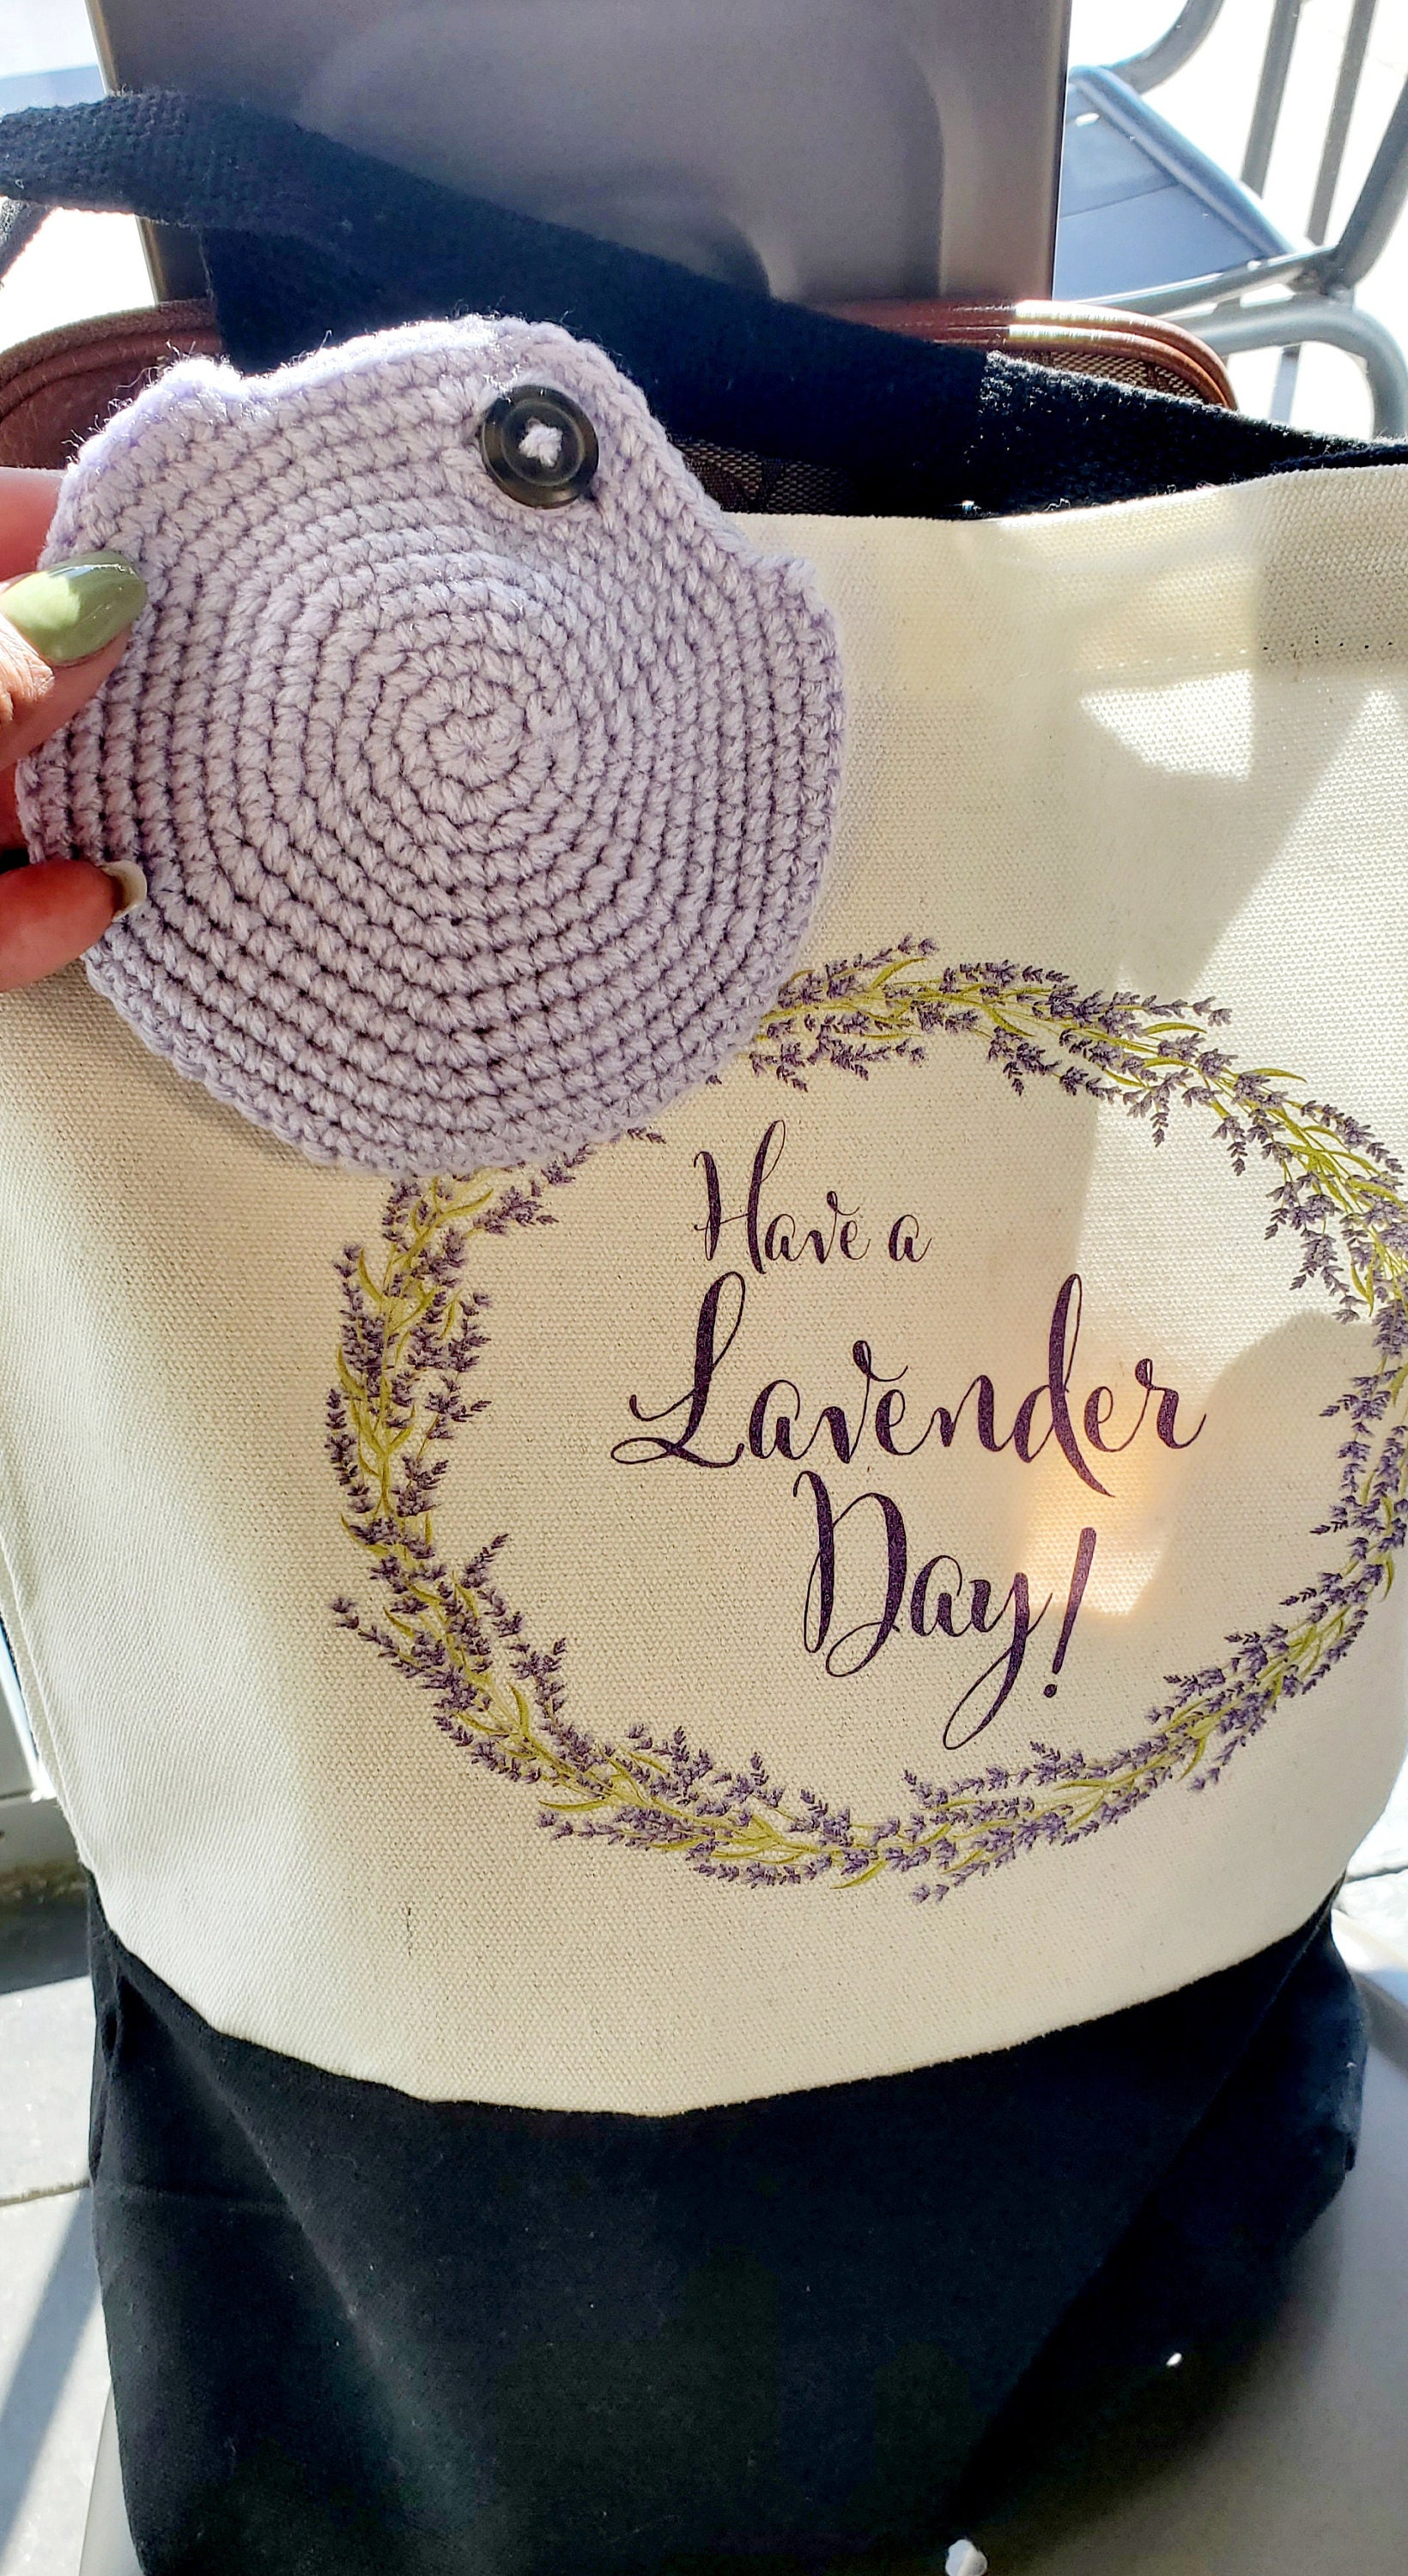
Recently my family and I went to an event in support of Sickle Cell Anemia, and I met a lovely lady who was promoting Sickle Cell Awareness through lavender themed products.
I fell in LOVE with one of her bags, and since I have been using it for my everything bag. It’s being put to work as an all-purpose craft bag, my work bag, and my “I need stuff to go to the other room” bag.
The only downside of this beauty is that I have been using it bucket bag style; essentially, I just dump everything in there and go on a treasure hunt when it’s time to retrieve something.
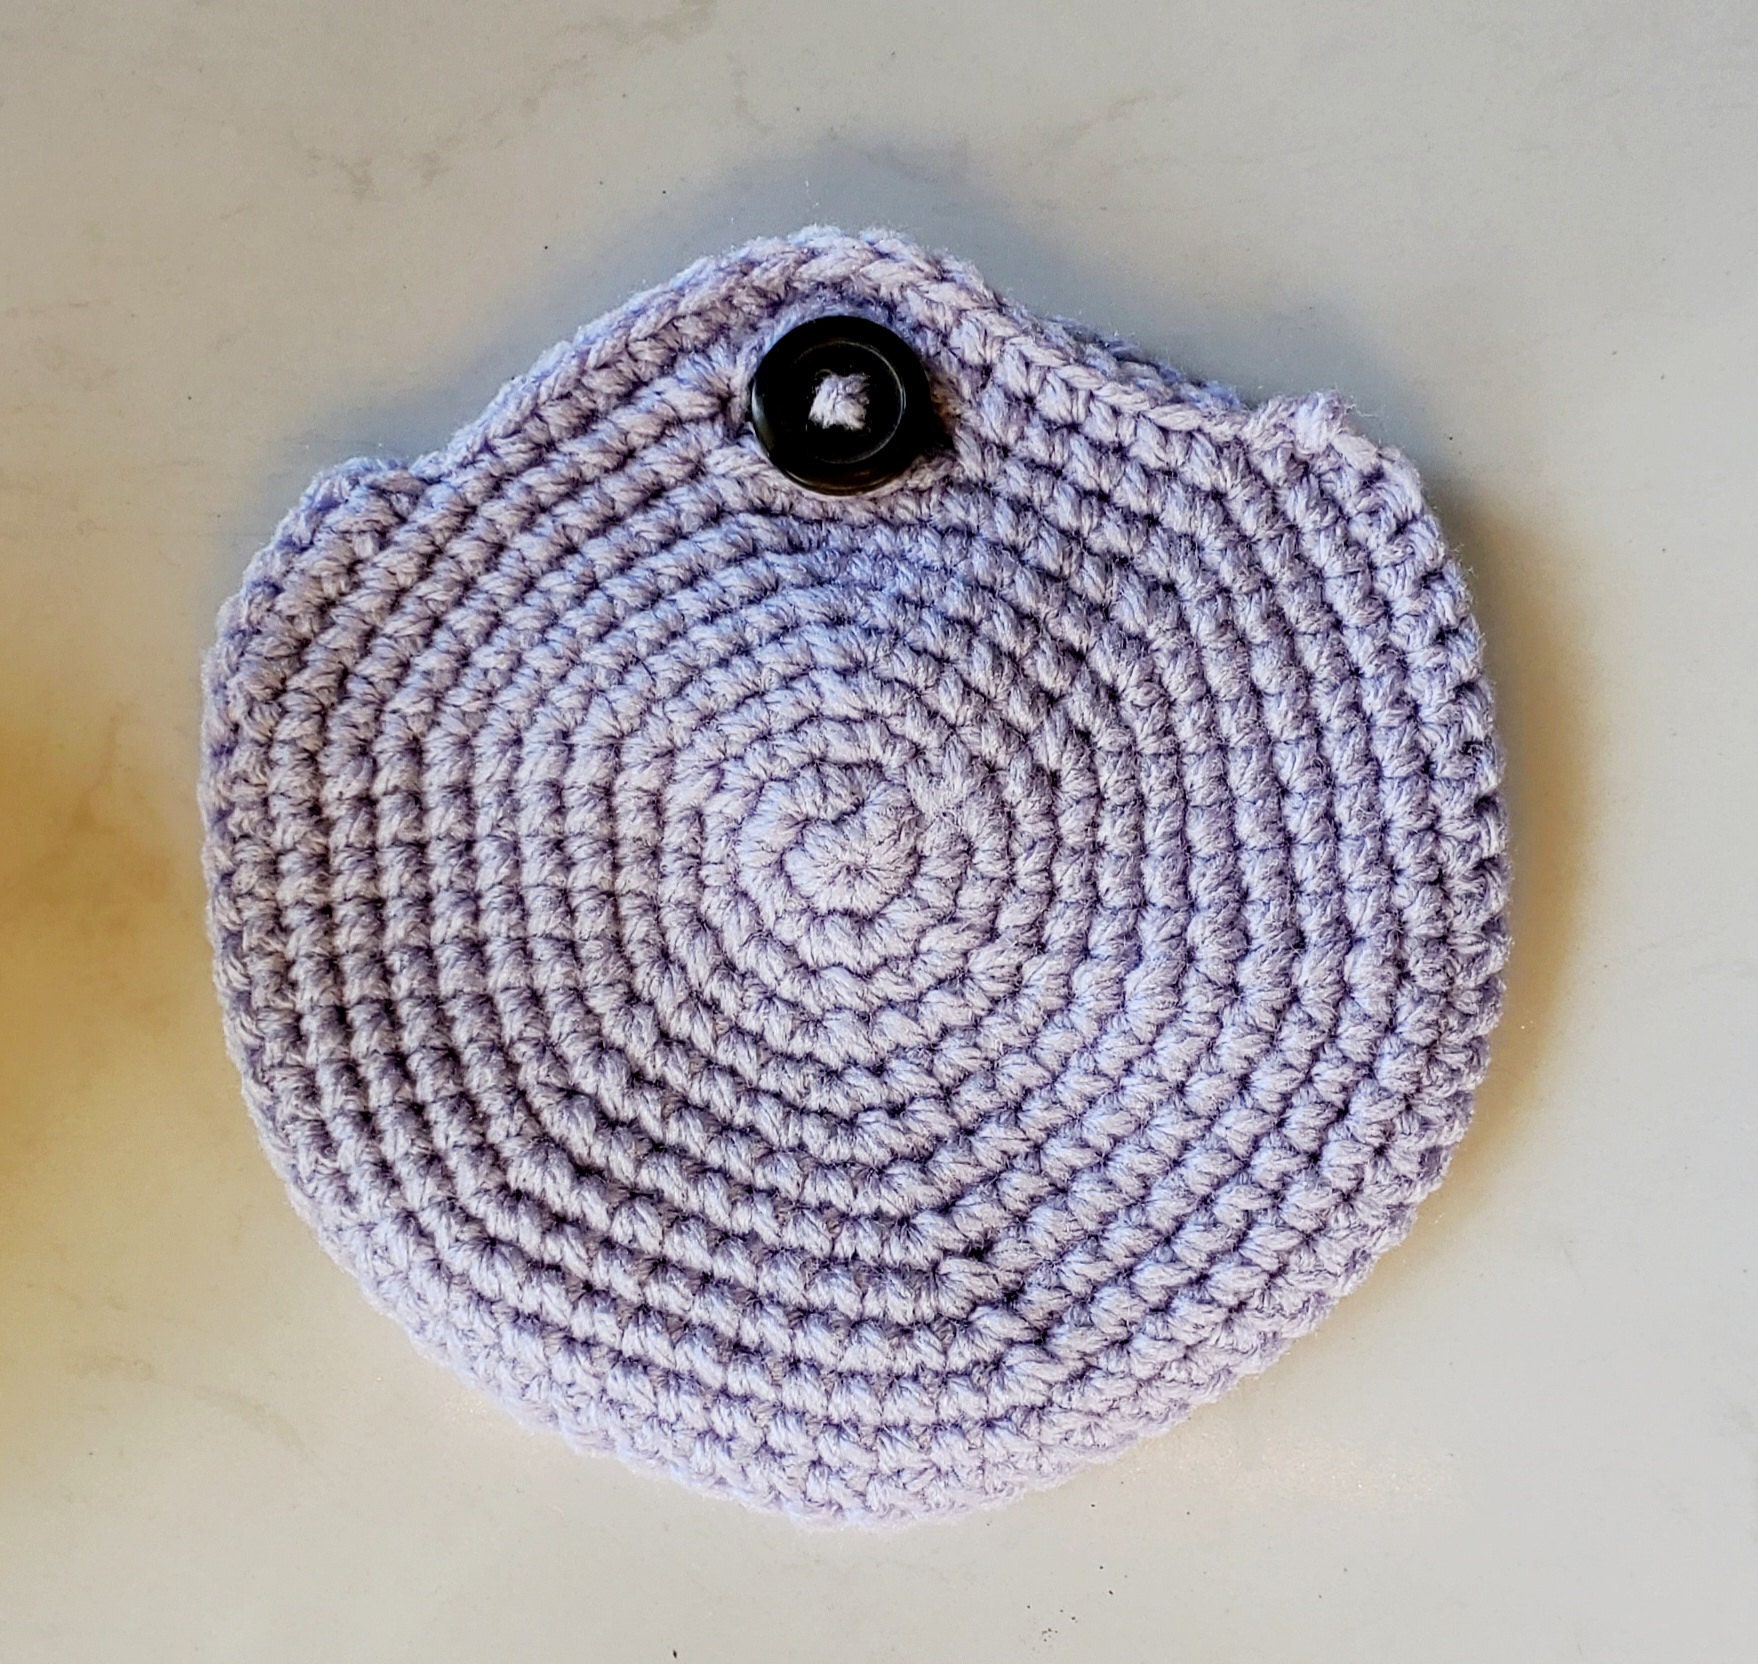
I was at work the other day, and for the life of me I could not find my headphones. How was I supposed to tune everything and everyone out if I couldn’t find my darn headphones!!! That’s when I decided what to make for our Passion Project #9, A mini bag.

I’ll admit, this one stemmed from a personal need, but I figured you all could get some use out of something like this also, right? If anything, it’s super cute, works up easy, and it’s a perfect yarn buster project. It’s a win, win, win!
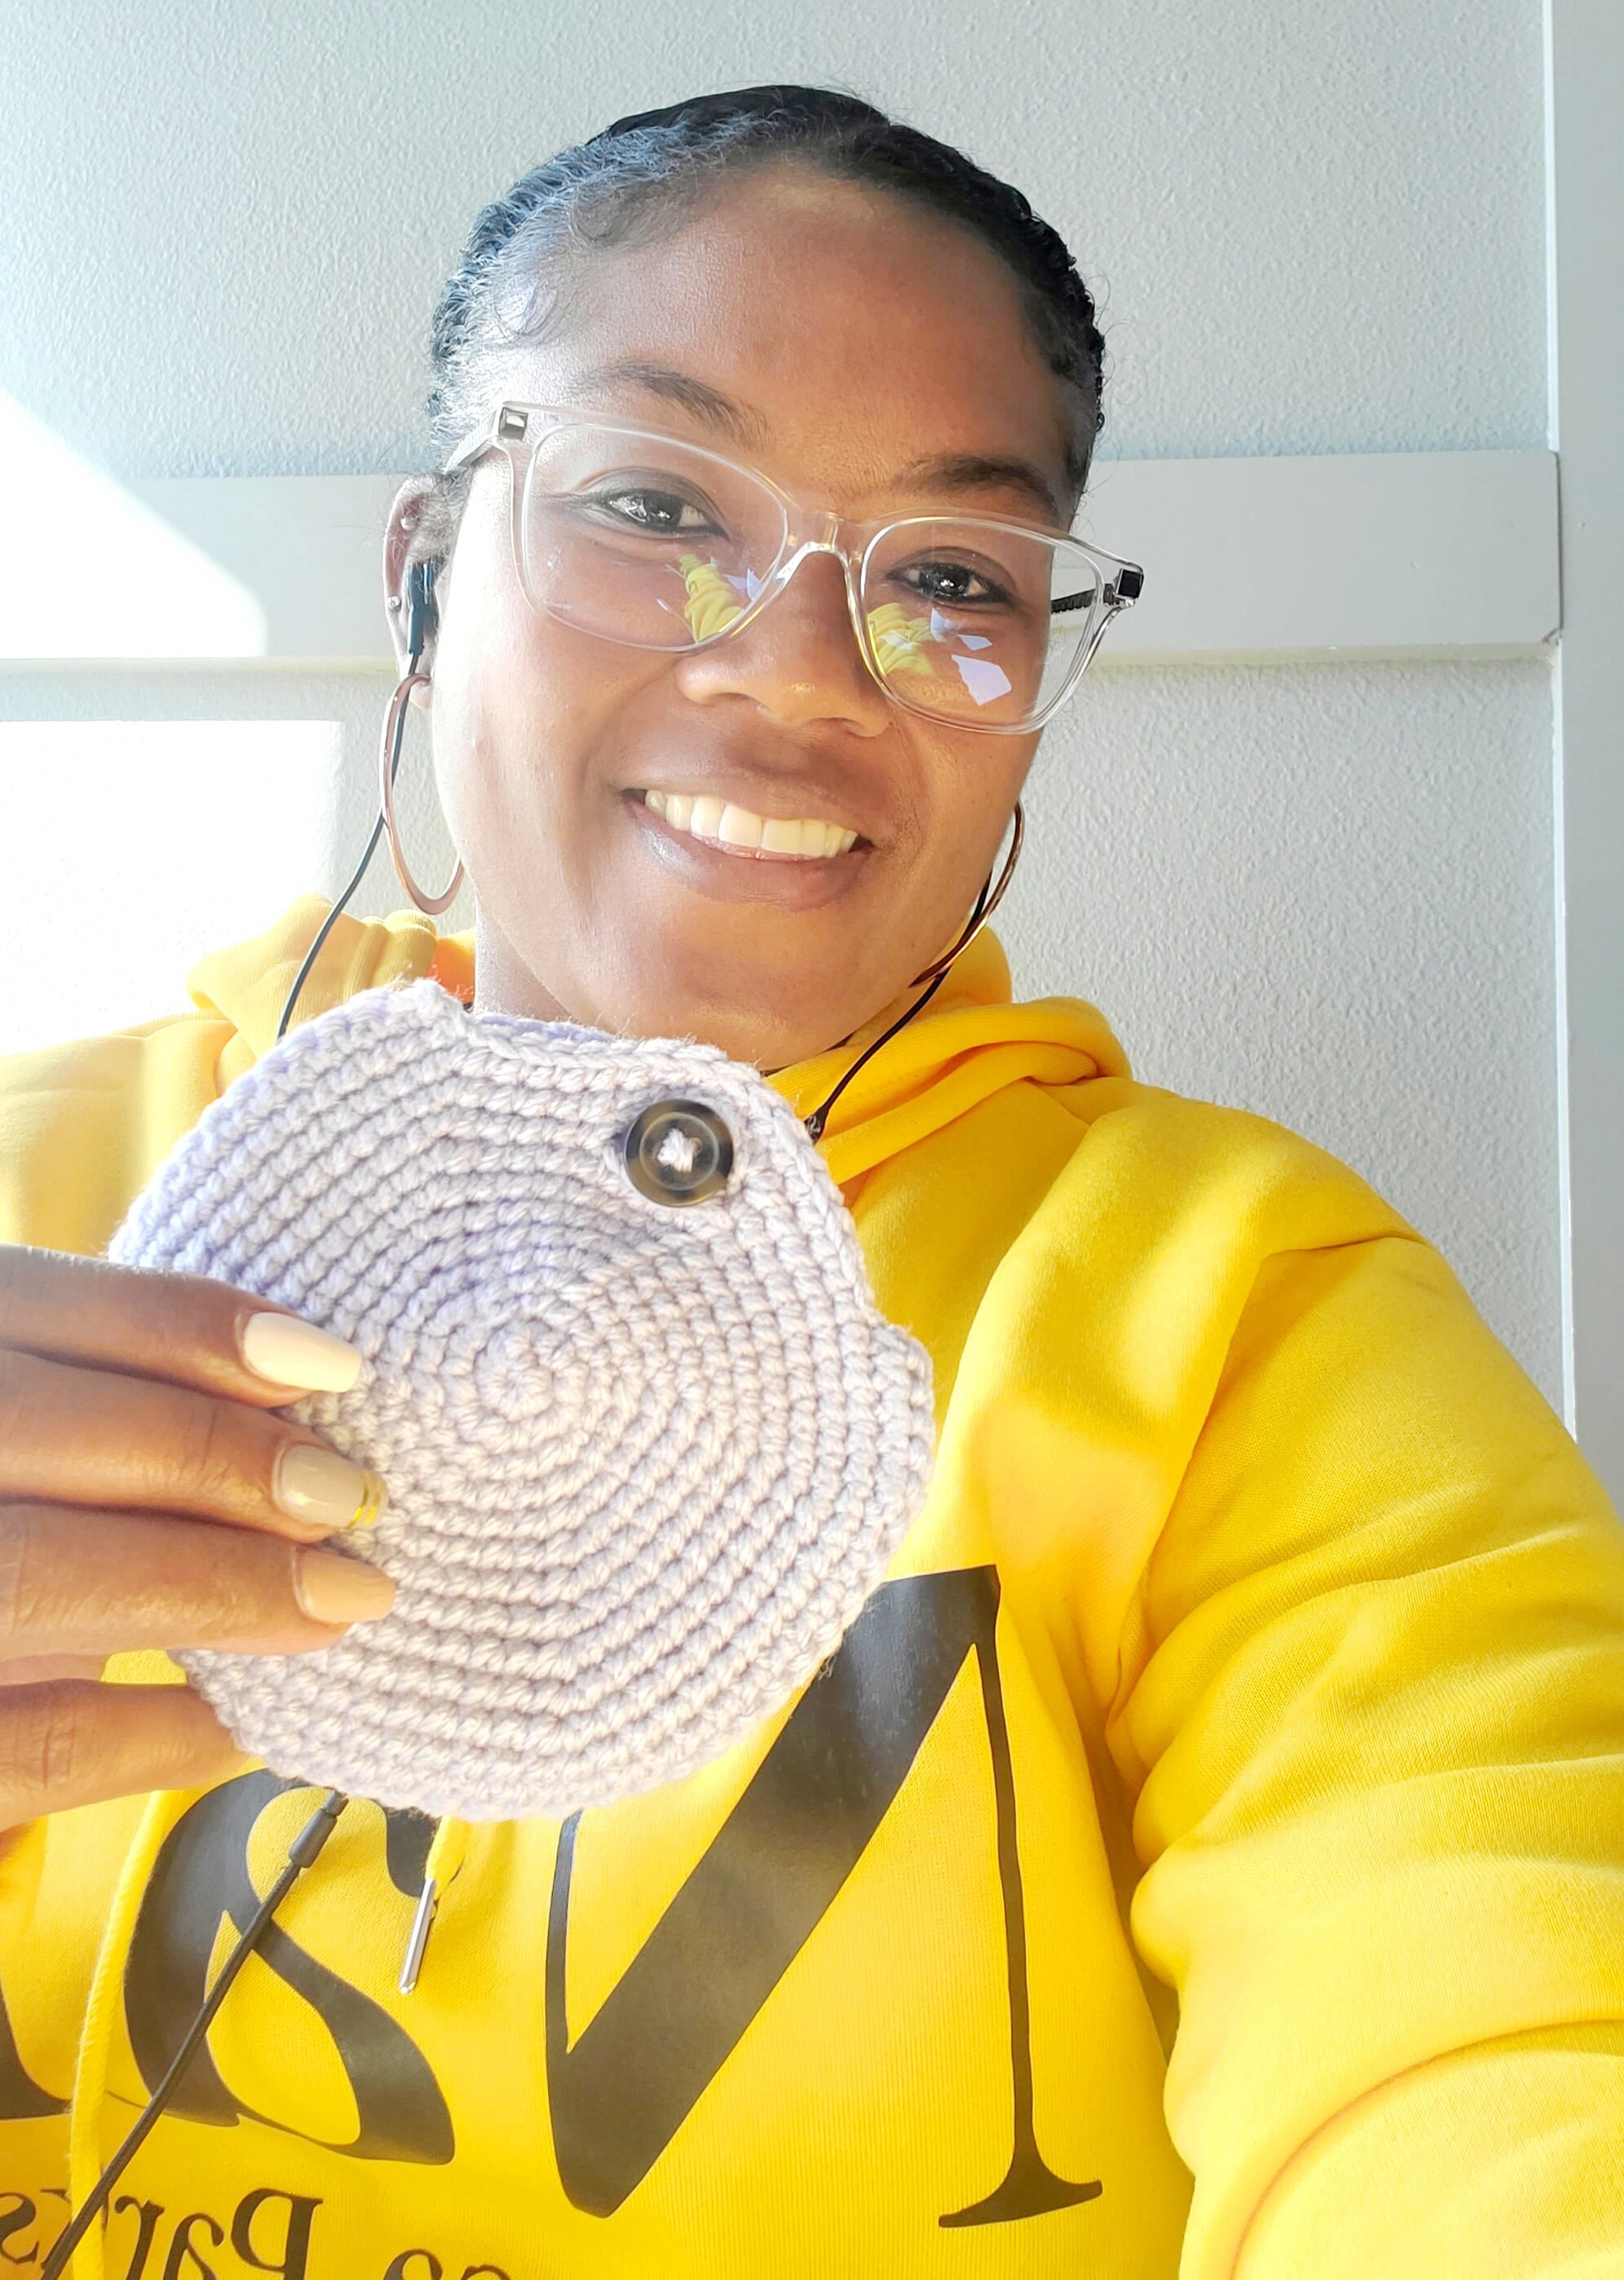
I will definitely be keeping this for myself. I wish my little crochet thieves, aka my children, luck in stealing this one! Although I think I am the one in need of luck, they are pretty talented in sniffing out new crochet projects lol.
Remember, these Passion Projects are designed to be fun, easy, and quick to explore the love of crochet art. So go crazy, make it bigger, smaller, a different color, whatever your heart desires.
Once you are done, let me see, @zumamiko on social media platforms!!!!
Alrighty, shall we get into the pattern?

The Mini Bag
Materials
- 1 color of worsted yarn (I used lavender to match my bag)
- Yarn Needle
- 3.5mm crochet hook
- Stitch marker
- 1 button
Abbreviations
Mc = Magic Circle
sc = Single Crochet
st = Stitch
ch = Chain
FO = Fasten off
sc inc = single crochet increase
** = repeat pattern between the asterisks
Pattern
Side #1
R1: MC, 6 sc
R2: *sc inc*
R3: *1sc, sc inc*
R4: *2sc, sc inc*
R5: *3sc, sc inc*
R6: *4sc, sc inc*
R7: *5sc, sc inc*
R8: *6sc, sc inc*
R9: *7sc, sc inc*
R10: *8sc, sc inc*
R11: *9sc, sc inc*
R12: 1 sc in each st (you should have 66 stitches total), FO
Side #2
Repeat Side #1 R1-R9
R10: 3sc, ch5, skip the next 5sc, sc inc in the next st, *8sc, sc inc* (you are forming the button hole in this row)
R11: *9sc, sc inc*
R12: 1 sc in each st (you should have 66 stitches total), do not FO. You will use the working yarn to attach the pieces together.
Assembly
- Match up the sides together
- Connect the pieces together by putting a sc in next 50 stitches
- Weave in your ends
- Attach button
All done! I hope this worked up great for you, now let me see!!!!! Comment here, or follow, message, and like of the other social media platforms, @zumamiko.
