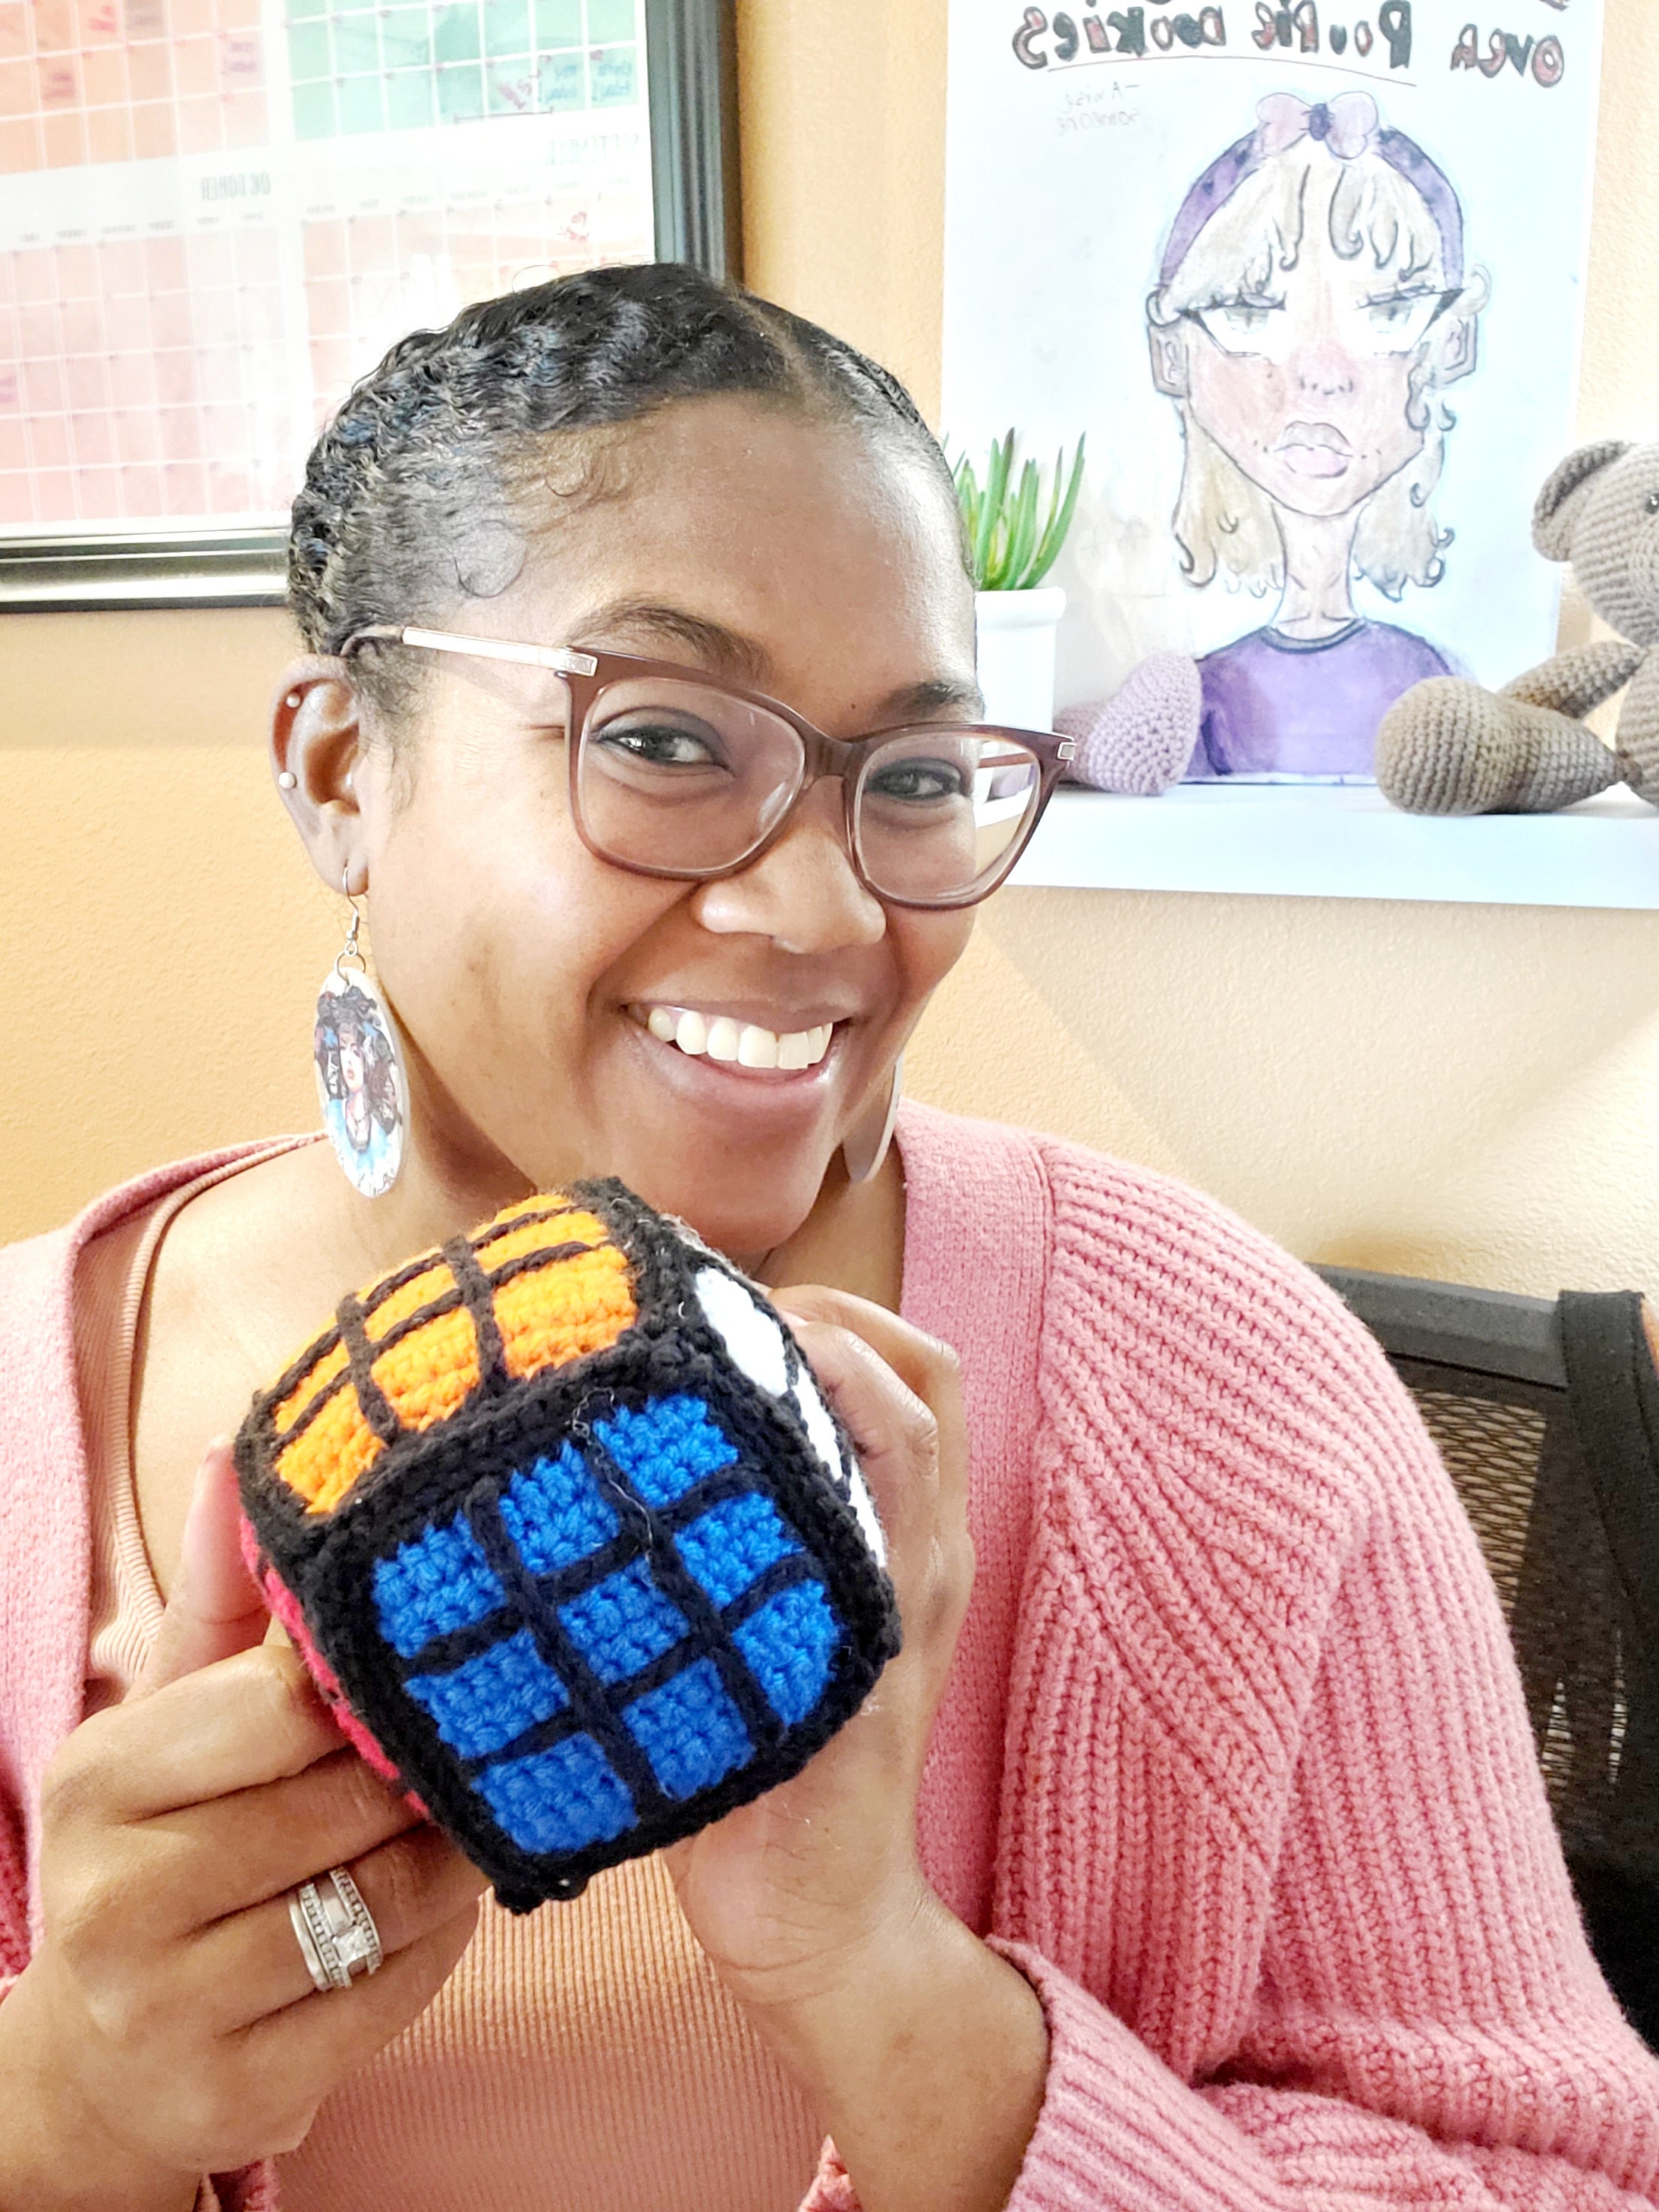
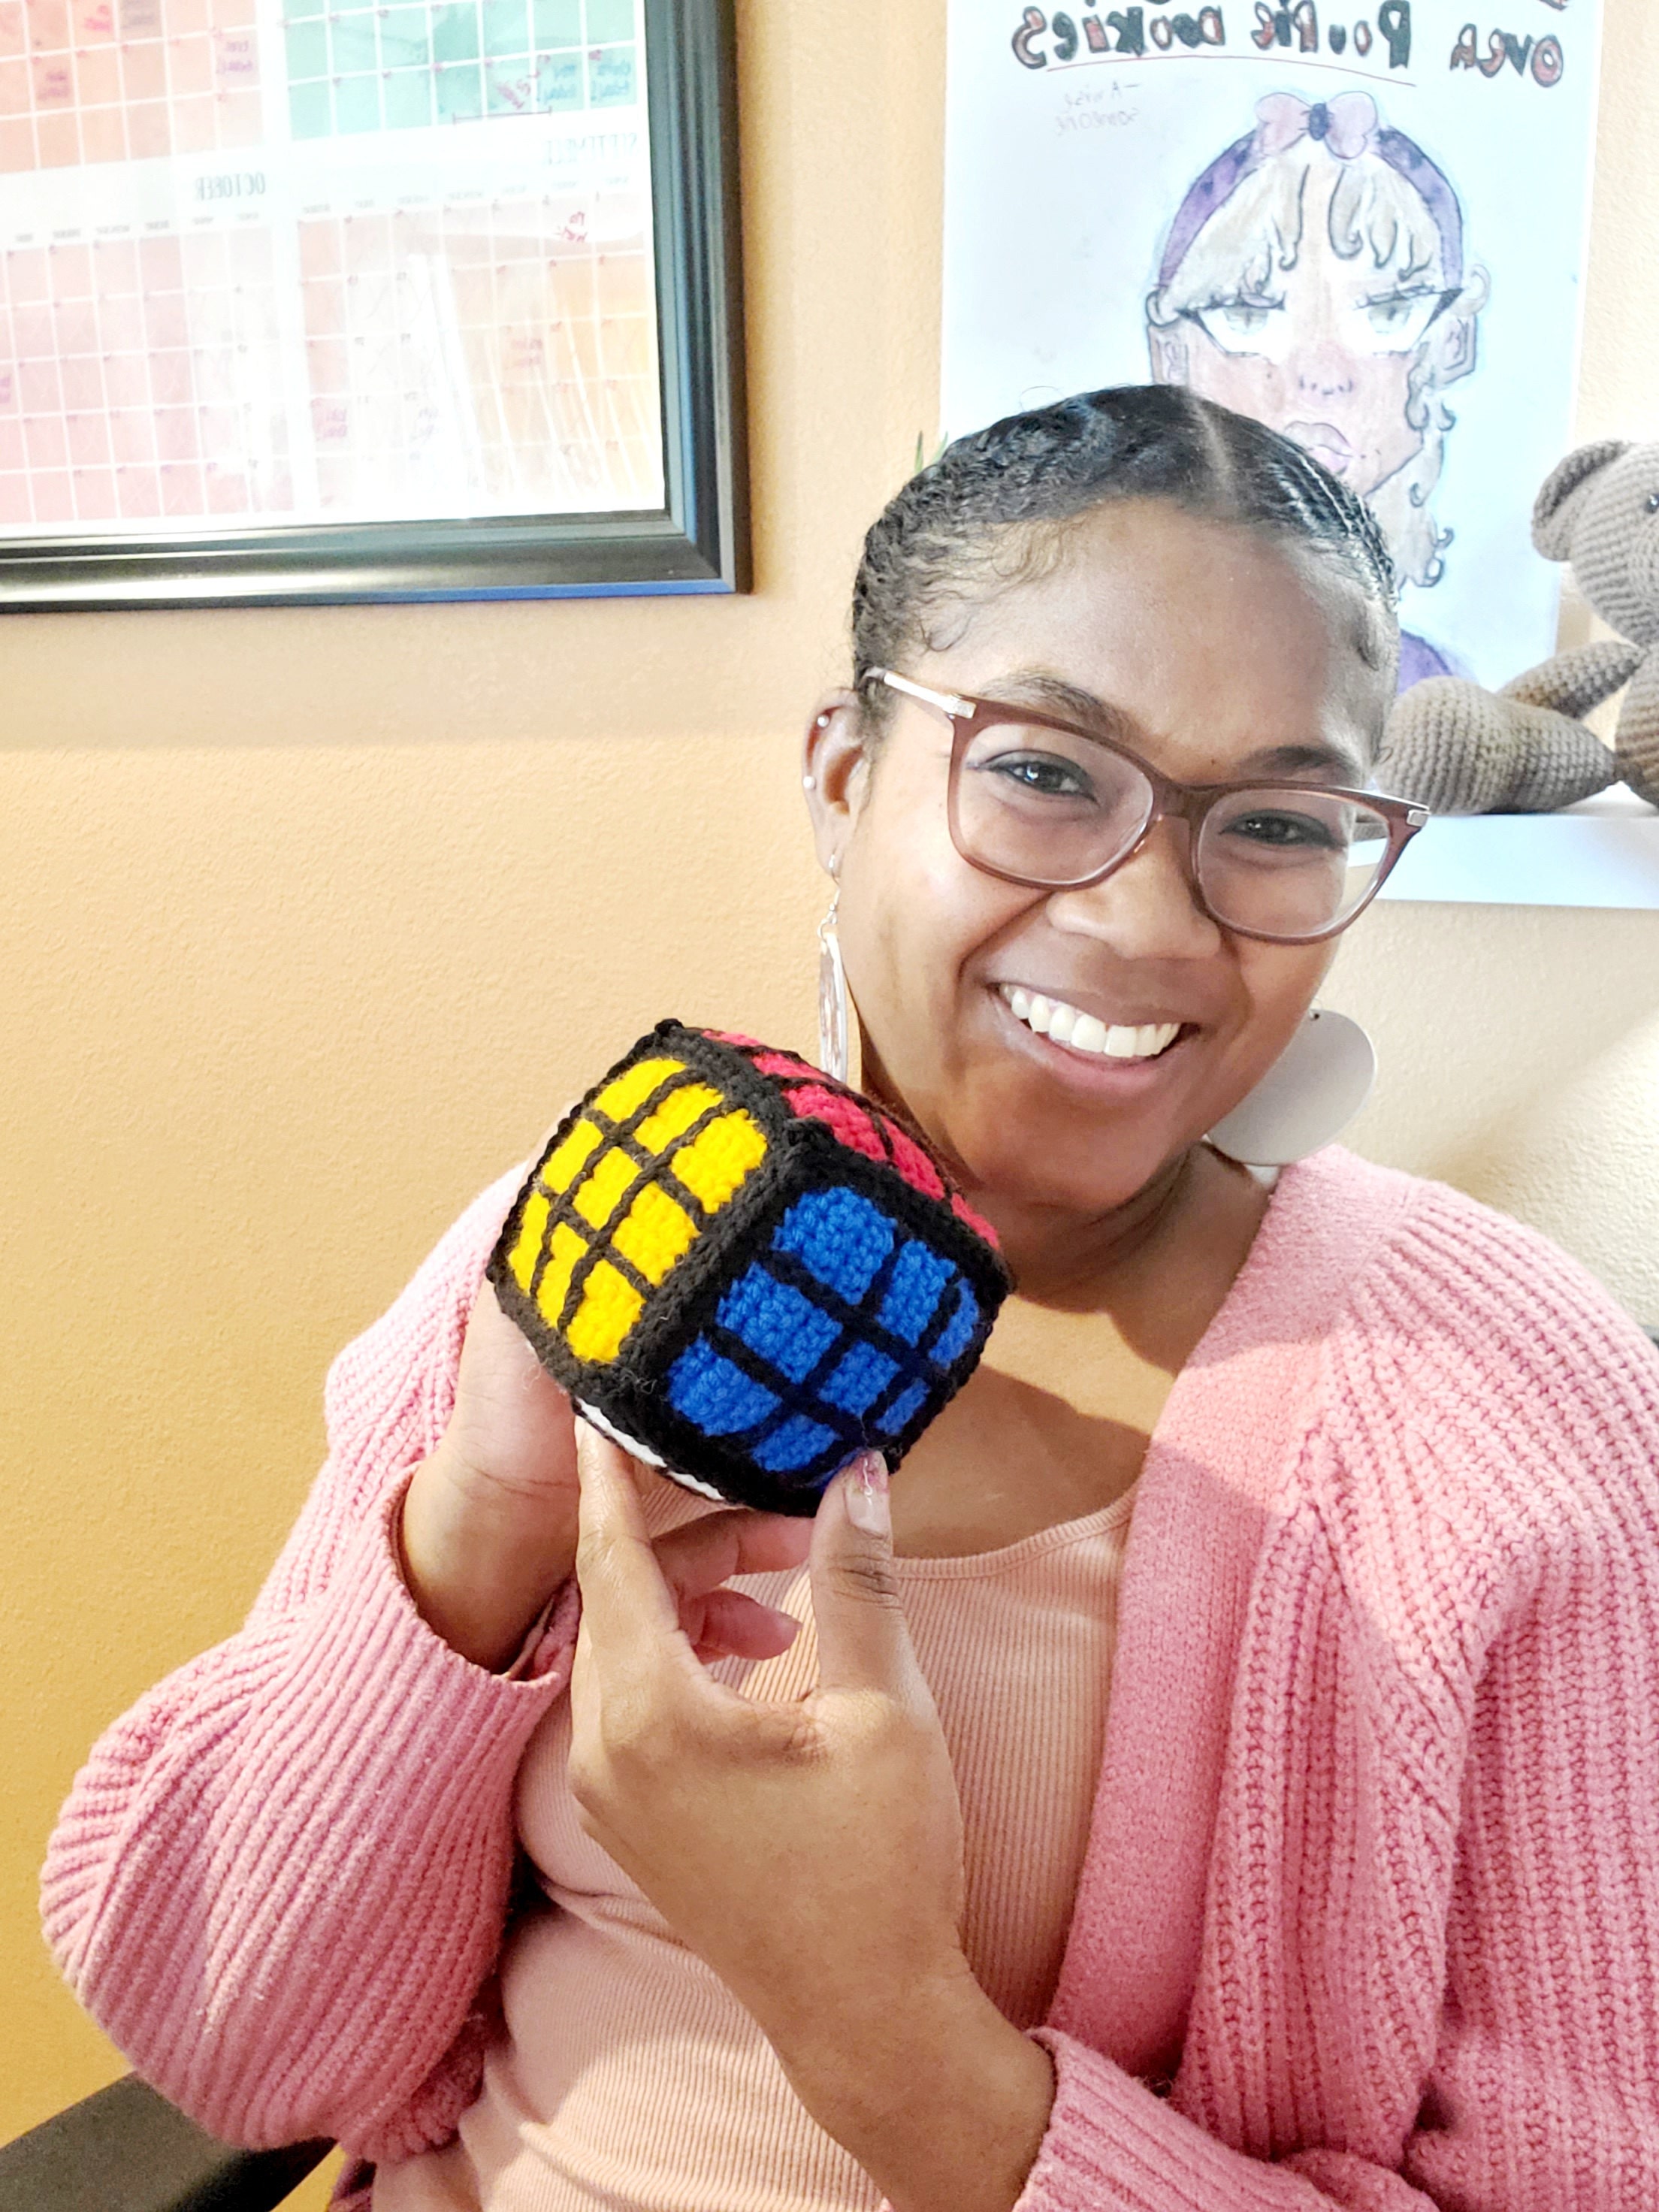
Content planning can be a bit of a challenge, so during my planning for the 2025 year, I consulted with the two people I knew wouldn't let me down with ideas...my two kids.
They totally had a planning session with me and helped me to come up with a bunch of ideas for projects with year.
Up first is the Rubix Cube.

My little one was adament that I make this one, so I figured I would put it top of the list for Passion Projects this year.
For those reading my blog for the very first time, welcome! I create a lot of free content for crochers, beginners and advanced alike, so that folks who love the art can partake without the barrier of cost. I try to be conscience of skill level and make my tutorials detailed enough so that beginners can easily follow also!
I do have paid patterns as well that are a bit more involved and include pictures and extra support. Those will be available on my Etsy site coming as soon as the end of this month (January 2025).
This pattern is fairly easy, the construction can be a little tricky but I will insert a tutorial soon to help you out =)
I guess this is as good a time as any to share that I STARTED A YOUTUBE CHANNEL! Whooohooo. Can you tell I am excited?!? I have been wanting to create a channel for a while, but procrastination, and just life in general got the best of me.
Here is a link to the last crochet along for my Mini Crochet Penguin.
There are amigurumi basics videos and crochet alongs currently available and more content to come!
Here is a video from my Amigurumi Basics series that covers single crochet, single crochet incease and decrease. This one is a good reference for some of the technique you will need for this pattern.
Okay, okay, lets get to the reason you are here...
The Crochet Rubix's Cube
Here is the YouTube Tutorial for the Rubix's Cube pattern =)
Pattern
Materials
- 7 colors of worsted yarn (red, yellow, green, blue, white, orange, and black)
- scissors
- 3.5mm crochet hook
- yarn needle
- polyfil
Abbreviations
- ch = chain
- st = stitch
- sc = single crochet
- sl st = slip stitch
- BLO = back loop only
- FO = fasten off
Sides
Row 1: ch13, sc in the 2nd chain from the hook and in each of the next 11 (12 total)
Row 2-12: 1sc in each stitch
*You will repeat this for all 6 colors
That's it!!!
Finishing the Sides
Adding the Lines Inside the Sides (8:06 in the YouTube Tutorial)
- add horizontal black lines between rows 4 and 5 and between row 8 and 9
- add vertical black lines between stitches 4 and 5 and between 8 and 9
to add the lines, insert your crochet hook, yarn over, pull up (two loops on the hook) and pull the first loop through the second, insert into the next stitch and repeat to the end. It should look like a tic tac toe once you have added the vertical and horizontal lines.
Adding the Boarder to each Side (14:41 in the YouTube Tutorial)
- Attach yarn to one side, and sc across each side (about 12sc).
- In the corners, ch1 and add an additional sc to the same stitch (so there will be a sc, ch1, sc in the corner). This will help to create a complete square.
Attach Sides Together (17:28 in the YouTube Tutorial)
- Gather 2 pieces, wrong sides together, and add a sl st BLO across, then FO
- You will attach 4 sides together in a line, then attach one on each side of square 2. It will looks somewhat like a cross.
- Then start assembly to make a cube leaving one side open for stuffing. Attach only 3 of the 4 sides of the final side.
Closing the Cube (20:52 in the YouTube Tutorial)
- stuff with your polyfil
- close the final panel with the sl sts BLO, FO, and weave in that end.
**check out my YouTube video for a visual of the steps
All done!!!!!!!
Tip:
- Try not to overlly stuff your work. We are not adding any reinforcements, like plastic or cardboard, so overstuffing will result in a circle-esk piece rather than a square.
Don't forget to tag your finished work, IG @zumamiko, and check out my YouTube channel youtube.com/@zumamiko.
A new tutorial is posted every Monday entirely for free =)
