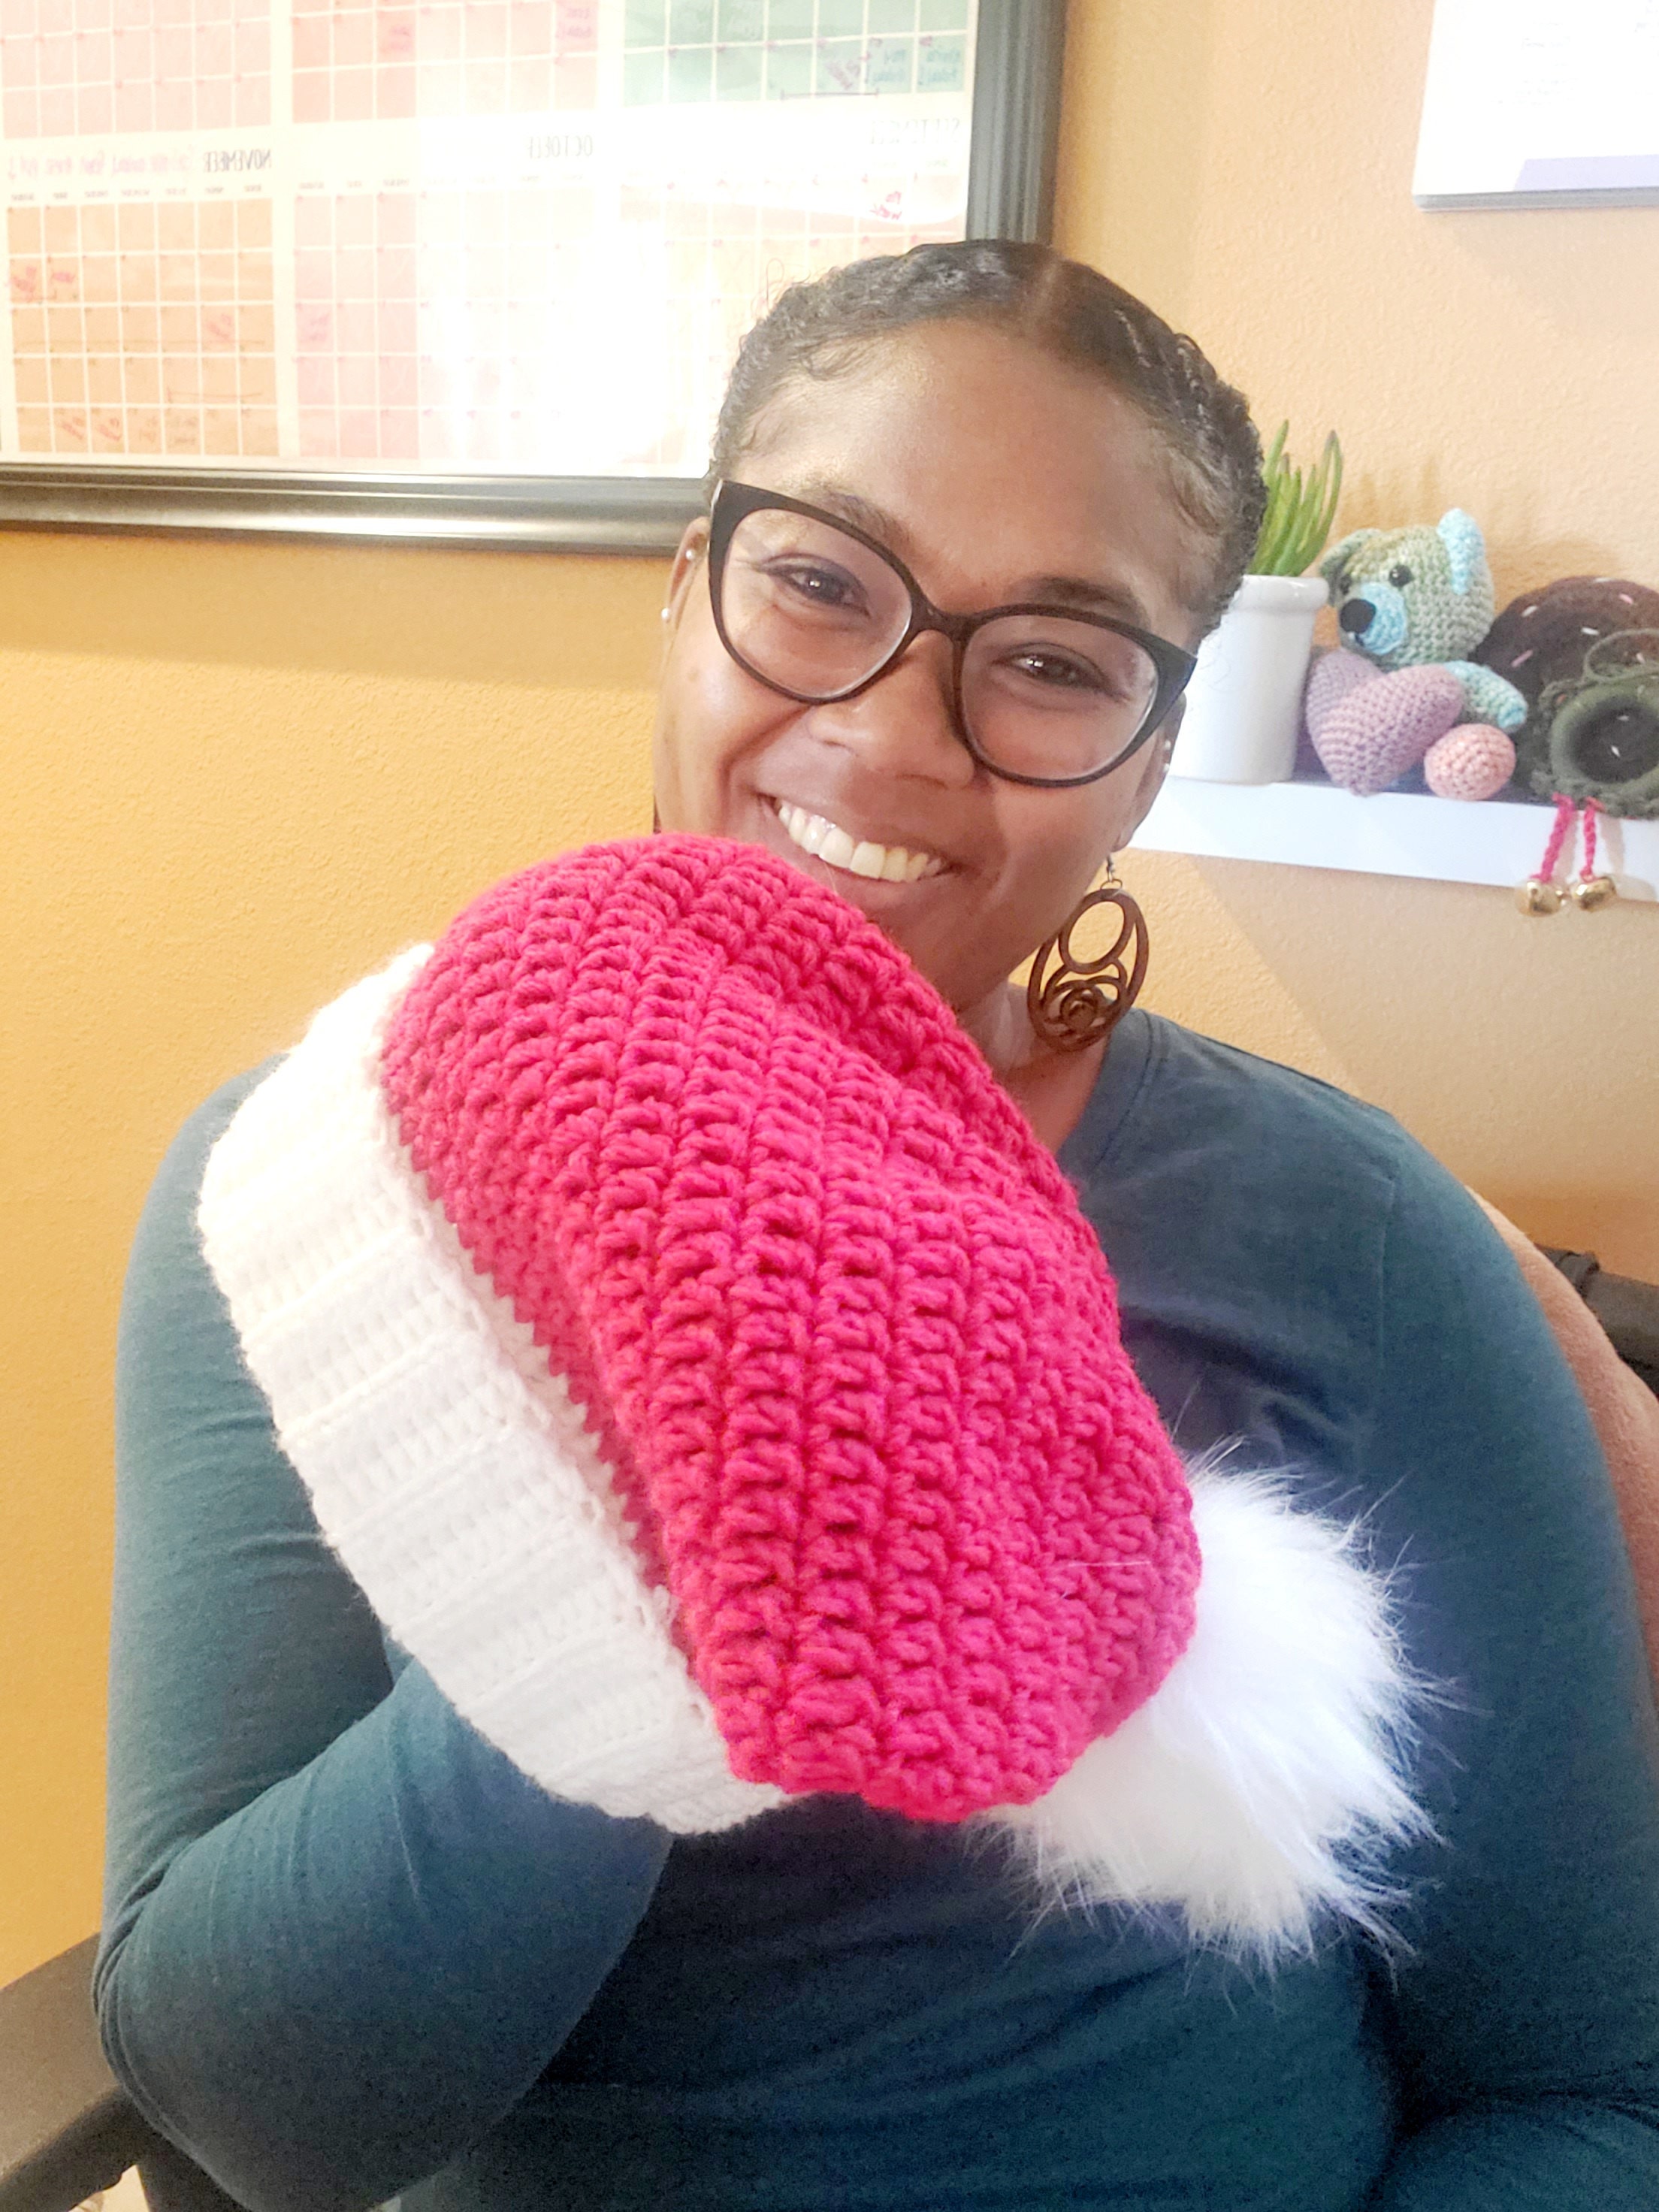
Christmas is finally here, and I forgot to make myself a hat, lol.
So, the Passion Project for this month is a Simple Crochet Santa Hat.

This is the final Passion Project for the year 2024! Omg the time went by so fast. I remember when I sat down and decided to start these projects. I wasn’t sure if I would be able to continue the monthly cadence, if I would want to, if people would gravitate toward them. Yet here we are! I have gotten so much love for these patterns.
I had so much fun with these this year, I will be continuing with a 2025 version of the Passion Projects, so stayed tuned! I have lots of goodies planned for us for the new year =)
Okay, so let’s chat about the pattern for this month a bit. The Simple Crochet Santa Hat is written very simply, but it will take a little bit of time to complete. I am a fairly fast crocheter and it took me about 2 hours. Take that info as you will.
The final product is soooo worth it though, and it’s super warm! I would say it’s worth the time and energy.
Here is the pattern for you to give a try! Merry Christmas to you and your family, and I pray that you and your family stays safe and blessed this holiday season!

The Simple Crochet Santa Hat
Materials
- 2 colors of worsted yarn (I used red for the main color and white for the band)
- Yarn Needle
- 5.0mm crochet hook
- Stitch marker
- 1 button (optional)
- 1 pom pom
Abbreviations
MC = Magic Circle
St = Stitch
Sl St = Slip Stitch
Ch = Chain
FO = Fasten off
HDC = Half Double Crochet
HDC DEC = Half Double Crochet Decrease
BLO = Back Loop Only
** = repeat pattern between the asterisks
Pattern Head band (white yarn):
Row 1: ch21
Row 2: 20 hdc
Row 3-46: ch1, BLO hdc (20sts)
The band will be approx. 20” long
Prep for Crown (white yarn):
- Fold the band in half and sl st down to join
- Add 72 hdc evenly around the band
Crown (red yarn)
Row 1: ch2, dc in each st (72 sts)
Repeat row 1 until work measures approx. 8” with the band folded
Crown Shaping:
Row 1: ch2 *2 dc dec, 14dc*
Row 2: ch2 *2dc dec, 12 dc*
Row 3: ch2 *2dc dec, 10 dc*
Row 4: ch2 *2dc dec, 8 dc*
Row 5: ch2 *2dc dec, 6 dc*
Row 6: ch 2 *2dc dec, 4 dc*
Adding pom pom:
- Turn the hat inside out
- Stitch around the hole and pull to close
- Sew button where the hole was closed
- The premade pom poms have an elastic band in the center. For these, pull the elastic band from the right side of the hat and wrap around the button on the inside. This makes the pom pom detachable! For pom poms made with yarn, you can secure by attaching the tails to the button (or skip the button and attach directly to the hat).
