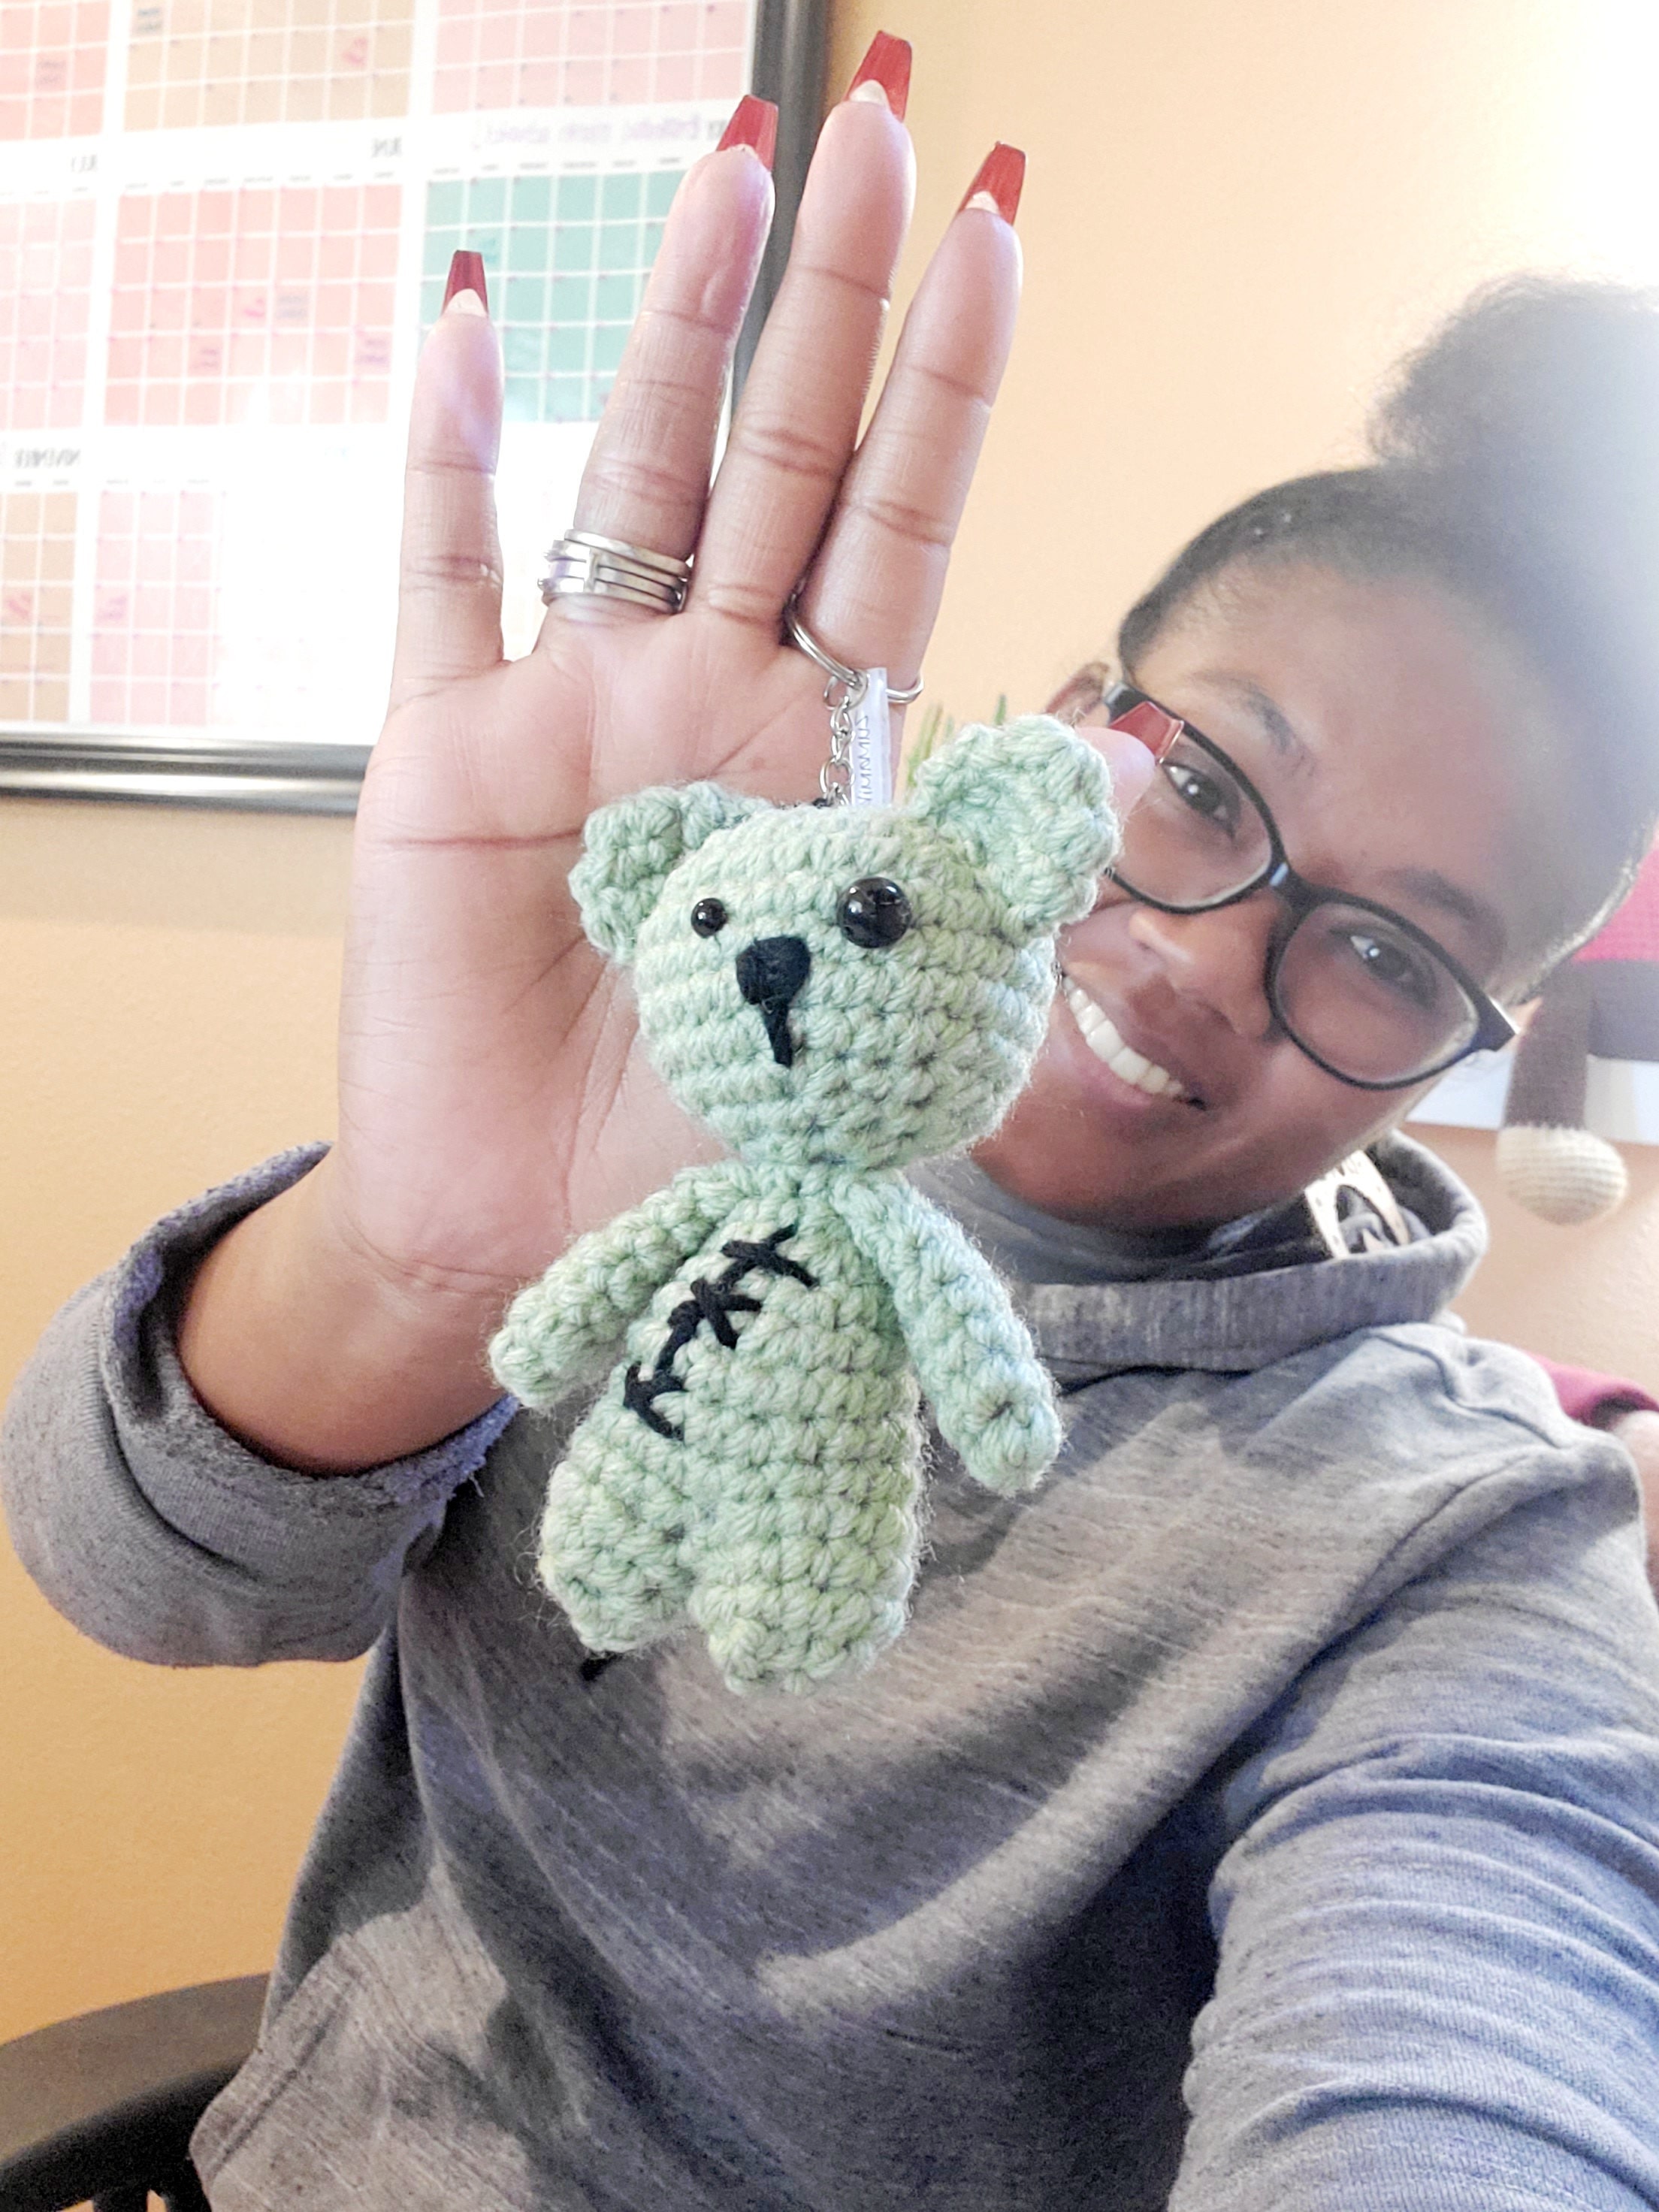
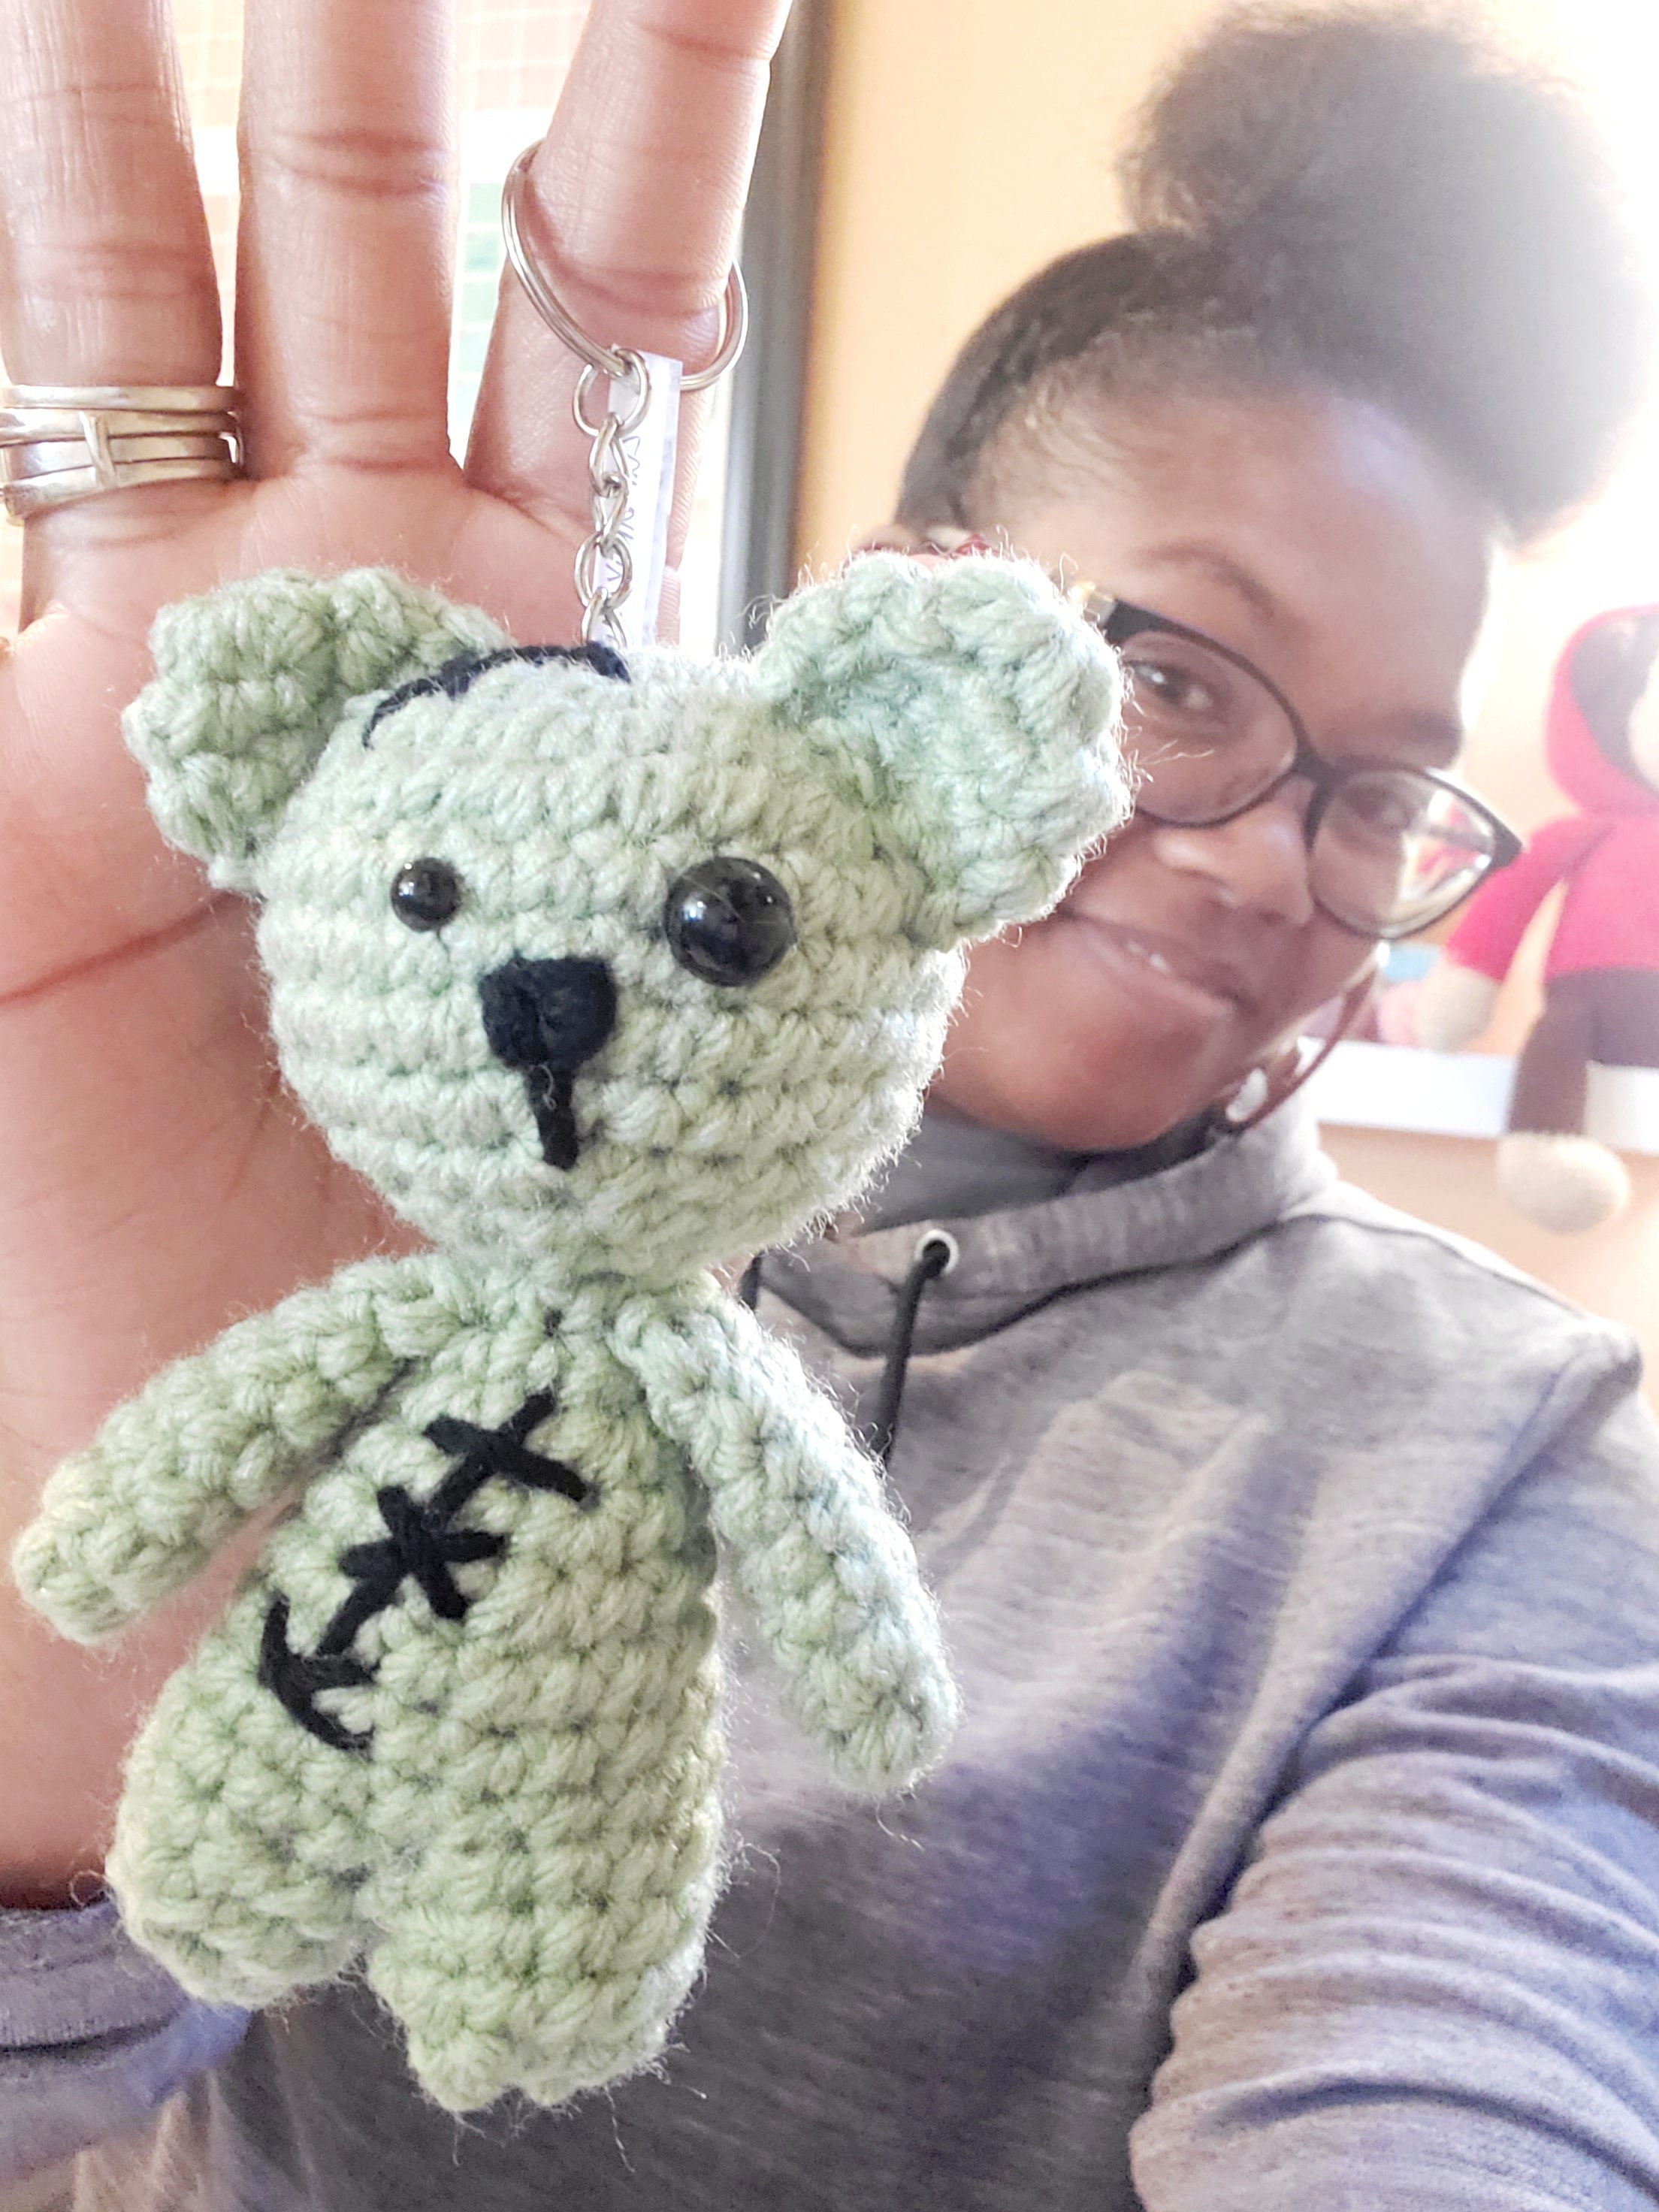
We are well into the spooky Halloween season, so for this month’s Passion Project I thought it would be fun to put a little spin on my mini bear patterns.
My original sketch was giving me voodoo doll vibes, yikes. I definitely DO NOT dabble in that world, so I went back to the creative drawing board to revise and revamp this pattern a couple of times until I landed on this beauty.
Scary and spooky isn’t usually my vibe, but this has been a year of breaking down creative boundaries and venturing into new arenas of crochet goodness. So why not?!? In all, I think this little one came out pretty nice.
As a reminder, these patterns are always about the fun of crocheting. In full transparency, the second leg of this guy is a bit of a challenge; however, remember to be patient and enjoy the journey.
These Passion Projects are a free resource to help my fellow crochets enjoy the journey of creating something fun, quick, and stinking cute.
I am always delighted to see the little creatures folks are able to make with my patterns, so if you try this one out (or any Passion Project) please don’t be shy about letting me see! Message me either here on this blog or on the other social media platforms @zumamiko.
Okay, Okay, I’m done rambling, here is the pattern for this month.

Zombie Bear Crochet Pattern
Materials
- 2 colors of worsted yarn (I used green for the main color and black for the stitching)
- Yarn Needle
- 3.5mm crochet hook
- Stitch marker
- 2 plastic safety eyes of different sizes, or black embroidery yarn
- Polyfiill stuffing
Abbreviations
MC = Magic Circle
SC = Single Crochet
St = Stitch
Sl St = Slip Stitch
Ch = Chain
FO = Fasten off
SC INC = single crochet increase
** = repeat pattern between the asterisks
Pattern
Head/Body
R1: MC, 6sc
R2: *sc inc*
R3: *1sc, inc*
R4: *2sc, inc*
R5: *3sc, inc*
R6-R8: 1 sc in each st
R9: *3sc, dec*
R10: *2sc, dec*
Somewhere around here think about where you want to place the safety eyes and place them where you see fit.
R11: *1sc, dec*
R12: *sc dec*
R13: 1 sc in each st
R14: *1sc, inc*
R15: *2sc, inc*
R16: *3sc, inc*
R17: *4sc, inc*
R18-R20: 1 sc in each st
R21: sc in the next 9 st, ch 3, sc in the first st (be sure to move the st marker) R22-R23: sc in the next 12 stitches
R24: *1sc, dec* Weave around with your yarn needle and pull everything closed.
Leg #2
R1: attach yarn with a sl stitch and sc in that same stitch (don’t forget to place your marker), sc in the next 8 st, ch 3 *attach the ch to the sl stich space with a sc. Be sure to attach to the sl stitch space and not the first sc, your numbers will be off otherwise.
R2-R3: sc in all 12 stitches
R4: *1sc, dec*
Arms
R1: MC, 4sc
R2: *sc inc*
R3-R7: 1 sc in each st
Crochet the arm closed by crocheting each of the sides together
Ears
R1: MC, 6sc
R2: *sc inc*
R3: 1 sc in each st
Crochet the ear closed by crocheting each of the sides together
Now sew everything together, and you are all done. Be as creative as you would like! Play with the eye placement, the ear placement, even the mouth…make it your own.
